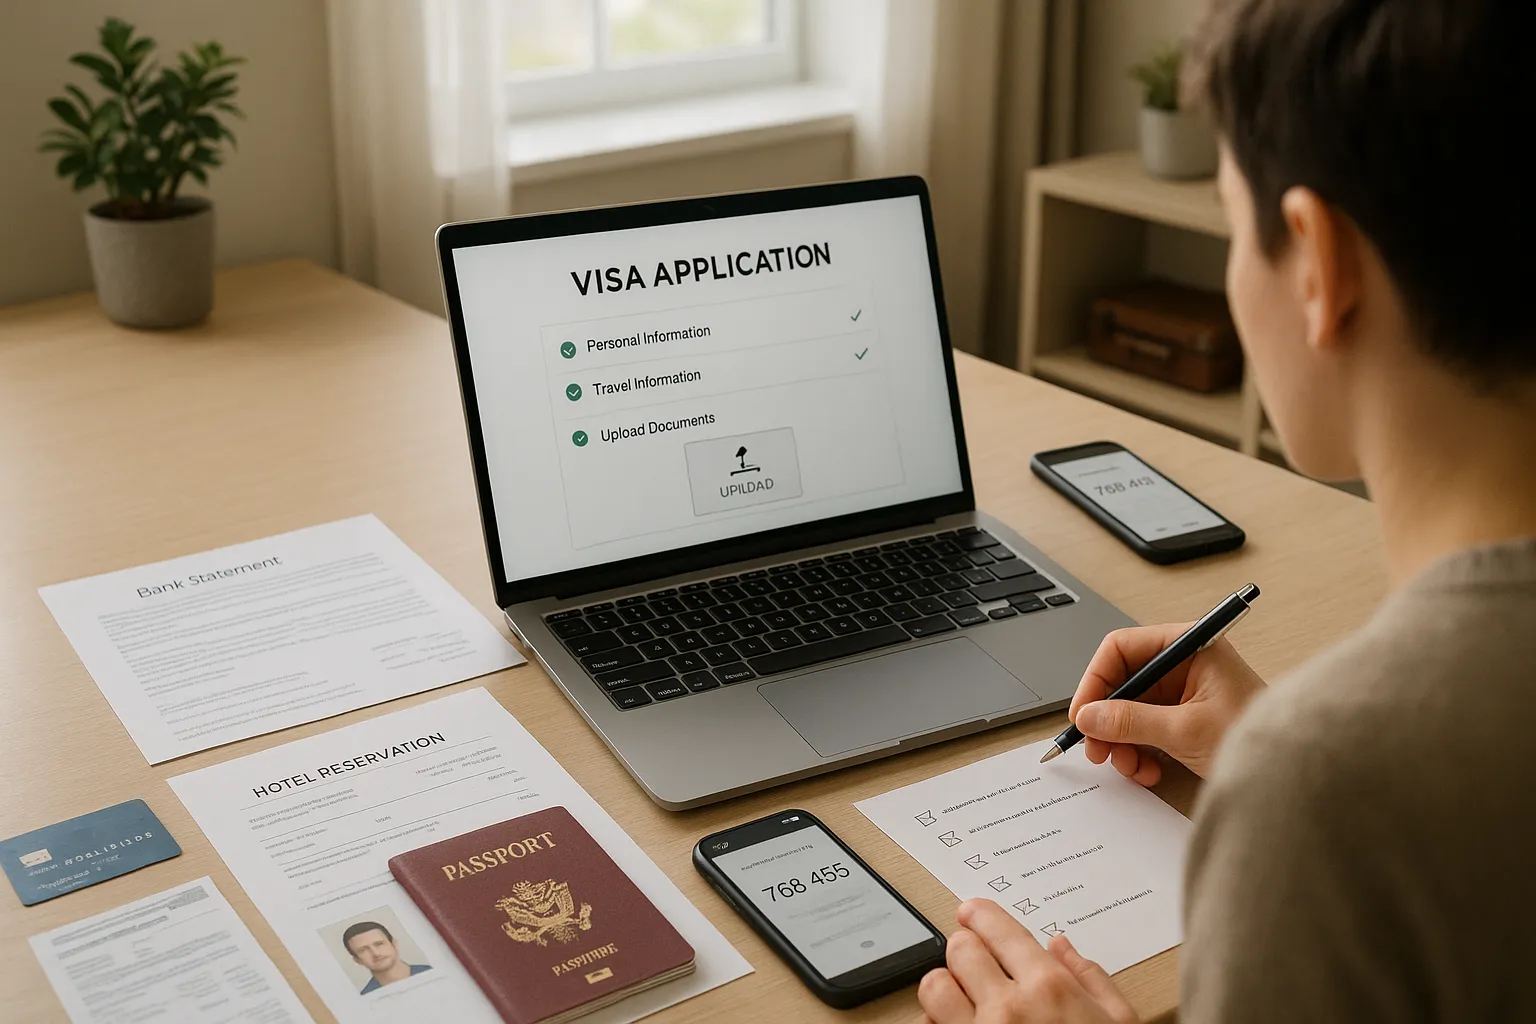
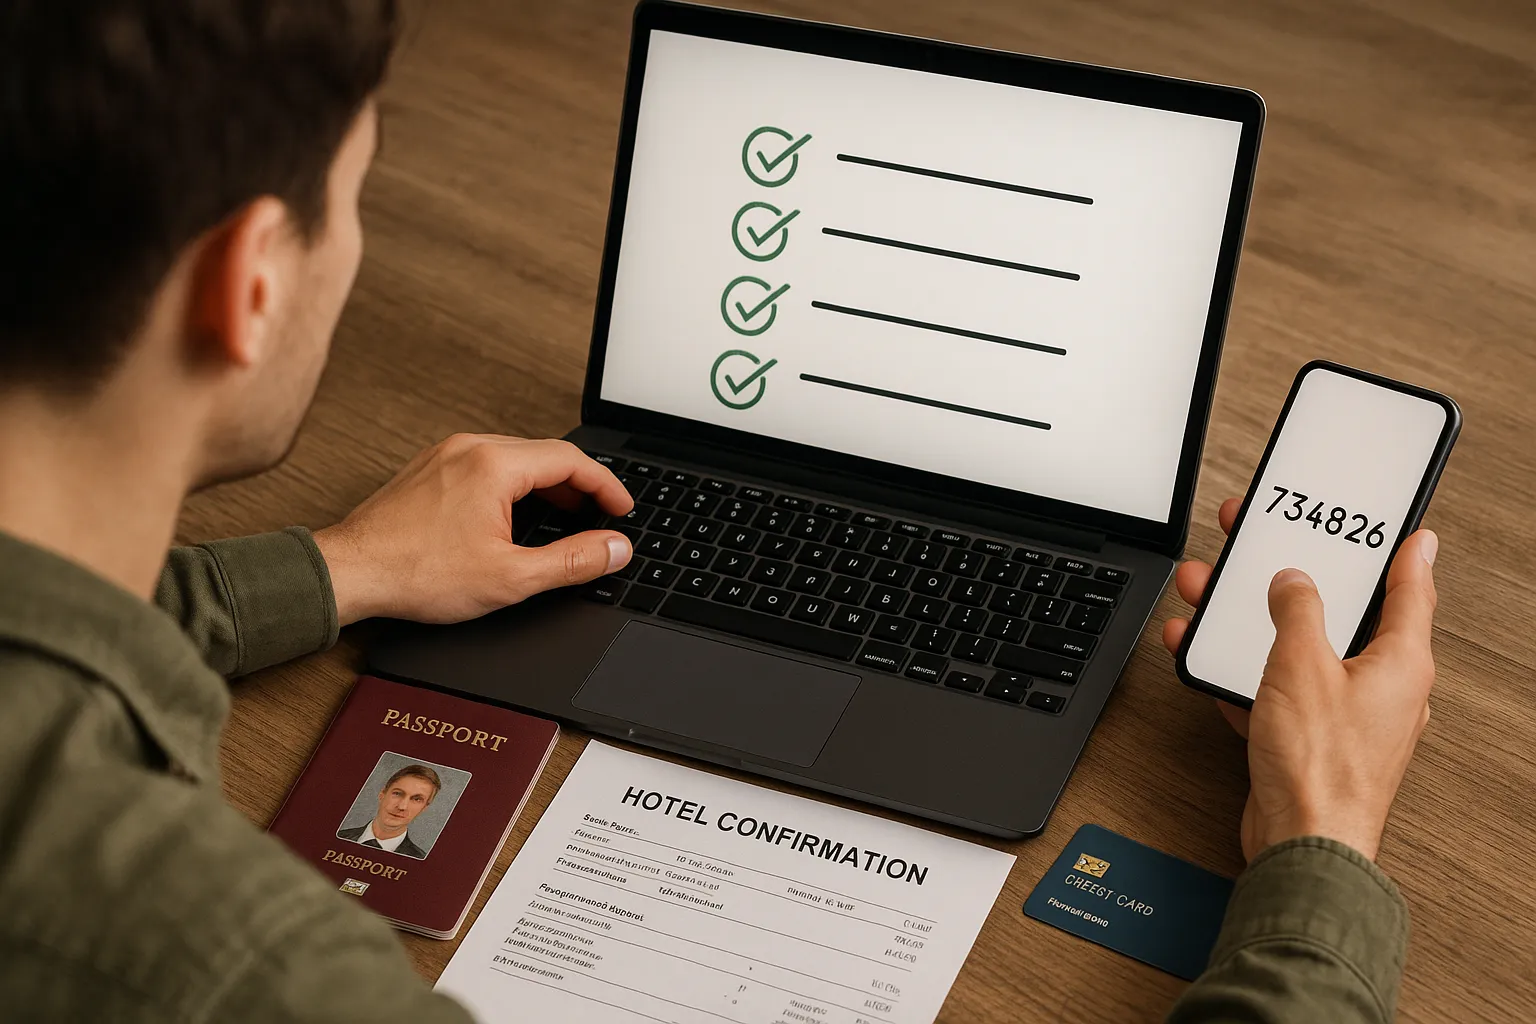
Checklist: Everything You Need Before Submitting an Online Visa Application

Preparing an online visa application rarely takes longer than a coffee break — but only if every required document is already at your fingertips. Missing files, wrong photo sizes, or expired passports still account for most e-visa rejections worldwide, according to government statistics from Australia’s ETA and the U.S. ESTA. Use the following practical checklist to make sure nothing stands between you and a smooth digital approval.
Quick read: If you need a refresher on the actual form, see our step-by-step guide “How to Apply for an Electronic Visa: 3 Easy Steps.”
1. Passport validity & scan quality
- A passport with at least 6 months validity beyond your intended exit date (some countries ask for 9).
- Two blank pages for entry/exit stamps if you’ll also cross land borders later.
- A color scan of the data page, saved as PDF or JPEG under 500 KB unless otherwise specified. Check that the ICAO line at the bottom is sharp and fully visible.
Pro tip – Name the file Lastname_Passport_country.pdf; clear names prevent upload mistakes when you juggle multiple documents.
2. Compliant digital photograph
Most e-visa portals auto-reject photos that don’t fit their matrix. Before you hit upload, ensure:
- Size: 35 × 45 mm or 2 × 2 inch (check the exact rule).
- Background: plain, light, no patterns.
- Expression: neutral, eyes open, no glasses glare.
You can use free cropping tools from Canada’s IRCC or the U.S. Department of State to verify dimensions.
3. Confirmed travel itinerary
Even when “flight booking” is tagged optional, you’ll speed up screening if you attach:
- Flight reservation or e-ticket with dates matching the visa validity you request.
- Accommodation confirmation (hotel voucher or rental contract).
- For multi-country trips, add a simple PDF route map so the officer sees you intend to leave on time.
4. Proof of funds
Typical benchmarks:
- Tourist e-visas: USD 50–100 per travel day.
- Long-stay visitor visas: the first three months of living expenses.
Upload recent bank statements or a signed employer letter stating your salary. Blur sensitive account numbers if the portal allows it.
5. Purpose-specific paperwork
Depending on why you travel, gather at least one of the following:
- Invitation letter with host’s full address & ID copy (family visit, conferences).
- Business support letter on company letterhead outlining trip purpose and financing.
- Enrollment or acceptance letter for study programs.
- Event tickets (sports, concerts) to justify short, fixed-date stays.
6. Health & vaccination certificates
- Yellow-fever vaccination is mandatory for more than 20 countries; attach the WHO card if you have transits in risk zones.
- COVID-19 certificates or negative PCR results: still requested by a handful of destinations.
7. Previous visas & entry stamps
A PDF collage of prior Schengen, U.S. or UK visas can accelerate risk assessment. Scan old passports if the digital form offers an “additional documents” field.
8. Payment method that works abroad
- International credit/debit card enabled for online 3-D Secure transactions.
- Some portals accept PayPal or Alipay; know your options in advance to avoid time-outs.
9. Secure tech setup
Submitting sensitive ID data over public Wi-Fi is risky. Protect yourself — and avoid mid-upload crashes — by using:
- A stable, private internet connection.
- An updated browser with pop-ups allowed for the payment window.
- A VPN only if the destination government does not block VPN traffic (double-check their FAQ).
10. Active email & phone number
Immigration bots send one-time passcodes, confirmations or “additional info” requests that often expire within 72 hours. Use an email inbox you check daily and whitelist the authority’s domain (e.g., @immigration.go.ke).
11. Processing-time buffer
Our research across 40 government portals shows average approval times of 24–96 h, but peak seasons can triple that. Aim to apply:
- At least 10 business days before departure for standard processing.
- 15–20 days if you submit around national holidays (Golden Week in Asia, Christmas in Europe, Eid in the GCC).
Need more timing intel? Read “When Should I Apply for an Electronic Visa?”
12. Minor-specific extras (if traveling with kids)
- Birth certificate copy in English or certified translation.
- Notarized parental consent letter if one guardian stays home.
- Passport photo taken within six months (kids’ faces change fast!).
13. Accessibility add-ons for business travelers
- Power of attorney if your travel manager applies on your behalf.
- Company guarantee to cover medical costs (some Gulf states require it).
- Digital copy of your return — or onward — boarding pass, handy if you’re applying last-minute from an airport lounge.
Pre-submission mini-audit
Before you press Submit, run this 60-second quality check:
- File names are clear and contain no accents or special characters.
- Every upload meets the portal’s maximum size (commonly 300–512 KB).
- Dates on tickets, hotel vouchers and letters all match.
- Your passport number in the application is identical to the one on the scan (watch for zeros vs. the letter O!).

What happens after you click “Pay & Submit”?
- Instant confirmation email with an application or tracking number.
- Risk screening & payment verification — automated, usually within minutes.
- Officer review if red flags pop up (name similarity, unreadable scan). You may receive a request for “additional documents” — reply within the stated deadline.
- Grant notice arrives by email. Print it or download the PDF to your phone’s wallet app.
If your application is refused
Don’t panic. The notice almost always states the reason. Common fixes:
- Re-upload a clearer passport scan.
- Provide proof of stronger ties to home country (employment letter).
- Correct mismatched travel dates.
You can reapply immediately on many systems, but some (e.g., India) impose a 72-hour cooling-off.
How SimpleVisa keeps this checklist inside your booking flow
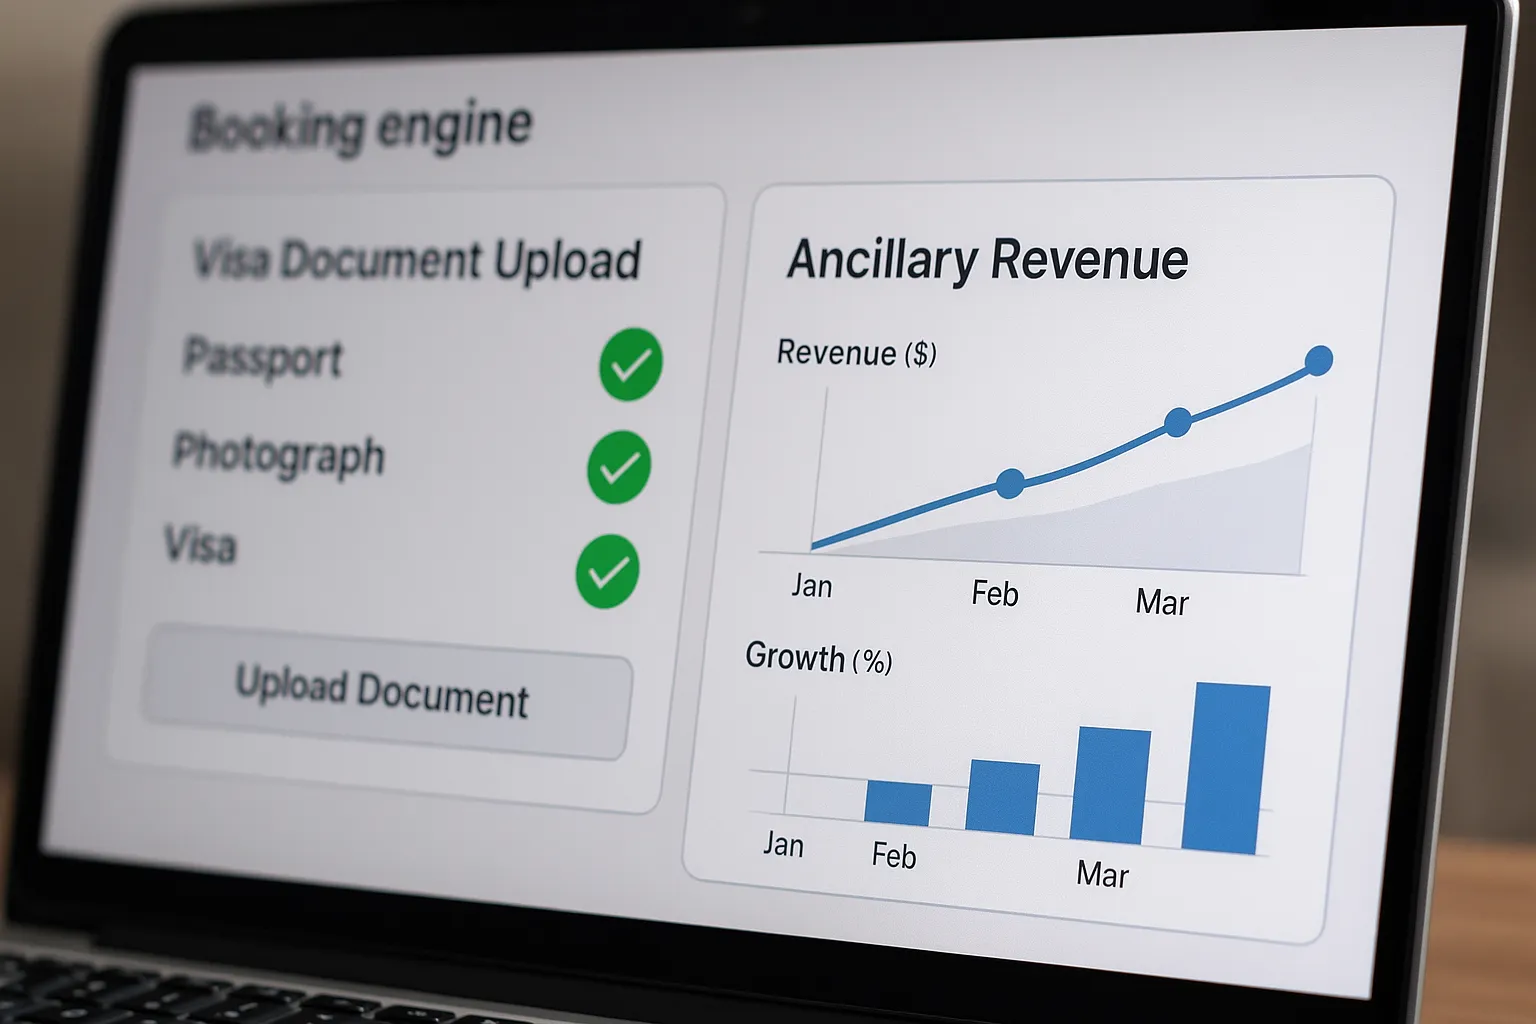
If you run a travel website, OTA, or airline, SimpleVisa’s API (or white-label app) auto-surfaces exactly the documents required for each passenger, in real time. That means:
- No PDF hunting — customers upload once and reuse across bookings.
- Dynamic validation catches wrong file types before submission.
- A branded upsell that drives ancillary revenue while protecting travelers from costly mistakes.
Curious? Request a demo and see how friction-free visa prep boosts conversion and customer satisfaction.

Final recap: your fool-proof online visa checklist
- Passport valid 6 + months
- Correct-size digital photo
- Travel & accommodation proof
- Financial statements
- Purpose-specific letters
- Health certificates (if required)
- Previous visas (optional but helpful)
- Payment card enabled for 3-D Secure
- Secure internet & email access
- Sufficient processing buffer
- Extra docs for minors or business travel
Tick all the boxes above, and your next online visa submission should be as easy as booking the flight itself. Safe travels — and remember, preparation beats panic every time!