Step-by-Step Guide to Testing Sandbox eVisa Transactions

Why you should test before you launch
Rolling out an eVisa feature inside a flight-or hotel-booking journey is a high-stakes release. One malformed request can prevent a customer from boarding; one missed webhook may break your revenue share. A dedicated sandbox environment lets you:
- Validate request and response formats without hitting government systems.
- Simulate success, failure, and edge-case scenarios (multiple applicants, partial rejections, expired passports, etc.).
- Train support agents on realistic application flows.
- Measure the ancillary-revenue uplift in A/B tests before you switch to live traffic.
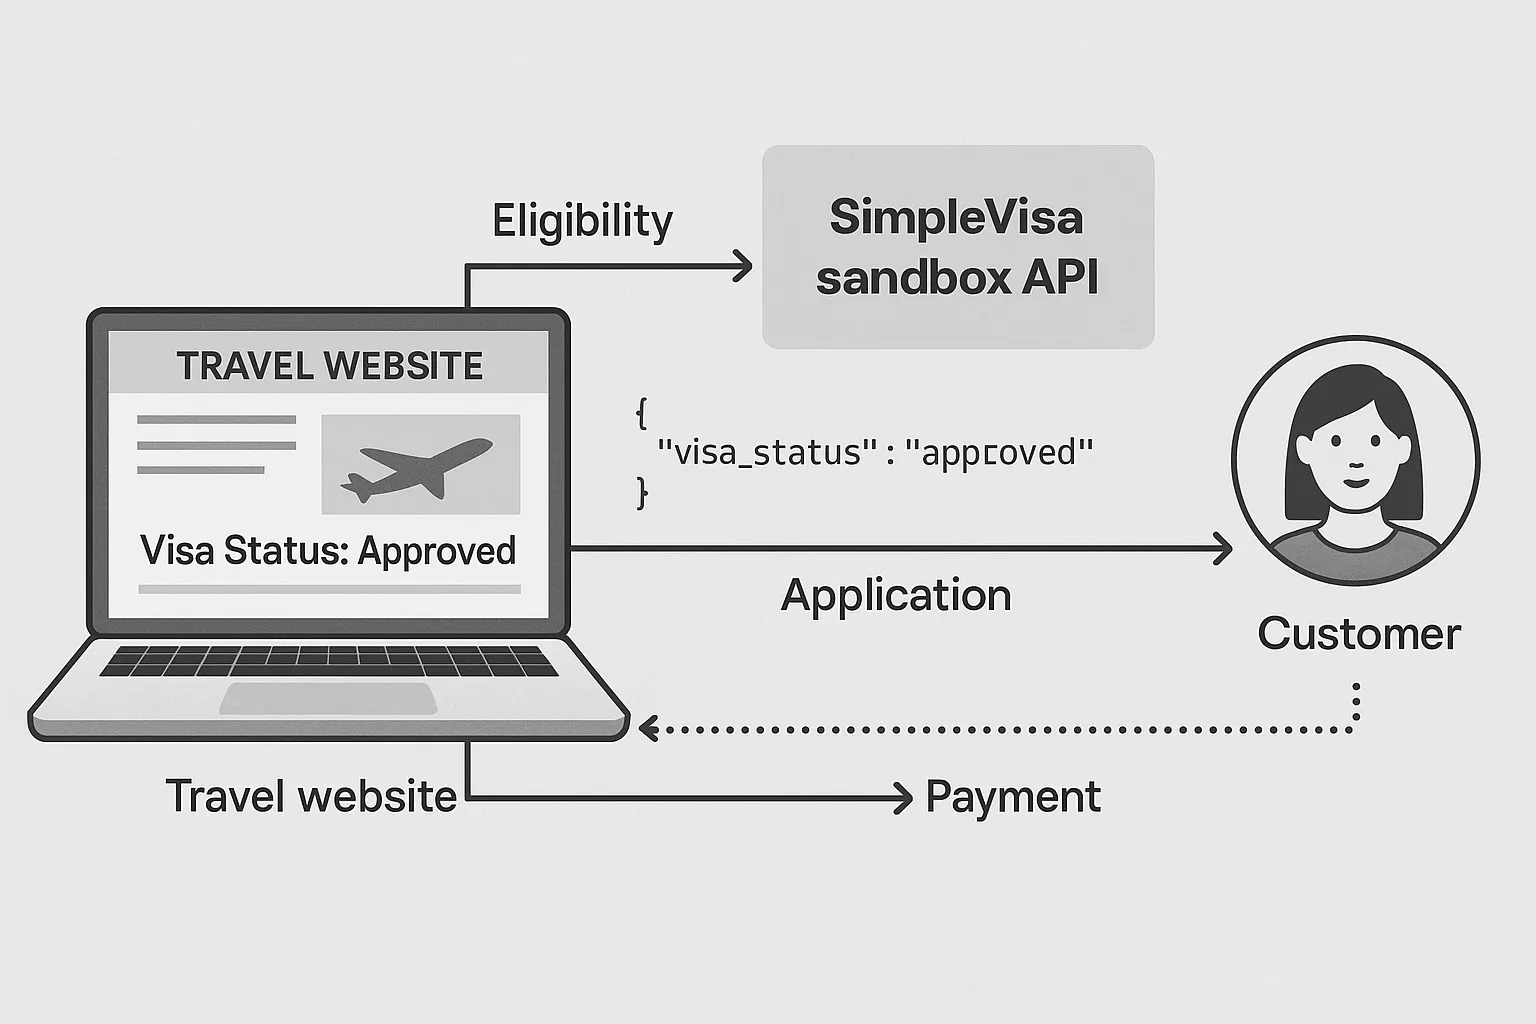
In this guide we’ll walk through a complete sandbox transaction with the SimpleVisa API—from creating test credentials to receiving a mock visa approval notice—so you can move to production with confidence.
1. Get your sandbox credentials
- Go to the SimpleVisa dashboard (https://dashboard.simplevisa.com) and create a free developer account.
- Navigate to API settings → Environments → Sandbox.
- Click Generate API key. You’ll receive:
public_keysecret_key
- Restrict the key to a list of IP addresses or set a short TTL if you prefer extra security.
Tip: Sandbox keys will never be able to submit real applications, so you can safely commit them to a private repo for testing. Use environment variables for production keys.
2. Review the OpenAPI specification
SimpleVisa publishes version-controlled specs on GitHub (MIT license). Download the latest simplevisa-sandbox.yaml or explore it in SwaggerHub. You’ll find callable endpoints such as:
POST /v1/eligibilityPOST /v1/applicationsGET /v1/applications/{id}POST /v1/paymentsPOST /v1/webhooks/test
Each operation is tagged with a sandbox label so you can tell which resources are mocked.
3. Create a mock eligibility request
Eligibility pre-check lets you show travellers whether they need a visa at all. Here’s a minimal curl request for a passenger with a French passport flying to India:
curl -X POST https://sandbox.simplevisa.com/v1/eligibility \
  -H "Content-Type: application/json" \
  -H "X-Api-Key: $SIMPLEVISA_SECRET" \
  -d '{
    "nationality": "FRA",
    "destination": "IND",
    "travel_date": "2025-08-15"
  }'
Expected sandbox response:
{
  "eligible": true,
  "visa_type": "eTourist",
  "price": {
      "government_fee": 25,
      "service_fee": 14.9
  },
  "notes": "Mock response – no charges have been applied."
}
Try a known ineligible combination—say, nationality=AFG to destination=USA—and the API will return "eligible": false with an explanatory reason_code.
4. Submit a test application
When the customer clicks Continue, you’ll POST an application object:
curl -X POST https://sandbox.simplevisa.com/v1/applications \
  -H "X-Api-Key: $SIMPLEVISA_SECRET" \
  -d '{
    "applicant": {
      "first_name": "Jane",
      "last_name": "Doe",
      "date_of_birth": "1990-11-02",
      "passport_number": "XK1234567",
      "passport_expiry": "2030-12-31"
    },
    "trip": {
      "arrival_date": "2025-08-15",
      "departure_date": "2025-09-01",
      "flight_number": "SV205"
    }
  }'
Sandbox responses are deterministic: every passport_number ending with an odd digit will succeed, every even digit will fail with a DOCUMENT_UNREADABLE error. That makes automated test assertions trivial.
Returned payload (success case):
{
  "id": "app_sbox_8FhjQ1",
  "status": "PENDING_PAYMENT",
  "amount_due": 39.9,
  "currency": "USD"
}
5. Process a dummy payment
You can skip card processing complexity by using SimpleVisa’s built-in payment gateway. In sandbox, no real funds move. Use the test card 4242 4242 4242 4242, any future expiry, any CVC.
curl -X POST https://sandbox.simplevisa.com/v1/payments \
  -d '{
     "application_id": "app_sbox_8FhjQ1",
     "card_number": "4242424242424242",
     "expiry_month": 1,
     "expiry_year": 2030,
     "cvc": "123"
 }'
On success you’ll get:
{
  "payment_id": "pay_sbox_Zv3k2",
  "status": "CONFIRMED"
}
6. Listen for webhook notifications
Visa statuses may change asynchronously after manual review. Configure your webhook endpoint under Dashboard → Webhooks (HTTPS only). SimpleVisa will send signed requests like:
{
  "event": "visa.approved",
  "data": {
     "application_id": "app_sbox_8FhjQ1",
     "visa_document_url": "https://sandbox.simplevisa.com/documents/eVisa-8FhjQ1.pdf"
  }
}
To test your integration without waiting, call the helper endpoint:
curl -X POST https://sandbox.simplevisa.com/v1/webhooks/test \
  -d '{"event": "visa.approved"}'
Your server should return HTTP 200 within 3 seconds. The dashboard will display delivery attempts and retries.
7. Retrieve the visa document
Finally, GET the PDF:
curl -L https://sandbox.simplevisa.com/documents/eVisa-8FhjQ1.pdf -o visa.pdf
The document contains a prominent SAMPLE ONLY watermark so it can’t be mistaken for a real approval at the border.
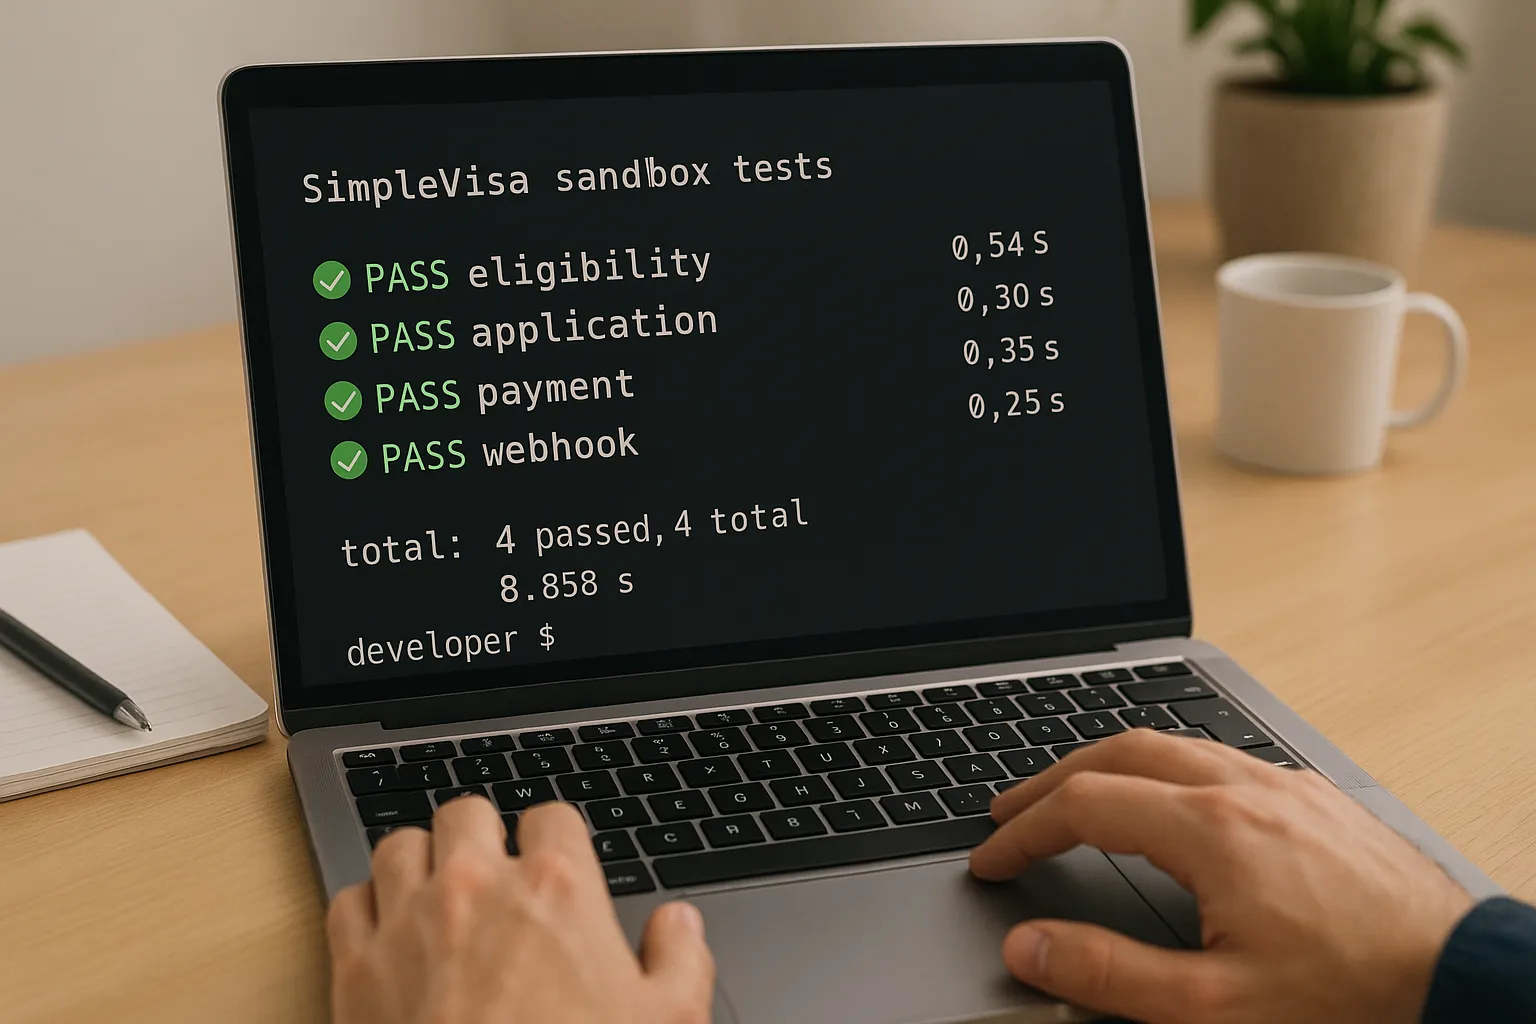
8. Automate regression tests
Many partners wire the above steps into CI pipelines (GitHub Actions, GitLab CI, Jenkins). Because sandbox responses are predictable, you can assert:
statustransitions follow the correct order.- Webhook signatures validate against the shared secret.
- Price breakdown matches your markup rules.
See the reference Node.js snippet in the repo simplevisa-examples.
9. Move to staging and production
When all tests pass:
- Request staging access from your account manager. Staging uses real government schemas but auto-rejects every application, so you can test high-fidelity errors.
- Complete the compliance checklist (PCI attestation, data-retention policy, support contacts).
- Receive production keys and increment the base URL to
https://api.simplevisa.com.
Congratulations—you’re live!
Best practices checklist
- Store API keys in a secrets manager (AWS Secrets Manager, HashiCorp Vault).
- Implement exponential back-off on 429 rate-limit errors.
- Cache static meta-data (country lists, fee tables) for 24 hours.
- Log the
correlation_idheader returned by every response; it speeds up support investigations. - Display visa delivery estimates before checkout to reduce cart abandonment.
For a deeper architectural overview, read our article on how eVisa APIs work: step by step.
Frequently Asked Questions (FAQ)
Is the sandbox feature-complete compared to production?
Yes. All core endpoints are identical, though advanced add-ons (priority processing, premium support chat) are disabled.
Can I simulate partial refunds?
Absolutely. Pass amount=0 in the /v1/refunds endpoint to generate a full refund, or any smaller number for partial. No money moves.
How do webhook signatures work?
Each request carries an X-SV-Signature header with an HMAC-SHA256 hash of the payload. Use the signing secret found under Webhooks → Settings.
Does sandbox traffic count toward my usage quota?
No. Calls are unlimited and free.
Which SDKs are available?
Official libraries exist for JavaScript, Python, and PHP. Community SDKs cover Java, Ruby, and Go.
Ready to turn visa compliance into a revenue driver?
Book a 15-minute demo or email partnerships@simplevisa.com to get your production keys today.