How to Take a Compliant Visa Photo on Your Phone: Step‑by‑Step Tutorial
Getting the right head-and-shoulders photo is one of the most common stumbling blocks in online visa and eVisa applications. Fortunately, you no longer need an expensive studio session or complicated editing software. A modern smartphone, good lighting, and a few minutes of careful setup are usually all it takes to create a passport-style image that immigration systems will accept. Follow this practical, step-by-step guide to capture a compliant visa photo on your phone and avoid frustrating rejections or processing delays.
Why photo compliance matters
Computer vision tools now screen most digital visa photos before a human ever sees them. If the image fails automated checks—background colour, face size, glare, shadows, or file size—your entire application can be bounced back for correction. According to the International Civil Aviation Organization (ICAO), poor-quality photos account for roughly 15 % of initial e-passport and eVisa rejections worldwide. Getting it right the first time saves time, money, and in some cases a last-minute trip to an embassy.
What you’ll need
- A smartphone with a rear camera of at least 8 MP (most phones released after 2018 qualify)
- A plain, light-coloured wall (white or off-white works best)
- Indirect, even lighting (daylight near a window or two soft lamps)
- A friend or tripod for stability (selfies are strongly discouraged)
- A visa-photo cropping app or your phone’s built-in edit tool
Tip: Many airlines and OTAs embed photo guidelines directly into the booking flow when you use a service like SimpleVisa. Double-check the exact pixel and file-size limits shown there before you start.
Step-by-step instructions
1. Check the official specifications
Every country publishes exact requirements for size, aspect ratio, background, and expression. While most follow ICAO’s 35 × 45 mm standard, a few differ:
| Destination | Aspect ratio | Digital dimensions | File size | Background |
|---|---|---|---|---|
| USA (DS-160) | square | 600×600 px | ≤ 240 KB | plain white/off-white |
| Schengen (ETIAS) | 35×45 mm | 827×1063 px | ≤ 2 MB | light grey or white |
| Australia ETA | square | 600×600 px | ≤ 250 KB | white |
If you are unsure, consult the embassy site or the in-flow guidance on your SimpleVisa application page.
2. Set up your background
Stand about one arm’s length in front of a smooth wall. Remove picture frames, light switches, or patterned wallpaper from the frame. Imperfections can create shadows or trigger the “busy background” rejection rule.
3. Optimize lighting
Visa systems dislike strong shadows and over-exposed hot spots.
- Shoot in the daytime facing a window. Avoid direct sunlight.
- If natural light is impossible, place two lamps at 45-degree angles on both sides of your face to balance shadows.
- Turn off overhead spotlights that can cause forehead glare.
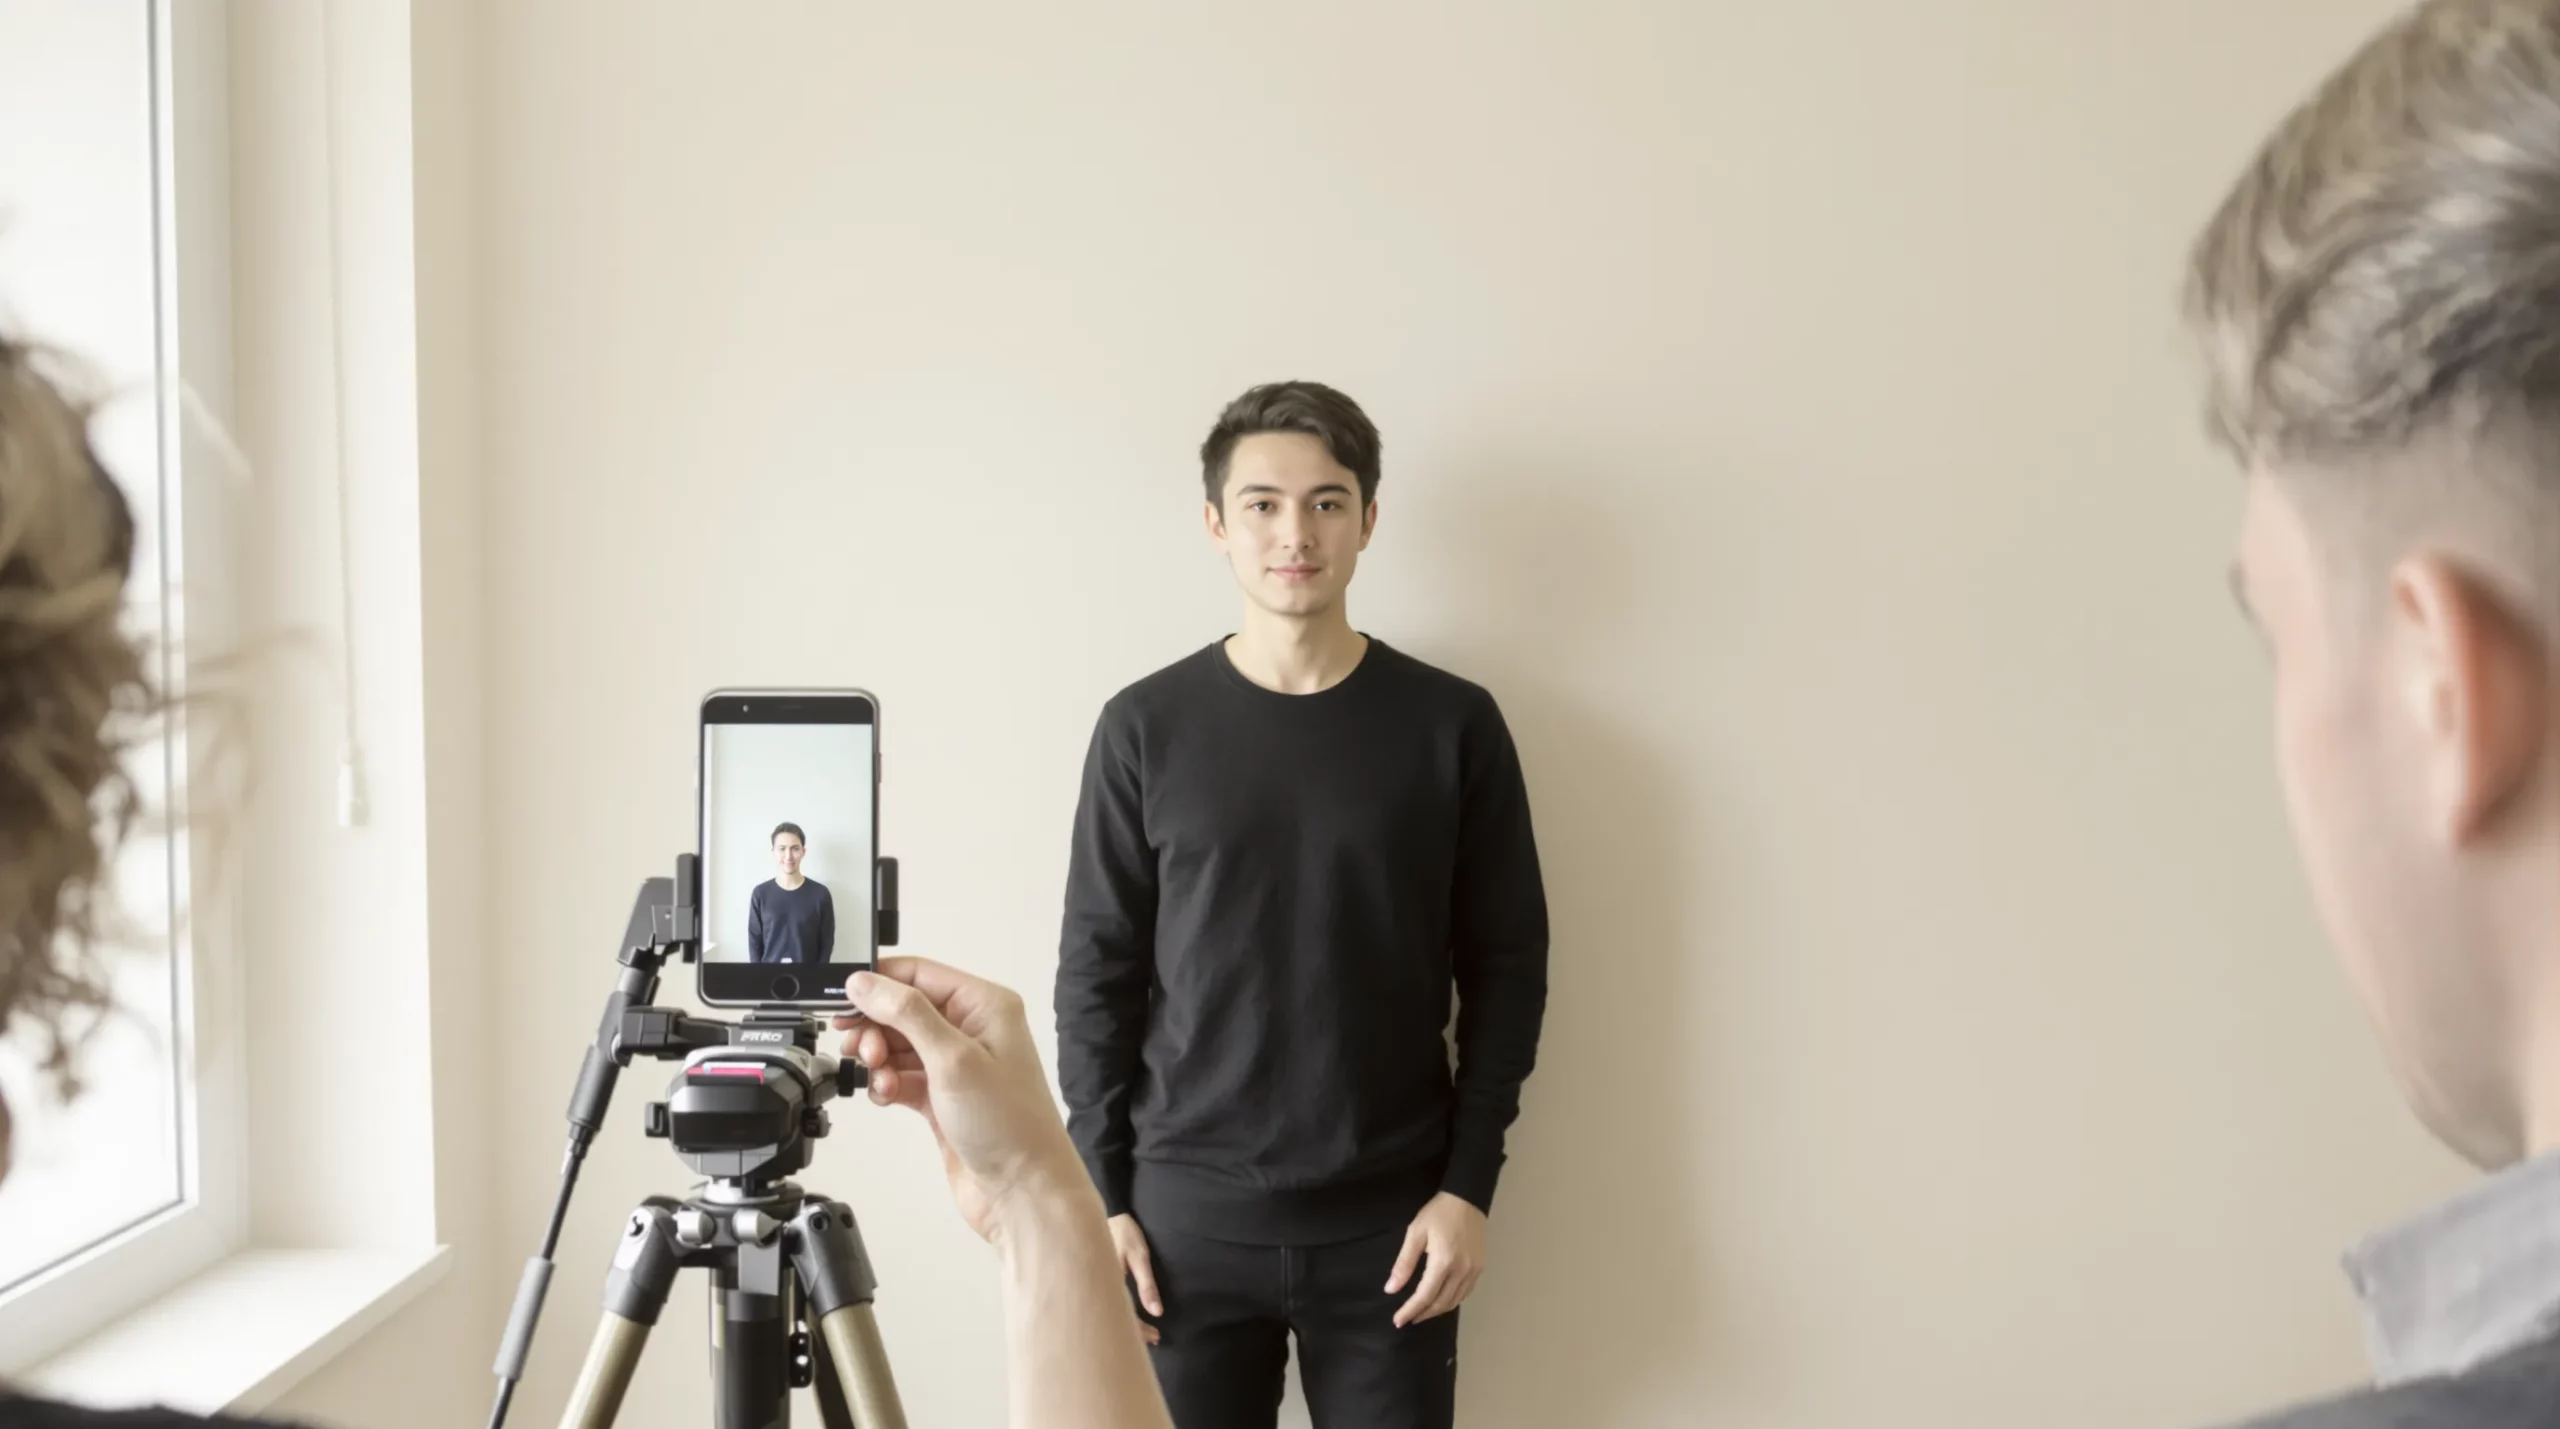
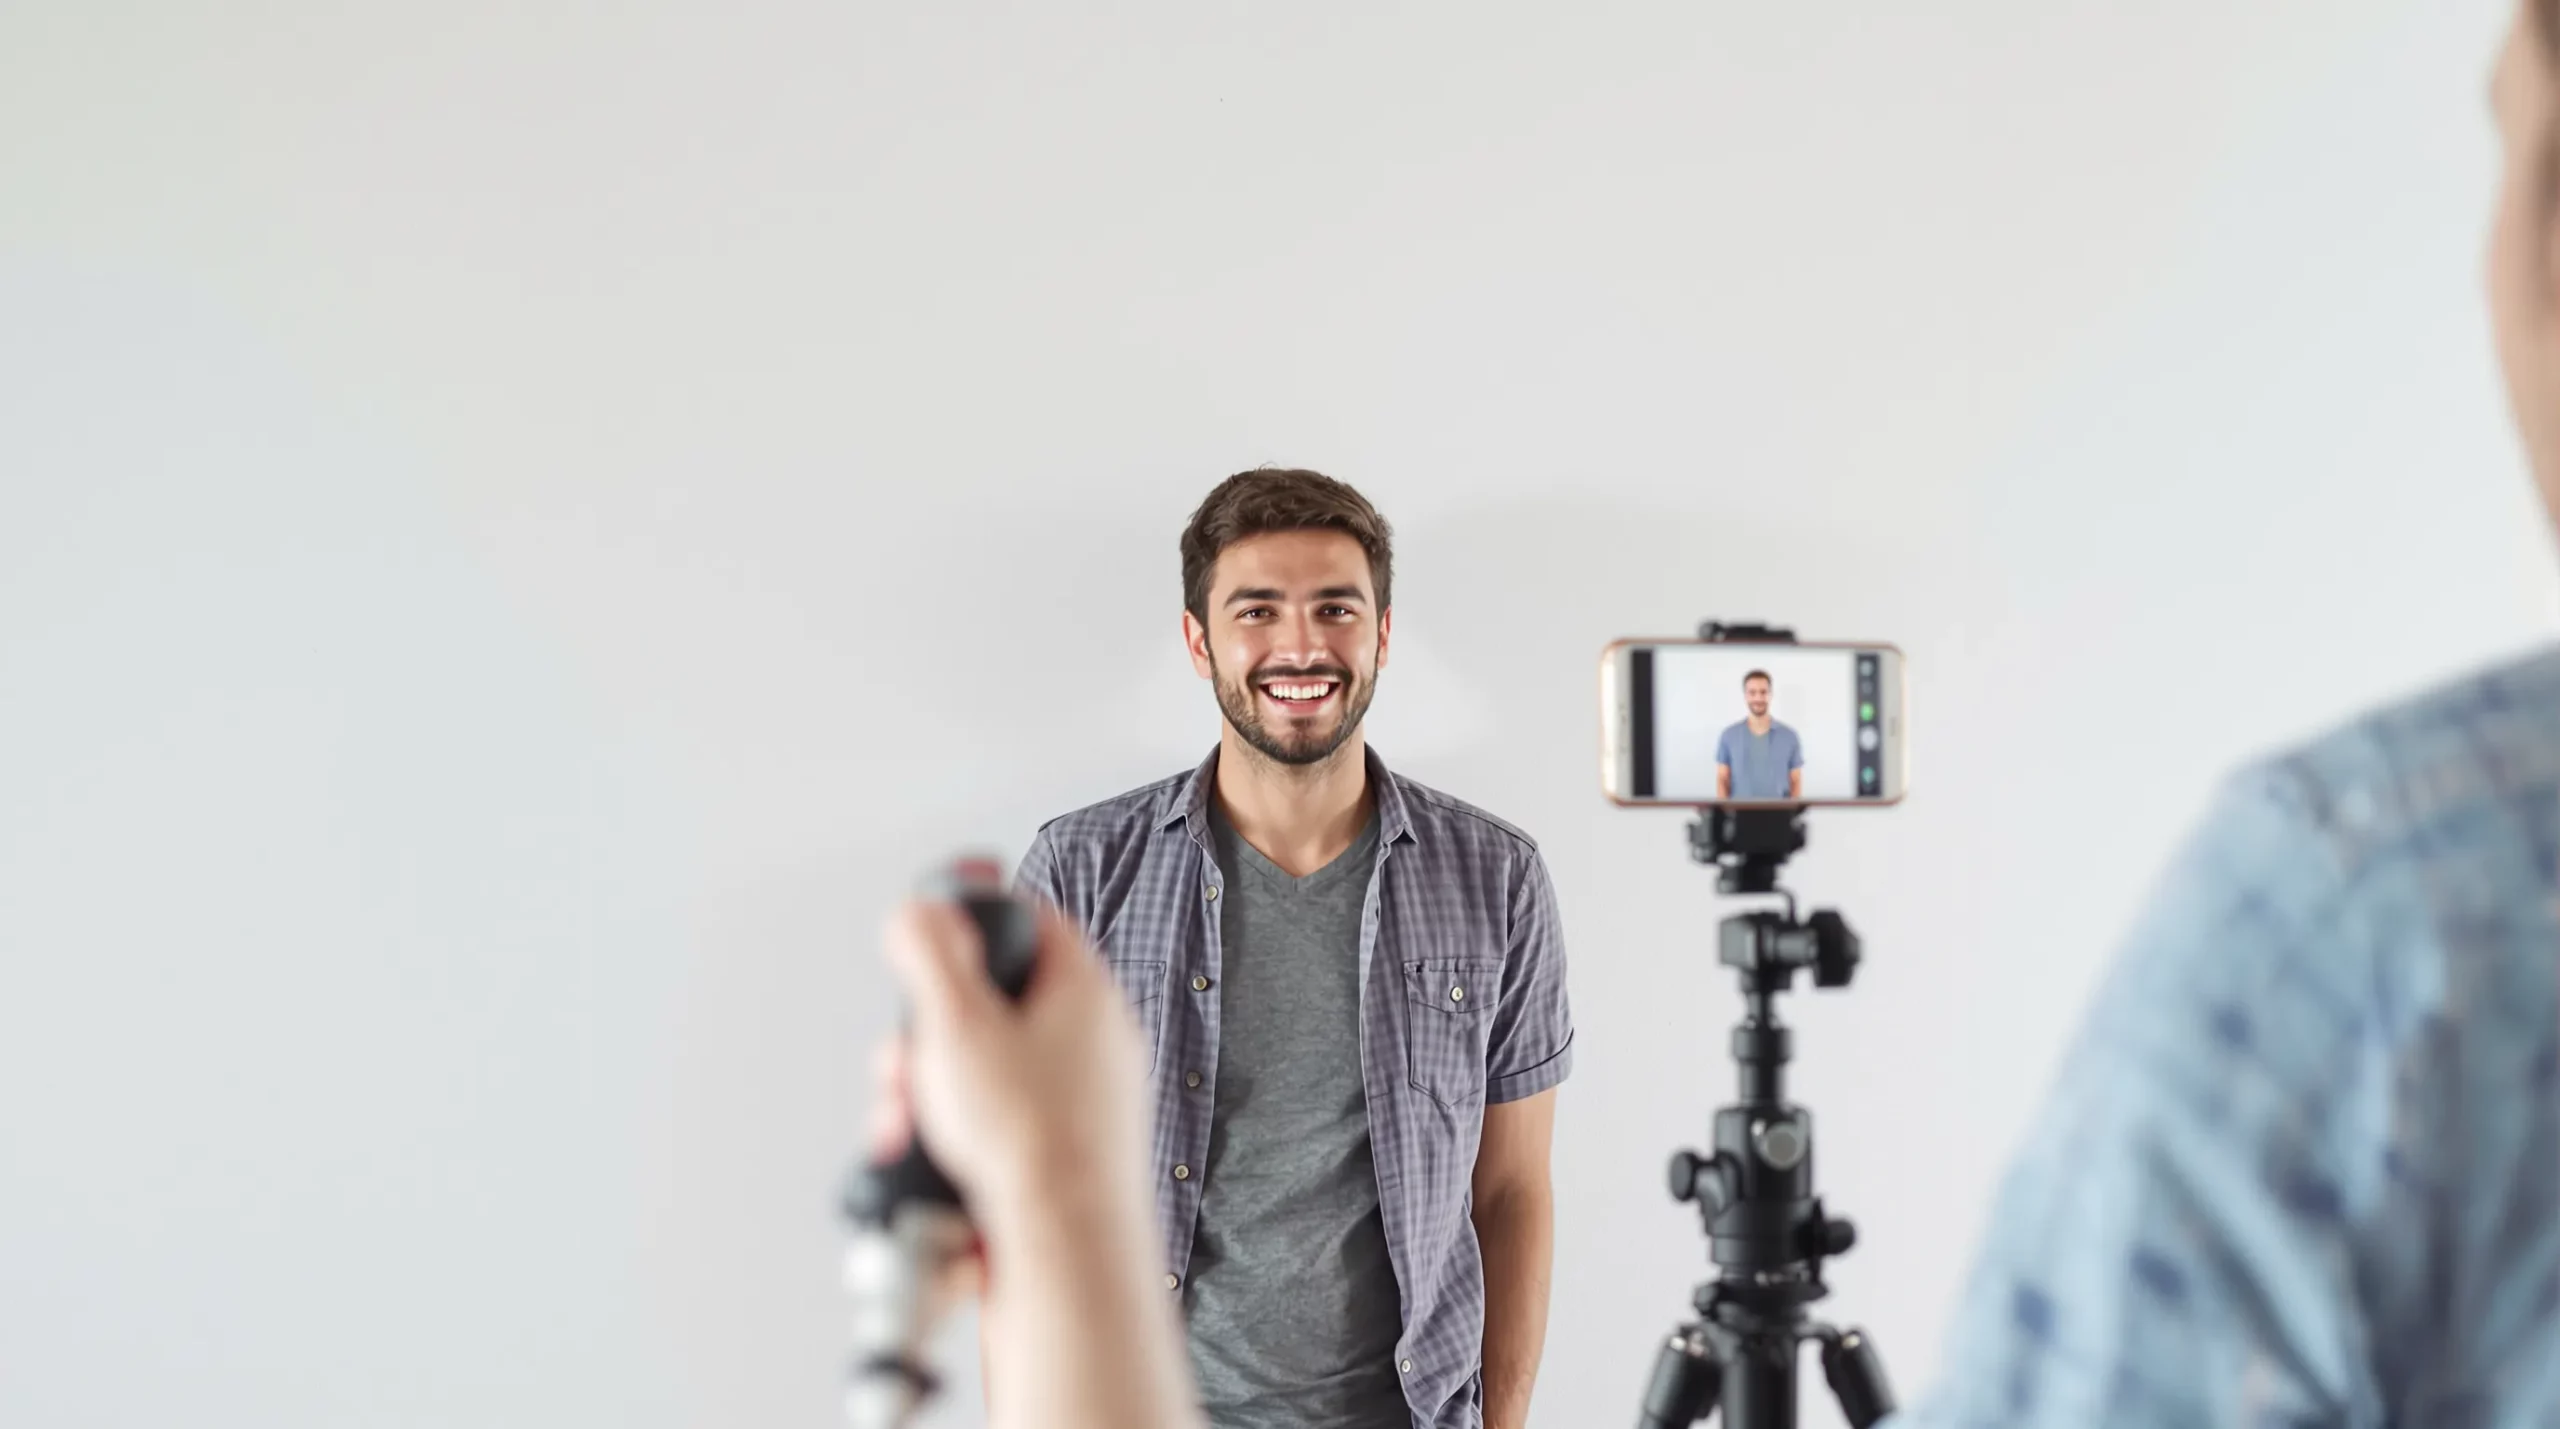
4. Position the camera and subject
- Ask a friend to hold the phone in landscape orientation 1–1.5 m away, level with your eyes.
- Keep your shoulders straight, head upright, and look directly into the lens.
- Leave enough space around your head to crop later. Most guidelines require the face to fill 70 – 80 % of the frame.
5. Neutral expression and attire
- Maintain a neutral expression with both eyes open and mouth closed.
- Eyeglasses are usually allowed only if they do not cast reflections; if in doubt, remove them.
- Religious head coverings are allowed but must not cast shadows on the face. Forehead, chin, and full facial outline must be visible.
- Wear dark or medium-tone clothes that contrast with the light background.
6. Capture several shots
Take 4–6 photos in quick succession. Small variations in posture or lighting can make the difference between accept and reject. Review images at 100 % zoom to check for glare, red-eye, and background artefacts.
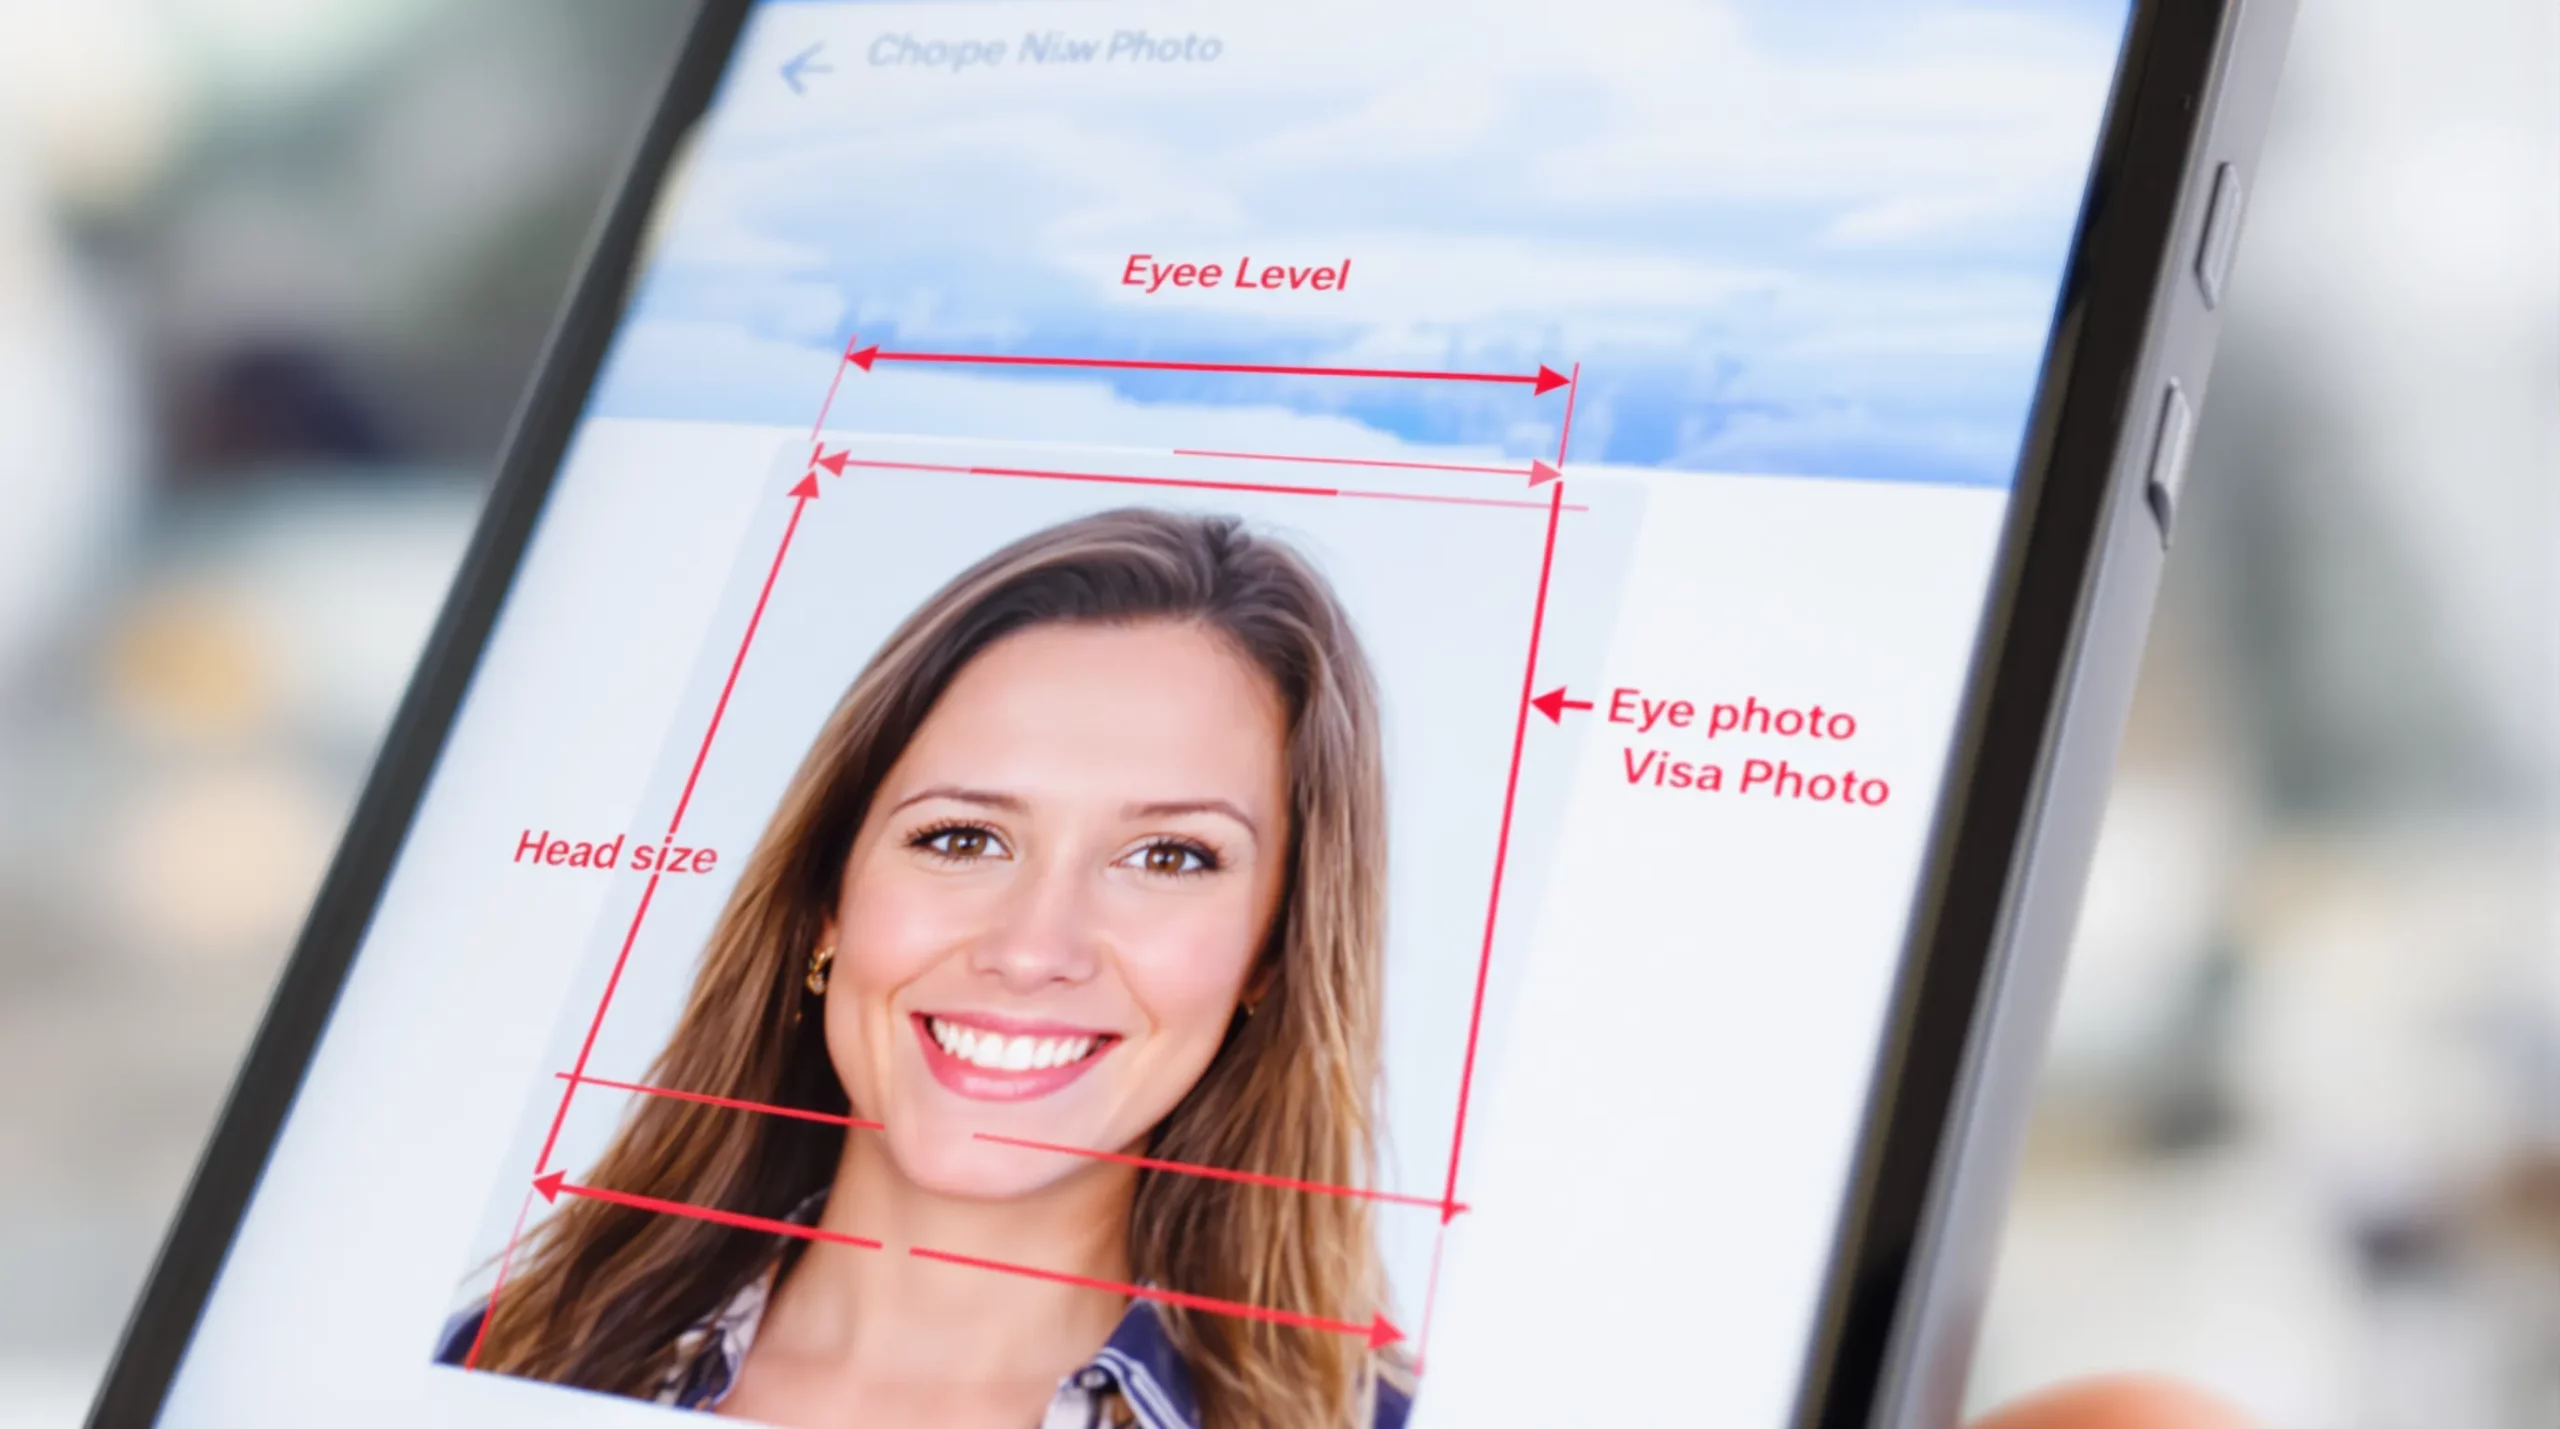
7. Crop and resize
Install a trusted visa-photo app (e.g., Passport Photo AI, IDPhoto4You) or use your phone’s editor:
- Select the best image.
- Crop to the required aspect ratio.
- Ensure eye level is between 55 % and 70 % of the image height.
- Reduce file size with minimal compression to stay under the KB limit while keeping clarity.
- Save as JPEG (PNG is sometimes accepted, but JPEG is universal).
8. Run a compliance check (optional but recommended)
Many government portals include a “Photo Validator.” Upload your image before submitting the rest of your application. If the site flags an error, adjust lighting, background, or crop and retest.
SimpleVisa’s white-label app automatically validates digital photos against each destination’s rules, sparing you manual retries.
9. Upload and store safely
- Use a secure network or VPN when submitting personal documents online. See our security tips in Electronic Visa Scams: How to Protect Yourself from Fraud.
- Keep a copy of the final JPEG in cloud storage and on your device in case you need to reapply or extend your visa later.
Common pitfalls and quick fixes
| Problem | Likely cause | Fix |
|---|---|---|
| Background looks grey or uneven | Mixed lighting or wall texture | Move to a smoother wall, adjust lamp distance, or use an app background eraser. |
| Face too dark on one side | Light coming from a single direction | Add a second light source or use a reflector (white cardboard) opposite the window. |
| Image rejected for file size | Photo exceeds KB limit | Re-export at 85 % JPEG quality or resize to recommended pixel dimensions. |
| Eyes obscured by glare | Glasses catching light | Tilt glasses slightly downward or remove them. |
Advanced tips for frequent travelers
- Buy a collapsible white backdrop. A foldable 60×80 cm reflector doubles as a photo background and fits in cabin luggage.
- Use grid lines on your phone camera to center your face precisely.
- Enable Pro/Manual mode. Lower ISO (100–200) and increase shutter speed slightly (1/125 – 1/200 s) to avoid motion blur.
- Invest in a ring light if you often apply for visas at night or in dim apartments.
What if your application still gets rejected?
If the photo is the only issue, most e-visa portals let you resubmit just the image at no extra charge. Refer to our guide Electronic Visa: Common Mistakes to Avoid When Applying for troubleshooting other documentation errors.
Frequently Asked Questions
Can I take a visa photo with the front (selfie) camera? Technically yes, but even flagship phones have lower-quality front sensors. Using the rear camera with help from a friend or tripod yields sharper results and fewer rejections.
Are smartphone portrait-mode photos acceptable? No. Portrait or “bokeh” modes blur the background artificially and often cut into hair or shoulders. Always shoot in normal photo mode with background blur disabled.
Can I wear wireless earbuds or jewelry? Remove earbuds. Small earrings are fine as long as they don’t cast shadows or obscure facial features.
Do kids and infants follow the same rules? Infants can have slightly relaxed rules (eyes may be closed), but background, lighting, and head orientation still matter. Lay the baby on a white sheet and shoot from above.
Ready to submit?
A compliant photo is just one piece of a smooth online visa journey. SimpleVisa’s platform walks you through every other requirement—forms, payments, status tracking—and even validates your image automatically. Save time, reduce stress, and keep travel plans on schedule by starting your application with SimpleVisa today.