How to Get Your Visa Online: A Quick Start Guide
Getting a visa used to mean embassy appointments, paper forms, and weeks of uncertainty. Today, many destinations let you apply online in minutes, as long as you choose the right travel authorization and submit clean, consistent information.
This quick start guide walks you through how to get your visa online, from figuring out what you actually need (visa vs eVisa vs eTA/ETA) to submitting your application safely and preparing for border control.
Step 1: Confirm what you need (visa-free, eVisa, eTA/ETA, or consular visa)
Before you fill out anything, identify the correct entry requirement for your:
- Nationality (the passport you will travel on)
- Destination country
- Purpose of trip (tourism, business, transit, work, study)
- Length of stay and number of entries
Most “online visas” fall into two buckets:
- eVisa (electronic visa): A visa issued digitally after an online application and review.
- eTA/ETA (electronic travel authorization): A lighter pre-travel authorization, usually for visa-exempt travelers.
Some countries still require a consular visa (in-person appointment or a passport submission), even if parts of the process start online.
A good way to avoid applying for the wrong thing is to cross-check official guidance for your destination:
- U.S. ESTA: U.S. Customs and Border Protection ESTA
- UK entry permissions including ETA: UK Government immigration and travel
- EU ETIAS (when applicable): Official ETIAS site
If you want a faster overview first, SimpleVisa also maintains a plain-language guide to the categories travelers commonly confuse: eVisa vs eTA differences.
| Document type | Typical who/why | Where you apply | What you receive | Common pitfalls |
|---|---|---|---|---|
| Visa-free entry | Short stays for eligible passports | No application | Nothing (entry decision at border) | Assuming visa-free also means “no rules” (passport validity, onward travel) |
| eTA/ETA | Visa-exempt travelers pre-cleared before travel | Usually an official government portal or app | Digital authorization linked to passport | Using the wrong passport, last-minute applications |
| eVisa | Travelers who need a visa but can apply fully online | Official portal or authorized provider | PDF/approval letter or visa record | Wrong visa type, mismatched details, incorrect photo formats |
| Consular visa | Longer stays or higher scrutiny categories | Embassy/consulate workflow (often starts online) | Visa sticker/foil or stamped passport | Underestimating timelines, missing appointments, incomplete supporting docs |
Step 2: Do a 10-minute “pre-flight check” before you apply
Most online visa delays come from preventable issues: expired passports, inconsistent answers, or document uploads that fail technical rules.
Before you start your application, prepare:
- Passport that meets the destination’s validity rules (many countries require validity beyond your arrival date)
- A digital passport-style photo that meets the size and background requirements
- Travel details (arrival date, where you will stay, sometimes a point of contact)
- Payment method that works for international transactions (and supports 3-D Secure if required)
- An email address you will check for status updates and document requests
If you want a comprehensive document checklist (especially useful for families, business trips, or multi-country itineraries), use this internal resource: Checklist: Everything You Need Before Submitting an Online Visa Application.
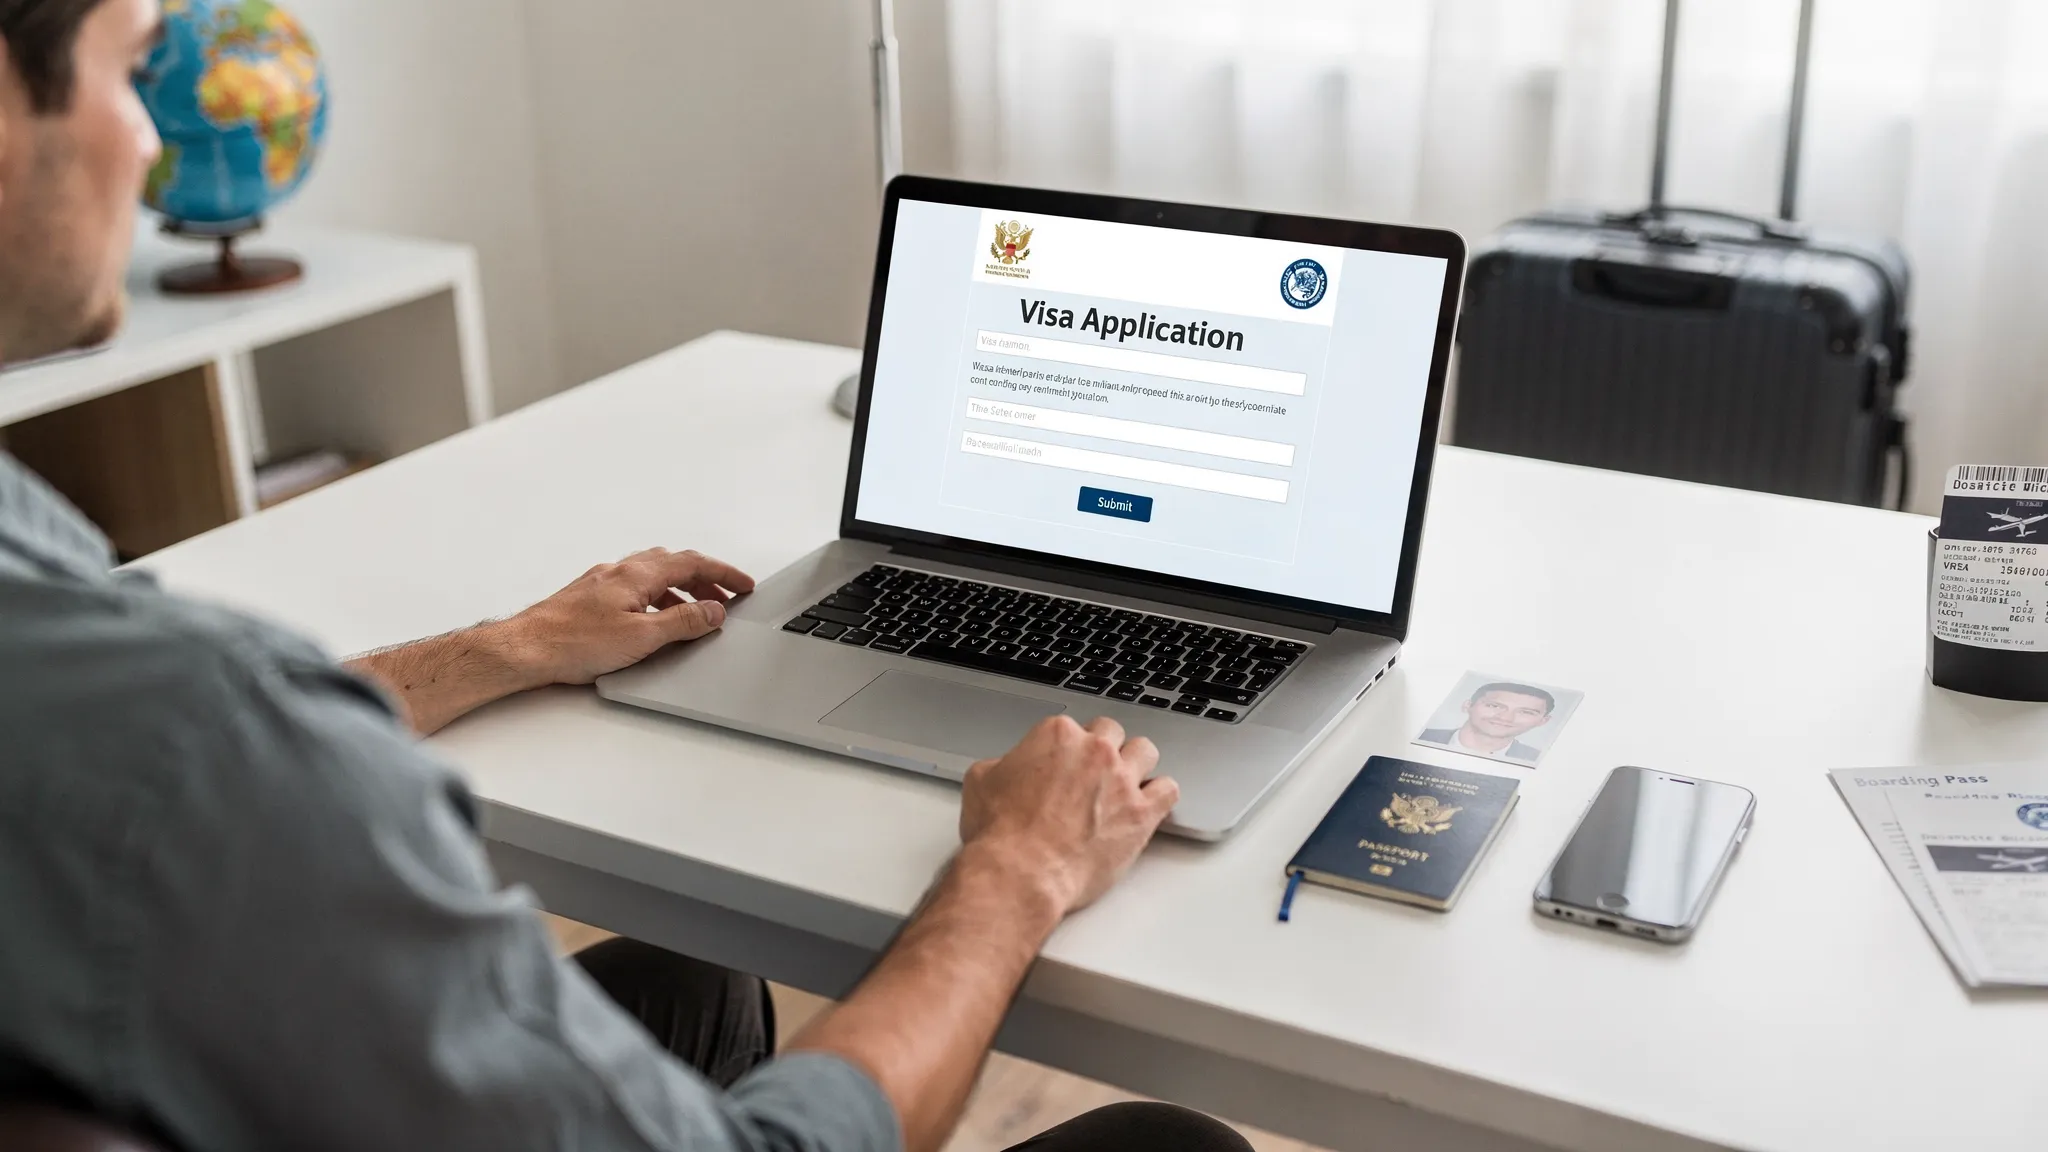
Step 3: Apply online (the safe, repeatable process)
Even though every country’s portal looks different, the successful workflow is usually the same.
1) Use the right website (and avoid lookalikes)
Start from an official government page when possible. If you use a third-party service, confirm it is reputable and transparent about fees and support.
A practical safety framework is:
- Verify the domain carefully (many scams use near-identical spellings)
- Avoid links from ads or unsolicited emails
- Look for clear fee disclosures and support channels
For more on this, see: Travel Visa Online: How to Apply Safely.
2) Choose the correct authorization and trip purpose
This is where many applications go wrong. Your declared purpose must match your itinerary and documents.
Examples:
- Tourism usually differs from business meetings.
- Paid work, internships, or long-term study typically require a different visa class than an eVisa.
If your situation is not straightforward (dual citizenship, previous refusals, complex travel history), slow down here. Applying for the wrong category can lead to refusal and repeated fees.
3) Fill out the form exactly as your passport shows
Use your passport as the source of truth. Small formatting errors can matter, especially:
- Name order and spacing
- Passport number (letters vs numbers)
- Birth city names or diacritics
- Issue and expiry dates
A good habit is to re-check every field against your passport before moving to the next page.
4) Upload documents that meet technical specs
Many online visa systems reject files automatically if:
- The image is blurry or cropped
- The file size exceeds the limit
- The format is unsupported (for example, HEIC instead of JPG)
If the portal provides photo rules, follow them precisely. If it offers a preview tool, use it.
5) Pay the fee, save proof, and submit
After payment, you should usually receive:
- A confirmation page
n- A reference number - An email receipt
Save these immediately. If anything goes wrong later, the reference number is how support teams and issuing authorities find your file.
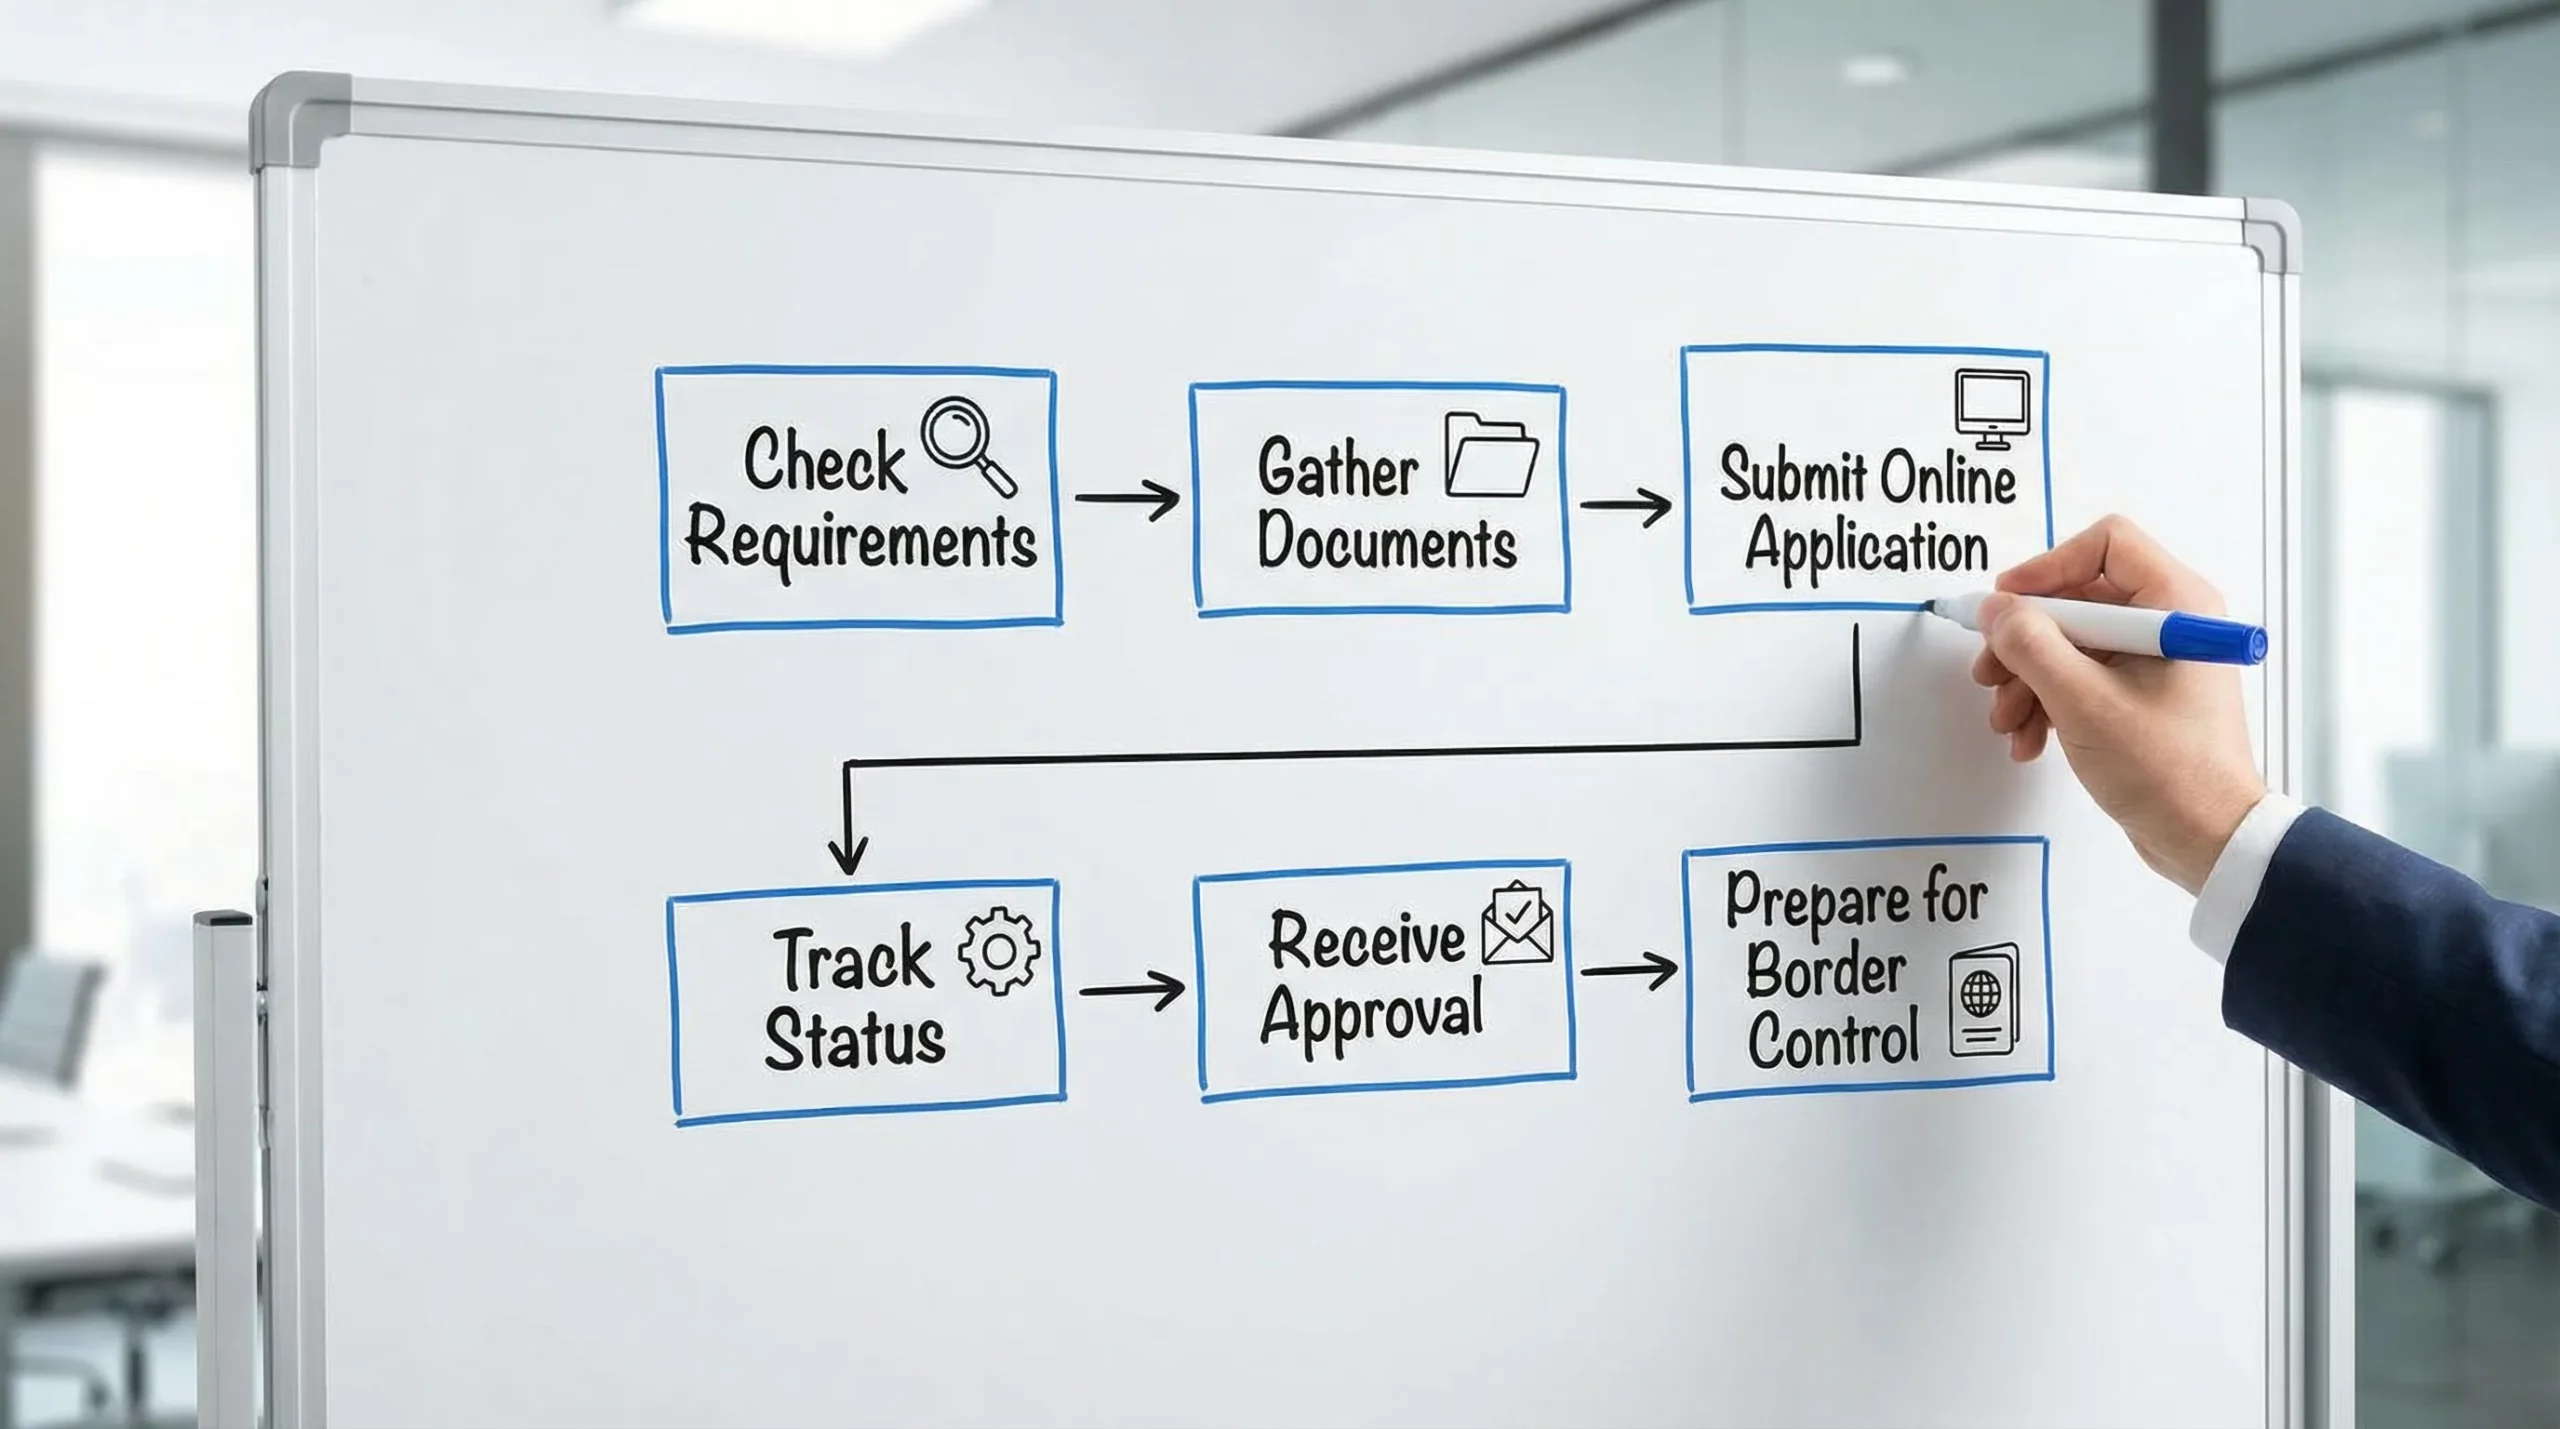
Step 4: Track your application and respond quickly to requests
Online visas are often fast, but “fast” depends on:
- Destination processing capacity
- Seasonal demand
- Additional screening
- Whether you get a request for more information
Treat follow-up emails as time-sensitive. If an authority requests clarification or a replacement upload, delays are frequently caused by slow responses or resubmitting the wrong file again.
If your application includes a tracking page, bookmark it and check status from the same account you used to apply.
Step 5: After approval, do these checks before you fly
Approval is not the finish line. Most problems at the airport happen because travelers do not verify the approval details.
Verify the visa matches your passport
Confirm:
- Full name and passport number
- Validity dates
- Number of entries
- Maximum stay duration
- Any purpose restrictions
If anything is wrong, address it immediately. Some destinations require a correction or a new application.
Save online and offline copies
Even when an eVisa is digitally linked to your passport, you should keep:
- A PDF copy on your phone
- A backup in email or cloud storage
- A printed copy when recommended (some carriers and border posts still request it)
SimpleVisa has a destination-agnostic explainer on this exact question: Do you need to print an electronic visa?
Prepare for border questions
A visa or authorization does not eliminate normal border control checks. Be ready to show:
- Proof of onward travel
- Accommodation details
- Proof of funds (in some cases)
- Travel insurance (if required)
Step 6: Common reasons online visa applications fail (and how to avoid them)
Online visa refusals are often caused by consistency, not complexity.
Mismatched information
If your employment dates, purpose of trip, or identity details conflict across documents and form answers, that can trigger manual review or refusal.
Photo and document quality
Low-quality uploads are a surprisingly frequent failure point. If you scan a passport page, ensure:
- All corners are visible
- No glare or shadows
- The machine-readable zone (the two lines at the bottom) is crisp
Applying too late
Some authorizations can be approved quickly, but you should not depend on same-day outcomes.
If you are planning travel soon, SimpleVisa also publishes timing guidance you can use as a baseline: When should I apply for an e-visa?.
Scam sites and fake “urgent processing”
If a site:
- Looks unofficial, but claims “government affiliated”
- Pressures you with countdown timers
- Hides fees until checkout
- Uses vague contact details
Treat that as a red flag.
If you want a deeper threat model, see: Electronic Visa Scams: How to Protect Yourself from Fraud.
Where SimpleVisa fits (and when it can help)
Many travelers apply directly through government portals. But travel brands increasingly embed visa guidance and applications directly in booking and post-booking flows so travelers do not have to research requirements from scratch.
SimpleVisa provides tools that help travel businesses offer online visa applications and guidance through:
- API integration for travel sites
- A white-label visa application app
- No-code implementation options
- Guided customer visa applications and premium eVisa management
If your airline, OTA, cruise line, or travel agency partners with SimpleVisa, you may see visa eligibility checks and application steps presented inside the booking journey.
For travel operators evaluating whether to embed visa services, start with: What Is Travel Document Automation? Definitions, Benefits, and Myths.
Quick recap: the fastest path to getting your visa online
If you only remember five things, make them these:
- Confirm the exact entry requirement for your passport and purpose of travel.
- Apply on the official portal (or a trusted provider) and avoid lookalike sites.
- Copy passport details precisely and keep answers consistent.
- Upload compliant documents (format, size, clarity).
- Verify approval details, save backups, and prepare basic border proofs.
If you are a travel business looking to reduce booking friction and support tickets while adding ancillary revenue, explore SimpleVisa’s integration options at SimpleVisa.