Get on Your Visa Timeline: A Simple Planning Checklist
Most travel problems don’t start at the airport, they start with a missed deadline.
A visa (or digital travel authorization) can be straightforward when you have time, but stressful when you don’t. The fix is simple: stop thinking “I’ll apply soon” and start working backward from your departure date.
This checklist helps you get on your visa timeline with a practical, back-planned schedule you can reuse for almost any trip.
First, define what “your visa timeline” actually includes
When people say “visa timeline,” they often mean only the government’s stated processing time. In real travel planning, your timeline is bigger than that.
A complete visa timeline includes:
- Eligibility confirmation (do you need a visa, eVisa, eTA, ETA, or nothing at all?)
- Document readiness time (scans, photos, bank statements, invitations, translations)
- Submission window rules (some visas cannot be applied for too early)
- Appointments (biometrics, interviews, in-person document drop-off)
- Back-and-forth time (requests for more info, corrections, resubmissions)
- Your buffer (for peak season, technical issues, payment problems)
If you plan for the full timeline, you reduce the risk of denied boarding, canceled trips, or expensive last-minute changes.
Step 1 (today): Confirm entry requirements with the right inputs
Before you gather documents or guess at timelines, validate the basics. Entry rules depend on your passport, your destination(s), transit points, purpose, and length of stay.
A fast way to sanity-check requirements is to use trusted sources such as your destination’s immigration authority or an industry database like the IATA Travel Centre (useful for destination and transit checks).
Don’t forget these “timeline killers”
These issues routinely add weeks to a plan:
- Passport validity: many countries require your passport to be valid for months beyond arrival or departure.
- Transit requirements: you might not need a visa for your destination but still need one to transit.
- Multiple destinations: the earliest deadline can be driven by just one country on your itinerary.
- Name mismatches: if your booking name, passport MRZ line, and application data differ, you risk delays or refusals.
If you’re a travel business (OTA, airline, agency), this is the moment where automated checks pay off: surfacing requirements early prevents abandonment later.
Step 2: Pick the right planning window (a realistic rule of thumb)
Visa types vary, and so do their lead times. Use the table below as a planning baseline, then confirm your destination’s official guidance.
| Travel document type | What it usually involves | When to start planning (recommended) | Common “gotchas” |
|---|---|---|---|
| Visa-free travel (no pre-approval) | Entry on passport only | 1–2 months before departure | Passport validity, onward travel proof, entry limits |
| eTA / ETA-style authorization | Short online form, fast decision in many cases | 3–6 weeks before departure | Passport changes, eligibility questions, name mismatches |
| eVisa (fully online visa) | Online form + uploads + fee | 6–10 weeks before departure | Photo/scan quality, document formats, peak-season queues |
| Consular/embassy visa | Longer form, appointment, biometrics/interview | 3–5 months before departure | Appointment scarcity, extra documents, local processing delays |
These ranges exist because official “processing time” is only part of the calendar. The hidden variable is usually how quickly you can produce compliant documents.
Step 3: Back-plan your checklist from your departure date
Use this simple schedule and adjust it to your destination’s rules.
12–16 weeks before departure (or earlier for consular visas)
Lock in the fundamentals:
- Confirm whether you need a visa, eVisa, eTA/ETA, or visa-free entry.
- Verify passport validity and plan renewal if needed.
- If appointments are required, check availability now (you are not booking yet in every case, but you’re learning the bottleneck).
- List required documents and note which ones take time (bank letters, employer letters, invitations, translations).
8–10 weeks before departure
Make your application “upload-ready,” not just “prepared.” That means everything is in the correct format, size, and naming convention.
Focus on:
- A high-quality passport scan (all edges visible, no glare, correct orientation)
- A compliant photo (correct background, dimensions, file type)
- Proof documents that match your declared itinerary (dates, addresses, host details)
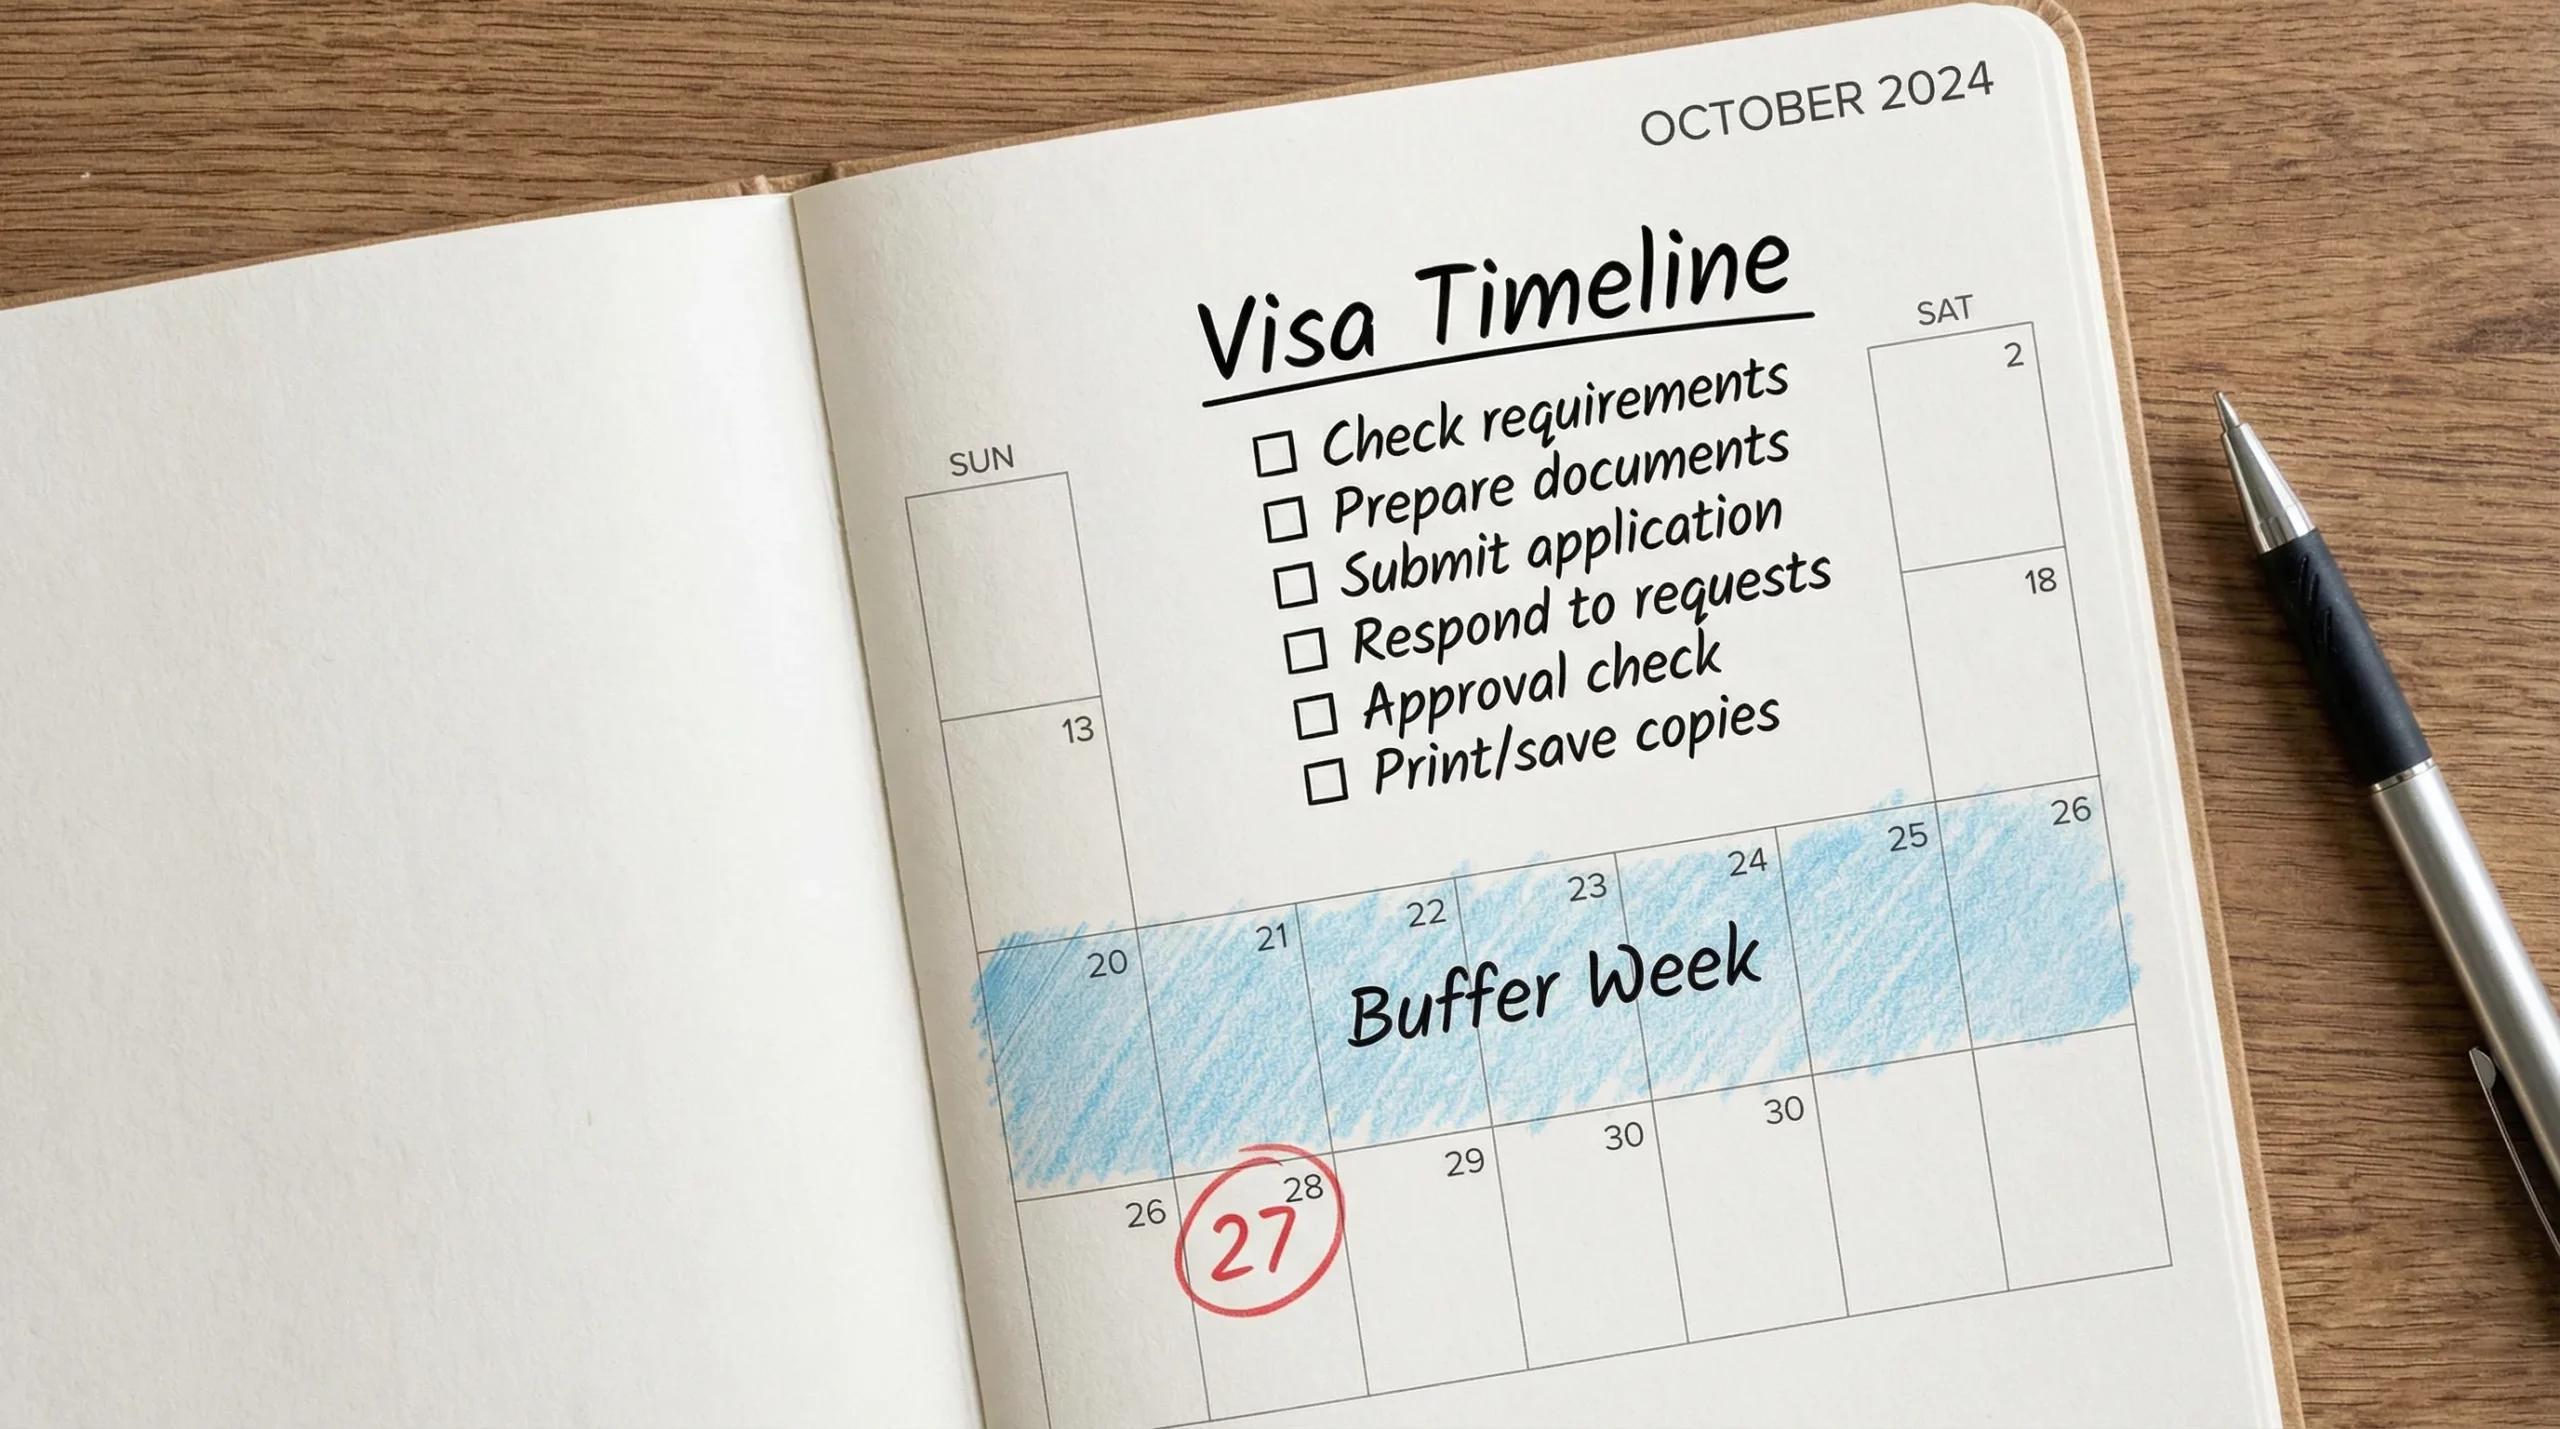
If you like visual planning, consider making your timeline hard to ignore. Some travelers print a simple checklist or a destination map near their desk as a reminder. If that helps you stay organized, you can find travel-themed wall prints and map-style posters at dreamprint.art.
6–8 weeks before departure
This is the best moment for many online visas and travel authorizations: early enough to handle corrections, late enough to stay within typical submission windows.
- Complete the application carefully (copy names exactly as in the passport).
- Pay through a secure method and save the confirmation.
- Screenshot or export your reference number.
Tip: Use one consistent “source of truth” file (a note or document) for your exact travel dates, addresses, and employer details so you don’t introduce inconsistencies across fields.
4–6 weeks before departure
Manage the post-submission phase.
- Check email filters and spam folders for official messages.
- Respond quickly to requests for additional documents.
- Keep copies of what you submitted and when.
If you’re traveling with others (family, group, corporate travelers), create a shared tracker so one missing document doesn’t hold up everyone’s plan.
2–3 weeks before departure
Do an “approval and border-proofing” review.
- Verify approval details: name, passport number, validity dates, number of entries.
- Save the approval in at least two places (phone + cloud, or phone + email).
- Print a copy if the destination, airline, or local infrastructure makes that wise.
72 hours to 1 week before departure
Switch from “application mode” to “travel mode.”
- Re-check any new entry updates for your destination and transit points.
- Ensure your passport hasn’t been replaced since applying (a common cause of authorization issues).
- Confirm your accommodation details match what you stated, especially if asked for a first-night address.
Day of travel
Have a simple “border kit” ready.
- Passport
- Visa/eVisa approval or travel authorization reference
- Onward ticket
- Accommodation confirmation
- Proof of funds (if relevant)
Many border checks are fast, but when they aren’t, having your documents accessible prevents unnecessary delays.
Step 4: Add a buffer week, then protect it
A buffer is not optional planning fluff, it is the part of the timeline that absorbs reality.
Common events that consume buffer time include:
- Photo rejection due to format or background
- Payment failures (especially cross-border card issues)
- Requests for additional documents
- Site downtime or file upload limits
- Peak season backlogs
A good default is one full week of buffer for online visas/authorizations, and several weeks for appointment-based visas.
Step 5: Know what to do if you’re already late
If your departure date is close and you are not approved yet, you still have options. The right move depends on your destination and visa type, but in practice, these are the usual paths:
Option A: Use expedited processing (when available)
Some destinations offer priority lanes, premium processing, or faster appointment options. Confirm this only through official channels or a trusted provider.
Option B: Adjust the itinerary to buy time
Sometimes a small change saves the trip:
- Depart one week later
- Add a first stop in a country you can enter visa-free (if it fits your plan)
- Avoid high-friction transit routes
Option C: Don’t gamble with incomplete documentation
Submitting a rushed, error-filled application often costs more time than it saves. If you must submit late, prioritize correctness, document quality, and consistency.
For travel companies: turn this checklist into a better customer journey
If you manage bookings for customers, “visa timeline” issues show up as:
- last-minute support tickets
- abandoned bookings
- denied boardings and re-accommodation costs
- reputational damage when the traveler blames the brand
SimpleVisa is built for travel businesses that want to streamline visa and border-requirement steps without forcing travelers to leave the booking experience. Depending on your model, you can implement visa guidance and processing through an API integration, a white-label visa application app, or custom data services. (If you want an example of what this looks like operationally, start at the SimpleVisa homepage: simplevisa.com.)
The biggest win is not just selling a visa product, it’s keeping customers on a predictable timeline so the trip stays intact.
Your simple planning checklist (copy this into your notes)
Use this as a quick “did I cover everything?” scan.
- Confirm entry requirements for destination and transit
- Check passport validity and name consistency
- Identify the bottleneck (documents vs appointments vs processing)
- Back-plan from departure date and add buffer time
- Prepare compliant scans and photos (upload-ready)
- Submit within the allowed window
- Monitor messages and respond quickly to requests
- Verify approval details and store copies safely
- Do a final pre-departure check for changes and passport status
When your visa timeline is clear, the rest of travel planning feels simple again.