Your More Complete Visa Checklist for Smooth Approval
Visa applications rarely fail because of one big mistake. Most refusals, delays, and “please resubmit” messages happen because of a few small gaps that add up: a passport scan that’s slightly cropped, a hotel address that doesn’t match your itinerary, a photo that doesn’t meet pixel requirements, or a travel purpose that’s unclear.
This guide gives you a more complete visa checklist designed for smooth approval, whether you’re applying for an eVisa, an ETA-style authorization, or a traditional visa. It also includes practical “consistency checks” that most checklists skip.
1) Confirm you’re applying for the right travel document
Before you upload anything, confirm what the destination actually requires for your nationality, your trip purpose, and your length of stay. Many travelers lose time (and fees) by applying for the wrong document.
At a minimum, verify:
- Document type: visa vs eVisa vs eTA/authorization
- Purpose: tourism, business, transit, study, journalism, medical, crew, etc.
- Entries: single vs multiple entry
- Validity vs allowed stay: these are not the same
- Passport requirements: minimum validity, blank pages (for sticker visas), machine-readable or biometric passport rules
If you’re traveling to Europe under visa-exempt rules, keep an eye on official ETIAS updates via the European Union’s ETIAS page. For U.S. visa waiver travel, review guidance on the official DHS ESTA site.
2) Create your “source of truth” to prevent inconsistencies
A high percentage of visa problems come down to inconsistent data across fields and documents. Before you start the application, write your key details in one place and copy from that.
Your source of truth should include:
- Full name exactly as shown in passport (including middle names)
- Passport number, issue date, expiry date, issuing authority
- Date and place of birth (exact spelling)
- Current address (format it consistently)
- Phone number and email you will keep active
- Employer/school name, address, role, start date (as applicable)
- Prior travel details (recent countries visited, prior visas, prior refusals if asked)
Consistency rule: If your passport shows “Given name: Mary Ann” do not split it differently in forms unless the form explicitly instructs you to.
3) Passport readiness (the real checklist)
Your passport is the anchor document. Make sure it clears these checks:
- Validity buffer: meet the destination’s minimum validity rule (often 3 to 6 months beyond arrival or departure)
- Condition: no torn pages, water damage, or unreadable MRZ (machine-readable zone)
- Scan quality: full page visible, no glare, no cut corners, high resolution
- Correct passport used: if you have dual citizenship, confirm which passport you will travel on and apply with that one
If you’re unsure how dual citizenship affects eVisas, see SimpleVisa’s guide on applying with dual citizenship.
4) Photo compliance (don’t assume “passport-style” is enough)
Different countries define photo rules differently, especially for online applications.
Check these photo specs on the official instructions for your destination:
- Background color (often white or light)
- Size and aspect ratio (pixels and file size limits)
- Head position and face coverage rules
- Glasses rules and shadow rules
- Recency requirement (for example, taken within the last 6 months)
Practical tip: If the portal provides a preview or “photo checker,” use it. If not, treat the photo as a top risk item and redo it if you have doubts.
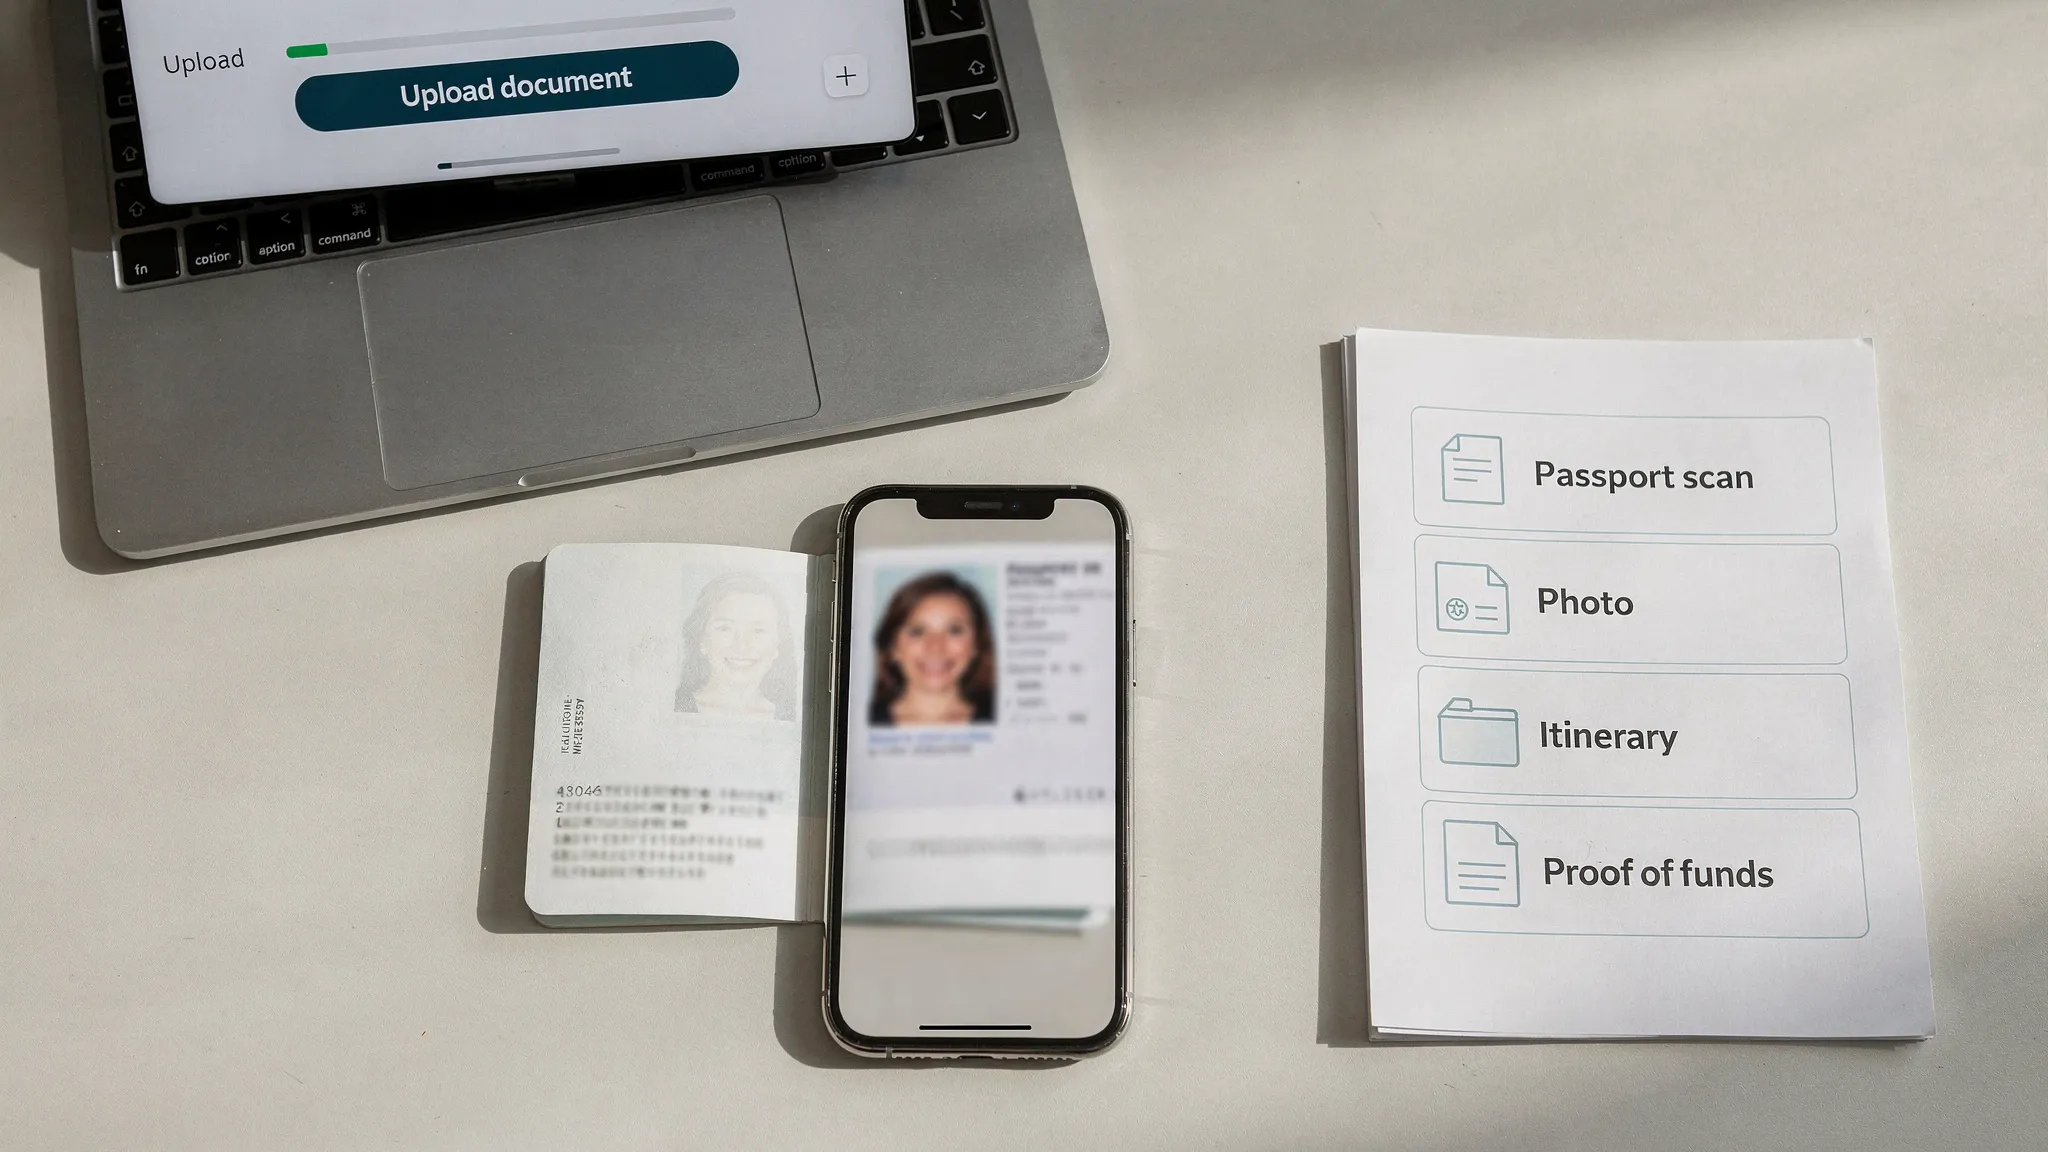
5) Your supporting documents, grouped by what they prove
Instead of collecting documents randomly, group them by the “claim” they support. This makes it easier to spot gaps.
Identity and eligibility
These documents prove you are who you say you are and that you qualify.
- Passport bio page scan
- Additional ID (if required): national ID, residence permit, or previous passport
- Prior visas and entry stamps (only when requested)
Travel plan credibility
These documents show your trip is coherent.
- Itinerary (cities and dates)
- Accommodation proof (hotel booking, lease, or host details)
- Onward/return proof (if required)
Financial ability
These documents show you can fund the trip.
- Bank statements (recent period specified by the destination)
- Payslips or proof of income (if applicable)
- Sponsor letter and sponsor bank proof (if applicable)
Purpose-specific proof
These documents justify the purpose you selected.
| Travel purpose | Common supporting proof (varies by country) | Common consistency check |
|---|---|---|
| Tourism | Itinerary, accommodation, sometimes proof of funds | Dates match entries you request |
| Business | Invitation letter, host company details, event registration | Employer and role match your profile |
| Visiting family/friends | Invitation letter, host ID/residency proof, address | Host address matches accommodation field |
| Transit | Onward ticket, visa for next destination (if needed) | Connection times and airports align |
If you’re applying for a UK ETA, SimpleVisa’s document-focused guide can help you sanity-check your pack: What documents do you need for a UK ETA?
6) Digital readiness (the checklist most people skip)
Online visa systems reject files for surprisingly small reasons. Before you upload:
- Confirm accepted file formats (PDF/JPG/PNG) and maximum size per file
- Use clear filenames (example:
Passport_BioPage_LastName.pdf) - Avoid password-protected PDFs unless explicitly allowed
- Ensure scans are not blurry, overexposed, or cropped
- Keep a secure backup folder (cloud plus offline)
Security basics matter too, because visa applications contain sensitive identity data. Use the same safe habits you would for online banking. SimpleVisa’s online visa safety guide is a good reference if you’re worried about fraud or lookalike websites.
7) Timing: back-plan from departure, not from “today”
Processing times vary by destination, season, and applicant profile. A “smooth approval” plan includes buffer time for:
- Document re-uploads
- Requests for additional information
- Payment retries (cards sometimes fail international merchants)
- Weekends and local holidays
Here’s a practical timing template you can adapt:
| When | What to do | Why it matters |
|---|---|---|
| 6 to 10 weeks before departure | Confirm requirements and gather documents | Prevent last-minute missing items |
| 4 to 8 weeks before | Submit application (or earlier if consular) | Leaves room for follow-ups |
| 2 to 4 weeks before | Monitor status and respond fast to requests | Small delays can compound |
| 72 hours to 7 days before | Download final approval, print if advised, check details | Avoid airport and border surprises |
For destination-specific timing considerations, SimpleVisa also shares guidance on when you should apply for an electronic visa.
8) The “smooth approval” pre-submission audit (60 seconds)
Before you click submit, run this quick audit. It catches the issues that most often trigger delays.
- Names and passport number: match the passport exactly
- Dates: arrival and departure match itinerary and accommodation
- Purpose: selected purpose matches your supporting documents
- Uploads: every required document is attached, readable, and complete
- Contact info: email is correct and accessible (check spam filtering)
- Declarations: you answered background/security questions truthfully and consistently
If something looks ambiguous, fix it now. Many systems treat a submitted application as final and only allow corrections by reapplying.
9) After submission: what to save and what to watch for
Approval doesn’t end at submission. A smooth outcome depends on what you do next.
Save:
- Payment receipt and reference number
- A PDF copy or screenshots of your submitted answers (if allowed)
- The decision letter or grant notice
Watch for:
- Requests for more documents (respond quickly)
- Status changes that require action
- Passport changes (a new passport can invalidate an authorization linked to the old one)
On the travel day, follow destination guidance on whether to carry a printed copy. If you’re unsure, bring a printout anyway, especially for multi-leg itineraries. SimpleVisa explains the tradeoffs in Do you need to print an electronic visa?.
10) If you’re a travel business: turn this checklist into a conversion and compliance flow
For airlines, OTAs, tour operators, cruise brands, and TMCs, a “visa checklist” is more than content. It can be embedded into the booking or post-booking journey to reduce denied boarding risk and improve customer experience.
SimpleVisa is built for travel businesses that want to streamline border requirements and visa processing through:
- Visa processing automation with guided customer applications
- API integration into booking flows
- A white-label visa application app for fast go-live
- Custom data services for requirements and eligibility
- Options for no-code implementation
If you’re designing an in-flow experience, you may also like SimpleVisa’s guide to building a seamless post-booking visa journey.

Frequently Asked Questions
What’s the most common reason visas get delayed or refused? In many online visa workflows, the most common issues are mismatched information (names, dates, passport numbers) and non-compliant uploads (photos/scans that don’t meet specs).
Is an eVisa the same as an ETA (or travel authorization)? Not always. An eVisa is generally a visa issued digitally, while an ETA-style authorization is often for visa-exempt travelers and may have different rules, validity, and permitted activities.
Should I book flights before my visa is approved? It depends on the country and the visa type. Some destinations request proof of onward travel, while others warn against non-refundable bookings. Follow the destination’s official instructions.
Do I need to print my eVisa? Some borders accept digital display, others strongly recommend a printout, and airline check-in agents may ask for paper in edge cases. When in doubt, carry a printed copy.
What if my passport expires soon but my trip is close? Renewing your passport first is usually safer, because many visas and authorizations are tied to a passport number. Always check the destination’s minimum passport validity rule.
How early should I apply for an online visa? Many travelers apply 4 to 8 weeks ahead to allow buffer time, but the right window depends on processing times, seasonality, and whether your case is straightforward.
Need a smoother visa experience for your customers?
If you’re a travel brand and want to convert this checklist into an in-flow visa product, SimpleVisa helps you integrate visa processing through an API, a white-label app, or a no-code option.
Explore SimpleVisa at simplevisa.com or request a partner demo through the site to see what integration could look like for your booking journey.