How to Get Visa Faster: A Step-by-Step Checklist

Getting a visa quickly is rarely about “finding a hack.” It’s about removing the avoidable delays that slow applications down: wrong visa type, incomplete uploads, inconsistent answers, missed follow-up emails, and last-minute biometrics or interview scheduling.
Below is a practical, step-by-step checklist you can use to get visa approval faster (or, just as importantly, to avoid losing time to preventable back-and-forth).
Step 0: Confirm what you actually need (visa vs eVisa vs eTA)
The fastest application is the one you don’t need to file.
Before you fill in anything, confirm whether your trip requires:
- Visa-free entry (no application)
- eTA/ETA travel authorization (often faster, lighter documentation)
- eVisa (online visa application, usually no embassy visit)
- Consular/embassy visa (often the slowest path because it may require biometrics and an interview)
Use the destination’s official immigration or consular website (and not a lookalike “visa portal”) to verify requirements and where to apply.
Tip: If you are traveling to the U.S. under ESTA, U.S. Customs and Border Protection advises submitting the application at least 72 hours before travel (even though many approvals are faster). See the official ESTA guidance from CBP.
Step 1: Pick the fastest legitimate application channel
Once you know what document you need, choose the channel that minimizes handoffs.
In general, speed tends to follow this pattern (not always, but often):
| Option | Typical speed potential | Common reasons it’s slower than expected |
|---|---|---|
| eTA/ETA | Very fast | Passport mismatch, security checks, payment issues |
| eVisa | Fast to medium | Photo format errors, unclear scans, missing attachments |
| Consular visa | Medium to slow | Appointment availability, biometrics, interview scheduling |
If your destination offers both an eVisa and a consular visa for your purpose, the eVisa route is often faster because it reduces manual steps. That said, some trips (work, study, long stays) still require consular processing.
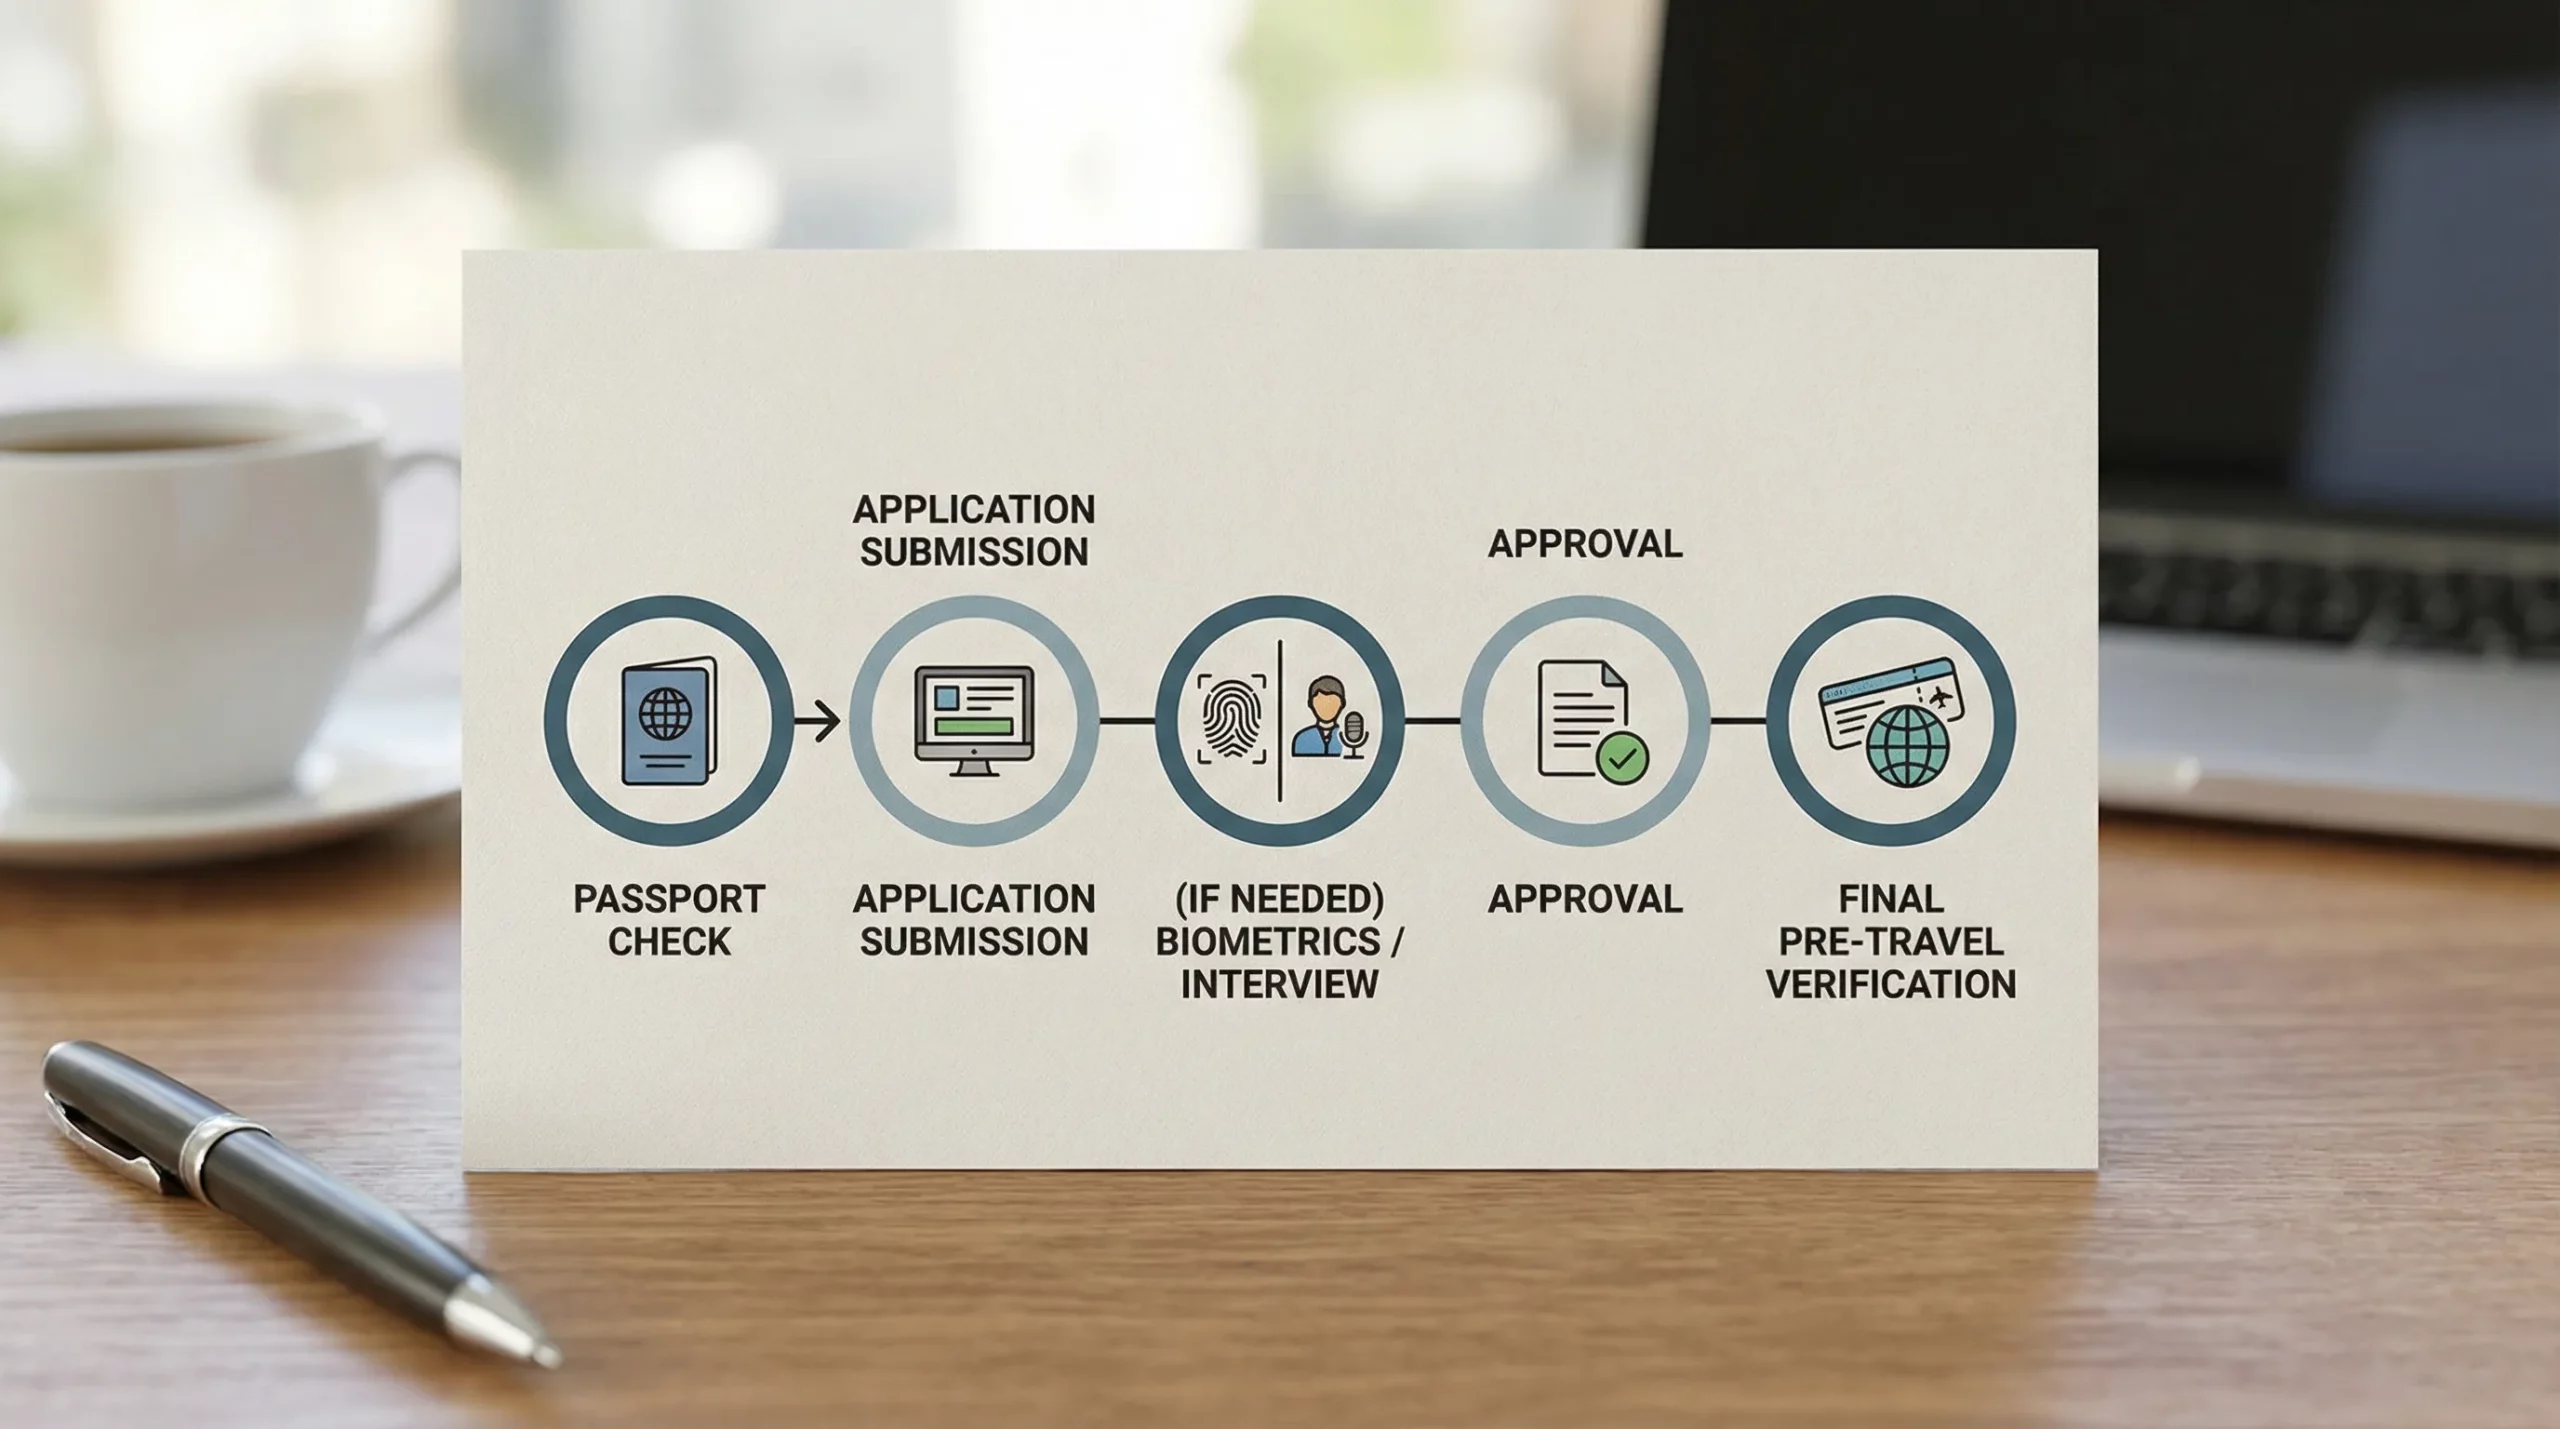
Step 2: Build a “back-planned” timeline (so you don’t get trapped by appointments)
Many travelers underestimate the non-processing parts: appointment lead times, document collection, and follow-up requests.
Use this simple back-planning template and adjust based on your destination:
| Milestone | When to target it | What can break the timeline |
|---|---|---|
| Passport validity check + renewal decision | 8 to 12+ weeks before travel | Renewal processing time, name changes |
| Document gathering (proof of funds, itinerary, letters) | 6 to 10 weeks | Employer letters, bank statements, translations |
| Application submission | 4 to 8 weeks | Waiting for “one last document,” photo rework |
| Biometrics/interview scheduled (if required) | ASAP after submission | Limited appointment slots, reschedules |
| Final verification + backups for travel | 1 to 2 weeks | Visa issued with errors, missing attachment at check-in |
If you are inside a tight window (for example, travel in under two weeks), your best “speed lever” is usually choosing a digital authorization (eTA/eVisa) if eligible, or using official expedited processing where available.
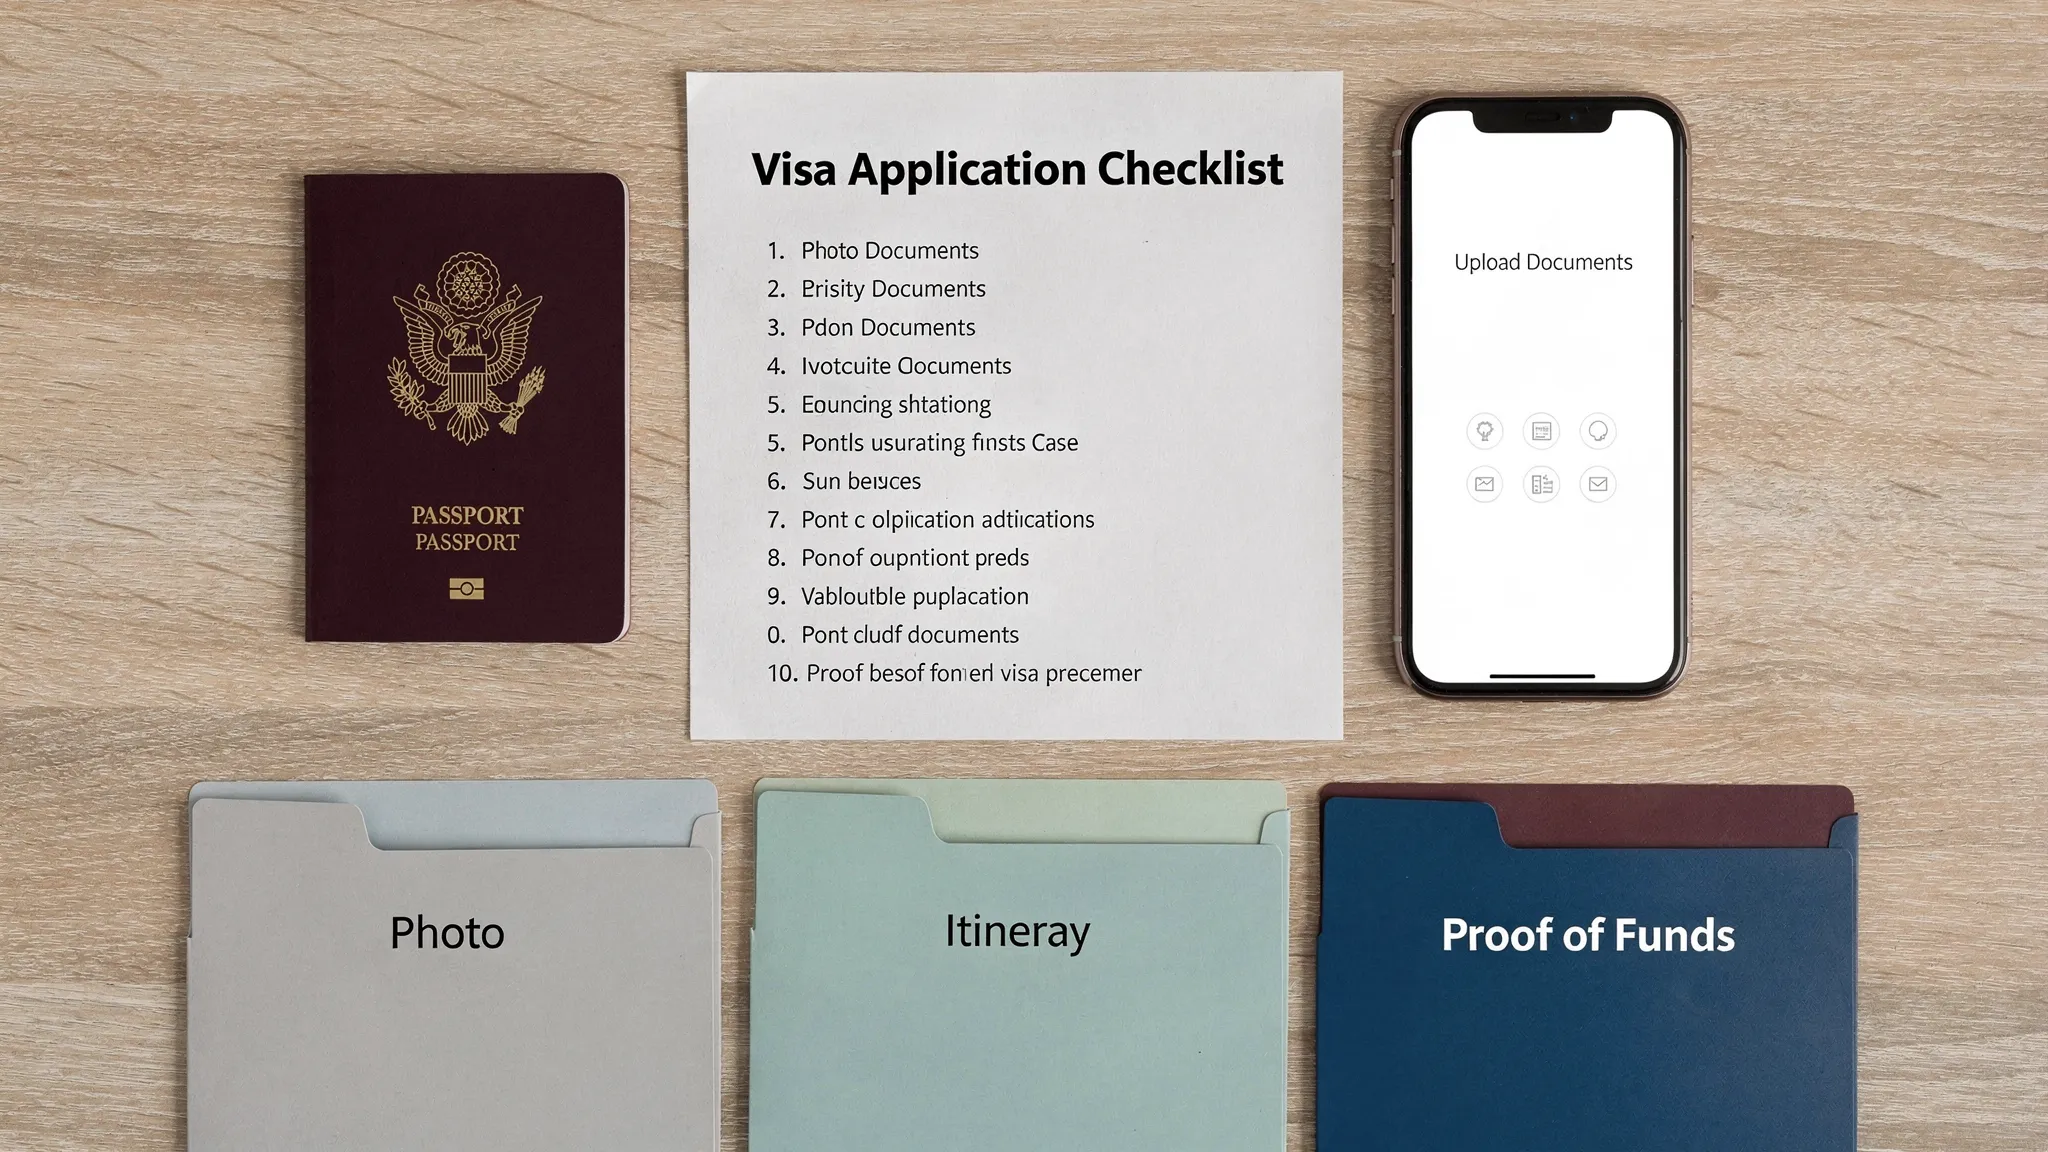
Step 3: Prepare your documents to pass on the first upload
This is where most “fast” applications become slow. Immigration systems (and officers) commonly pause applications for:
- Unreadable scans
- Photos that don’t meet specs
- Documents uploaded in the wrong field
- Missing pages (passport bio page only, no signature page if required)
- Mismatched names, dates, or passport numbers across documents
Your fast-track document checklist
Aim to have these ready before you open the form:
| Document | Fast-track standard | What to double-check |
|---|---|---|
| Passport | Clear scan/photo of the bio page | Expiration date, passport number, MRZ readability |
| Photo | Fresh, compliant digital photo | Size, background, glare, cropping |
| Itinerary | Simple, consistent dates | Dates match application entries |
| Accommodation | Booking or host details | City and address match itinerary |
| Proof of funds | Recent statements or sponsor proof | Name matches passport, currency/date visibility |
| Purpose proof (if applicable) | Invitation letter, enrollment letter, etc. | Dates, organization details, signature requirements |
If you need a U.S.-style visa photo, the U.S. Department of State photo requirements are a good example of how strict photo rules can be.
Step 4: Fill the application like an auditor will read it
Speed comes from consistency.
Before you hit submit, do an “audit pass” focused on the fields that most often trigger delays:
- Name formatting: exactly as shown in the passport (including middle names if required)
- Passport details: number, issue date, expiry date, issuing authority
- Travel dates: consistent everywhere (itinerary, accommodation, employer letter)
- Address and employment history: no gaps, no conflicting dates
- Purpose of travel: aligned with the visa category (tourism vs business vs study)
A good rule: if an officer printed your application and compared it to your documents, would every date and spelling match?
Step 5: Pay correctly and keep proof (payment problems cause silent delays)
Payment is an underrated source of “invisible” slowdowns.
Do this immediately after paying:
- Save the payment confirmation page as PDF
- Screenshot the receipt/reference number
- Store confirmation emails in a dedicated “Visa” folder
If your card is declined, avoid rapid repeat attempts. Many systems interpret repeated failures as suspicious behavior or lock the session.
Step 6: Use the right speed lever (without increasing refusal risk)
Not all “faster” options are equal. Some genuinely speed up processing, others just add cost.
| Speed lever | When it helps | What to watch out for |
|---|---|---|
| Official expedited or priority processing | You are within a tight travel window | Eligibility limits, non-refundable fees |
| Earlier biometrics/interview appointment | Consular visas with long wait times | Travel distance, reschedule policies |
| Cleaner document set (fewer, stronger docs) | When requirements are clear | Don’t omit required items |
| Digital-first route (eVisa/eTA) | Eligible nationalities/purposes | Scams posing as “official eVisa” portals |
If you’re a travel agency or a high-frequency traveler, the biggest speed lever is often process, not priority fees. Treat visa applications like a workflow: standardized doc naming, a checklist per destination, and clear responsibilities.
For teams that manage large volumes, it can help to implement a real tracking system (for example, Jira + Confluence). If you need help designing that kind of operational workflow, an Atlassian consulting partner can be a practical option.
Step 7: Track status and respond fast to requests
Fast approvals go to applicants who are easy to process.
After submission:
- Check status at the cadence recommended by the issuing authority
- Watch for emails requesting clarification or re-uploaded documents
- Respond the same day whenever possible (or within 24 hours)
If you receive a request for additional information, keep your response tight:
- Answer exactly what was asked
- Re-upload only the corrected file(s)
- Include a short note (one paragraph) explaining what changed
Step 8: Do a final “issued visa” verification (catch errors before the airport)
When the visa or authorization is issued, verify immediately:
- Passport number
- Name spelling
- Validity dates
- Number of entries (single vs multiple)
- Purpose/category
Then store your visa in two formats:
- Digital: phone + cloud storage
- Physical: printed copy if the destination or airline sometimes requires it
The fastest path for travel companies: remove visa friction in the booking flow
If you’re a travel business, “how to get visa faster” is not just a traveler question. It’s a conversion and customer experience issue.
When customers discover visa requirements late, they abandon bookings or flood support with urgent questions. A streamlined visa flow can help you:
- Guide customers through entry requirements at the right time
- Reduce form errors that lead to delays
- Create ancillary revenue by offering visa processing as an add-on
SimpleVisa is built for travel businesses that want to streamline this journey, with options like API integration, a white-label visa application app, and no-code implementation so visa guidance and applications can sit closer to your checkout or post-booking flow.
If you want to operationalize the checklist above at scale, the goal is simple: fewer missing documents, fewer corrections, faster approvals, and fewer last-minute emergencies.