Selfie Liveness Failures: Common Causes and Quick Fixes

Selfie liveness checks are now a standard step in many digital identity and online visa processing flows. When they fail, travelers get stuck, support queues grow, and conversion drops at the exact moment users are most motivated to complete their application.
This guide breaks down the most common causes of selfie liveness failures and the fastest fixes you can try in under a minute, plus a few product-level tips for travel brands that want to reduce liveness-related abandonment.
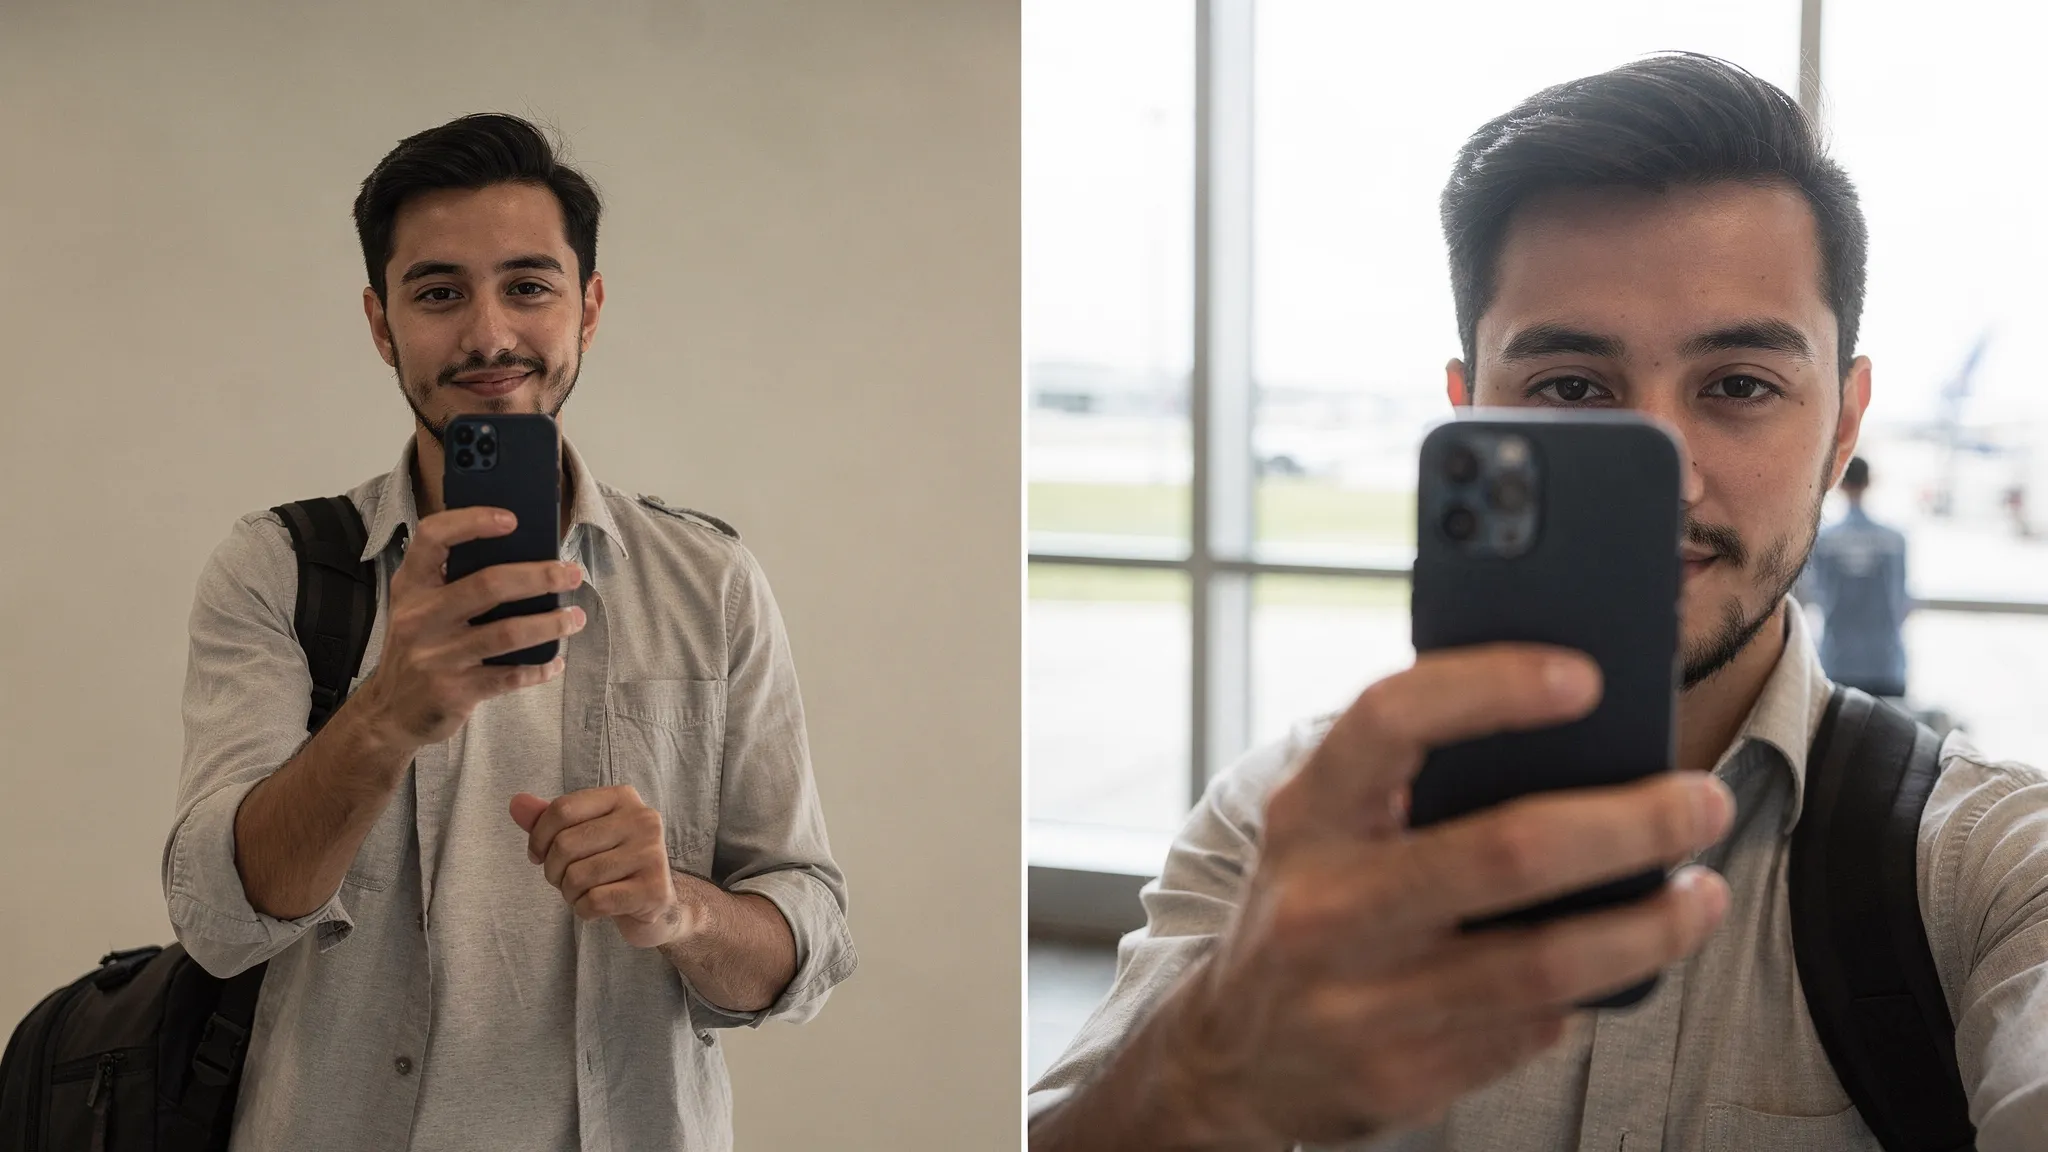
What a “selfie liveness” check is (and why visa flows use it)
A selfie liveness check is a biometric step designed to confirm that:
- A real person is present (not a printed photo, screen replay, or mask).
- The person taking the selfie is the same person applying.
Many systems implement liveness as part of “presentation attack detection” (PAD), a common term in identity verification. A widely referenced standard in this area is ISO/IEC 30107-3, which defines testing and reporting for PAD methods.
In an eVisa or ETA application, liveness helps reduce identity fraud and improves trust in fully digital border processes, a theme we cover more broadly in how biometric technology is streamlining airport security.
Common causes of selfie liveness failures
Most failures are not “mysteries”. They usually fall into one of five buckets: environment, camera quality, device/software permissions, user positioning, or mismatch with expected identity signals.
1) Lighting problems (the #1 culprit)
Liveness models need clear facial features, consistent exposure, and minimal motion blur. These conditions break the check most often:
- Bright light behind you (window backlighting) that turns your face into a silhouette
- Overhead lighting that creates strong shadows under eyes or nose
- Very dim rooms that force the camera into a slow shutter (causing blur)
- Colored lighting (neon, LEDs) that distorts skin tones
Quick fix: Face a light source (lamp or window) so your face is evenly lit, and avoid direct sunlight.
2) Background and framing issues
Some liveness steps also run face detection first. Face detection can fail if:
- Your face is too small in the frame
- The background is extremely busy (crowds, posters, moving TV)
- Another face appears in the shot
- Your camera is tilted heavily (diagonal face)
Quick fix: Stand in front of a plain wall and keep your face centered, about arm’s length from the camera.
3) Camera limitations: blur, smudges, focus, and “beauty mode”
Even on modern phones, front cameras vary widely. Liveness can fail when:
- The lens is smudged (fingerprints cause haze)
- The camera can’t focus well in low light
- Portrait mode or “beauty filters” alter facial geometry
- The app/browser compresses the image aggressively
Quick fix: Clean the lens, disable beauty filters, and use the default camera settings.
4) Permissions, browser settings, and in-app blockers
Technical settings can prevent the camera feed from working reliably:
- Camera permission denied (or granted to the wrong browser/app)
- Using a private browsing mode that restricts camera or storage
- Corporate device policies (MDM) blocking camera access
- VPNs, ad blockers, or privacy extensions interfering with capture scripts
Quick fix: Switch to a standard browser session (not incognito), disable blockers for the duration of the capture, and confirm camera permissions in system settings.
5) “User factors”: glasses glare, headwear, hair, and movement prompts
Liveness checks often ask for subtle actions like turning your head, blinking, or following a dot. These can fail if:
- Glasses reflect the screen or overhead lights
- Hats or headscarves cast shadows on the face
- Hair covers eyebrows/eyes
- You move too quickly, or you move the phone instead of your head
Quick fix: Remove reflective glasses if possible, keep hair away from eyes, and follow prompts slowly.
6) Network instability (especially on mobile)
Some liveness checks process video frames or multiple images. Failures can happen when:
- Cellular data is weak or unstable
- Background apps are consuming bandwidth
- You switch networks mid-check (Wi‑Fi to LTE)
Quick fix: Use stable Wi‑Fi (or stable LTE), pause downloads, and don’t switch networks during the capture.
7) Identity signal mismatch (less common, but real)
Sometimes liveness passes, but the broader biometric flow flags inconsistency (depending on the system):
- Major appearance change vs older passport photo (significant facial hair change, recent surgery)
- Severe under- or over-exposure that changes perceived features
- Partial occlusion (mask, heavy scarf)
Quick fix: Use neutral lighting, remove obstructions, and ensure the capture looks like a clean, recent ID photo.
Quick fixes: the 60-second checklist
If a traveler is stuck, this sequence resolves most selfie liveness failures quickly.
- Clean the front camera lens.
- Move to even lighting (face a lamp/window, avoid backlight).
- Use a plain background.
- Hold the phone steady at eye level, about 12–20 inches away.
- Remove hats and reflective glasses (if possible).
- Disable beauty filters/portrait mode.
- Use a standard browser session (not incognito) and confirm camera permissions.
- Retry on stable Wi‑Fi.
Troubleshooting by symptom or error message
Error messages vary by provider, but the underlying causes are usually consistent. Use the mapping below to diagnose quickly.
| Symptom / message (example) | Most likely cause | Fastest fix |
|---|---|---|
| “Face not detected” | Poor lighting, busy background, face too small | Face a light, use plain wall, move closer |
| “Too dark” / “Low light” | Dim room, camera exposure too low | Add a lamp, increase ambient light |
| “Too bright” / “Glare detected” | Backlight, strong reflections | Turn away from window, remove glasses |
| “Hold still” / repeated failures | Motion blur, shaky hand | Rest elbows, hold phone steady, move slowly |
| “Camera unavailable” | Permission blocked, other app using camera | Allow permission, close other apps, restart browser |
| “Upload failed” / “Network error” | Weak connection, VPN interference | Switch to stable Wi‑Fi, disable VPN temporarily |
| “Try again later” | Temporary service or device issue | Switch device/browser, wait 10 minutes |
When it keeps failing: practical escalation steps
If you have already tried the quick fixes and it still fails, avoid endless retries. Repeated failed attempts can create friction and, in some systems, may trigger additional security checks.
Switch the capture method (when available)
Try one of these changes:
- Switch from in-app browser to a full browser (or vice versa).
- Switch from laptop webcam to a smartphone front camera.
- Switch browsers (Chrome and Safari tend to be the most reliable for camera access).
Confirm the basics of a compliant photo
Even when the step is “liveness,” the best captures resemble a compliant ID photo:
- Neutral expression
- Eyes open and visible
- No heavy shadows
- No strong angle
If you want a broader prep checklist for online submissions, see Checklist: Everything You Need Before Submitting an Online Visa Application.
Contact support with the right details
For faster resolution, collect:
- Device model and OS version
- Browser name and version
- Screenshot of the error
- Whether the failure happens at permission, capture, or upload
If you are a traveler using a SimpleVisa-powered flow, start with Visa Contact Us: Get Instant Support.
For travel brands: how to reduce liveness-related abandonment
If you embed visa and ETA applications in a booking or post-booking journey, selfie liveness failures are not just a “user issue.” They are a measurable funnel leak.
Here are practical changes that usually improve completion rates without weakening security.
Add “preflight” checks before the camera opens
A lightweight preflight screen can confirm:
- Camera permission is enabled
- Network is stable
- The user understands lighting/background requirements
This is the same philosophy that drives higher completion in other friction-heavy steps, as discussed in Why Travelers Abandon Visa Forms, and 6 UX Fixes That Convert.
Use clearer microcopy at the exact moment it matters
Generic instructions like “Position your face in the oval” are rarely enough. High-performing liveness guidance is:
- Specific (“Face a light source, avoid backlight”)
- Visual (a single example image)
- Timed (shown right before capture, not earlier in the flow)
Provide a graceful fallback (without turning support into a bottleneck)
Depending on your compliance requirements, consider a fallback path such as:
- Switching devices via a secure link
- Retrying in a different browser
- Manual review queue for edge cases (only when necessary)
Instrument liveness as a KPI, not a “technical detail”
Track:
- Liveness start-to-pass rate
- Average attempts per successful pass
- Drop-off rate at the liveness step
- Support contact rate tied to liveness
If you run a broader travel document automation program, you can incorporate these into your post-launch reporting alongside conversion and revenue metrics (see 5 KPIs to Track After Deploying a Visa Management Platform).
Keep trust high with security and privacy signals
Because selfie capture is sensitive, clear trust signals reduce abandonment:
- Why the selfie is needed
- How data is protected
- How long data is retained (when you can disclose it)
For a buyer-focused checklist of what to demand from vendors, see Top 8 Security Features to Demand in Any Electronic Visa Solution.
Frequently Asked Questions
What does “liveness failed” mean? It usually means the system could not confirm that a real person is present during the selfie capture (for example due to lighting, blur, or reflections), or it could not reliably analyze the face.
Why does selfie liveness fail even with a good phone camera? Good cameras can still produce failures if lighting is uneven, the lens is smudged, beauty filters are enabled, or the network interrupts the upload.
Do glasses cause selfie liveness failure? They can. Reflections and glare can hide the eyes or distort key facial landmarks. Removing reflective glasses (or changing the light angle) often fixes it.
Does incognito/private browsing affect liveness checks? It can. Some private browsing modes restrict camera access, storage, or third-party scripts used during capture. A normal browser session is more reliable.
How many times should I retry a selfie liveness step? A couple of careful retries after changing conditions (lighting, background, device, browser) is reasonable. If it fails repeatedly, switching device or contacting support is usually faster than repeated attempts.
Can a big appearance change cause problems? Sometimes. Significant changes (new facial hair, dramatic weight change) combined with poor lighting can reduce matching confidence. Use neutral lighting and a clean, unobstructed capture.
Make visa applications easier for travelers (and lighter on your support team)
If your booking or post-booking flow includes eVisas, ETAs, or other border requirements, selfie liveness failures are one of the fastest ways to lose completions and create avoidable support work.
SimpleVisa helps travel businesses streamline online visa processing with options like API integration, a white-label visa application app, and guided customer visa applications.
Explore SimpleVisa at SimpleVisa to see how a purpose-built visa flow can improve completion rates while keeping security and compliance front and center.