How to Check If Your Travel Visa Documents Match
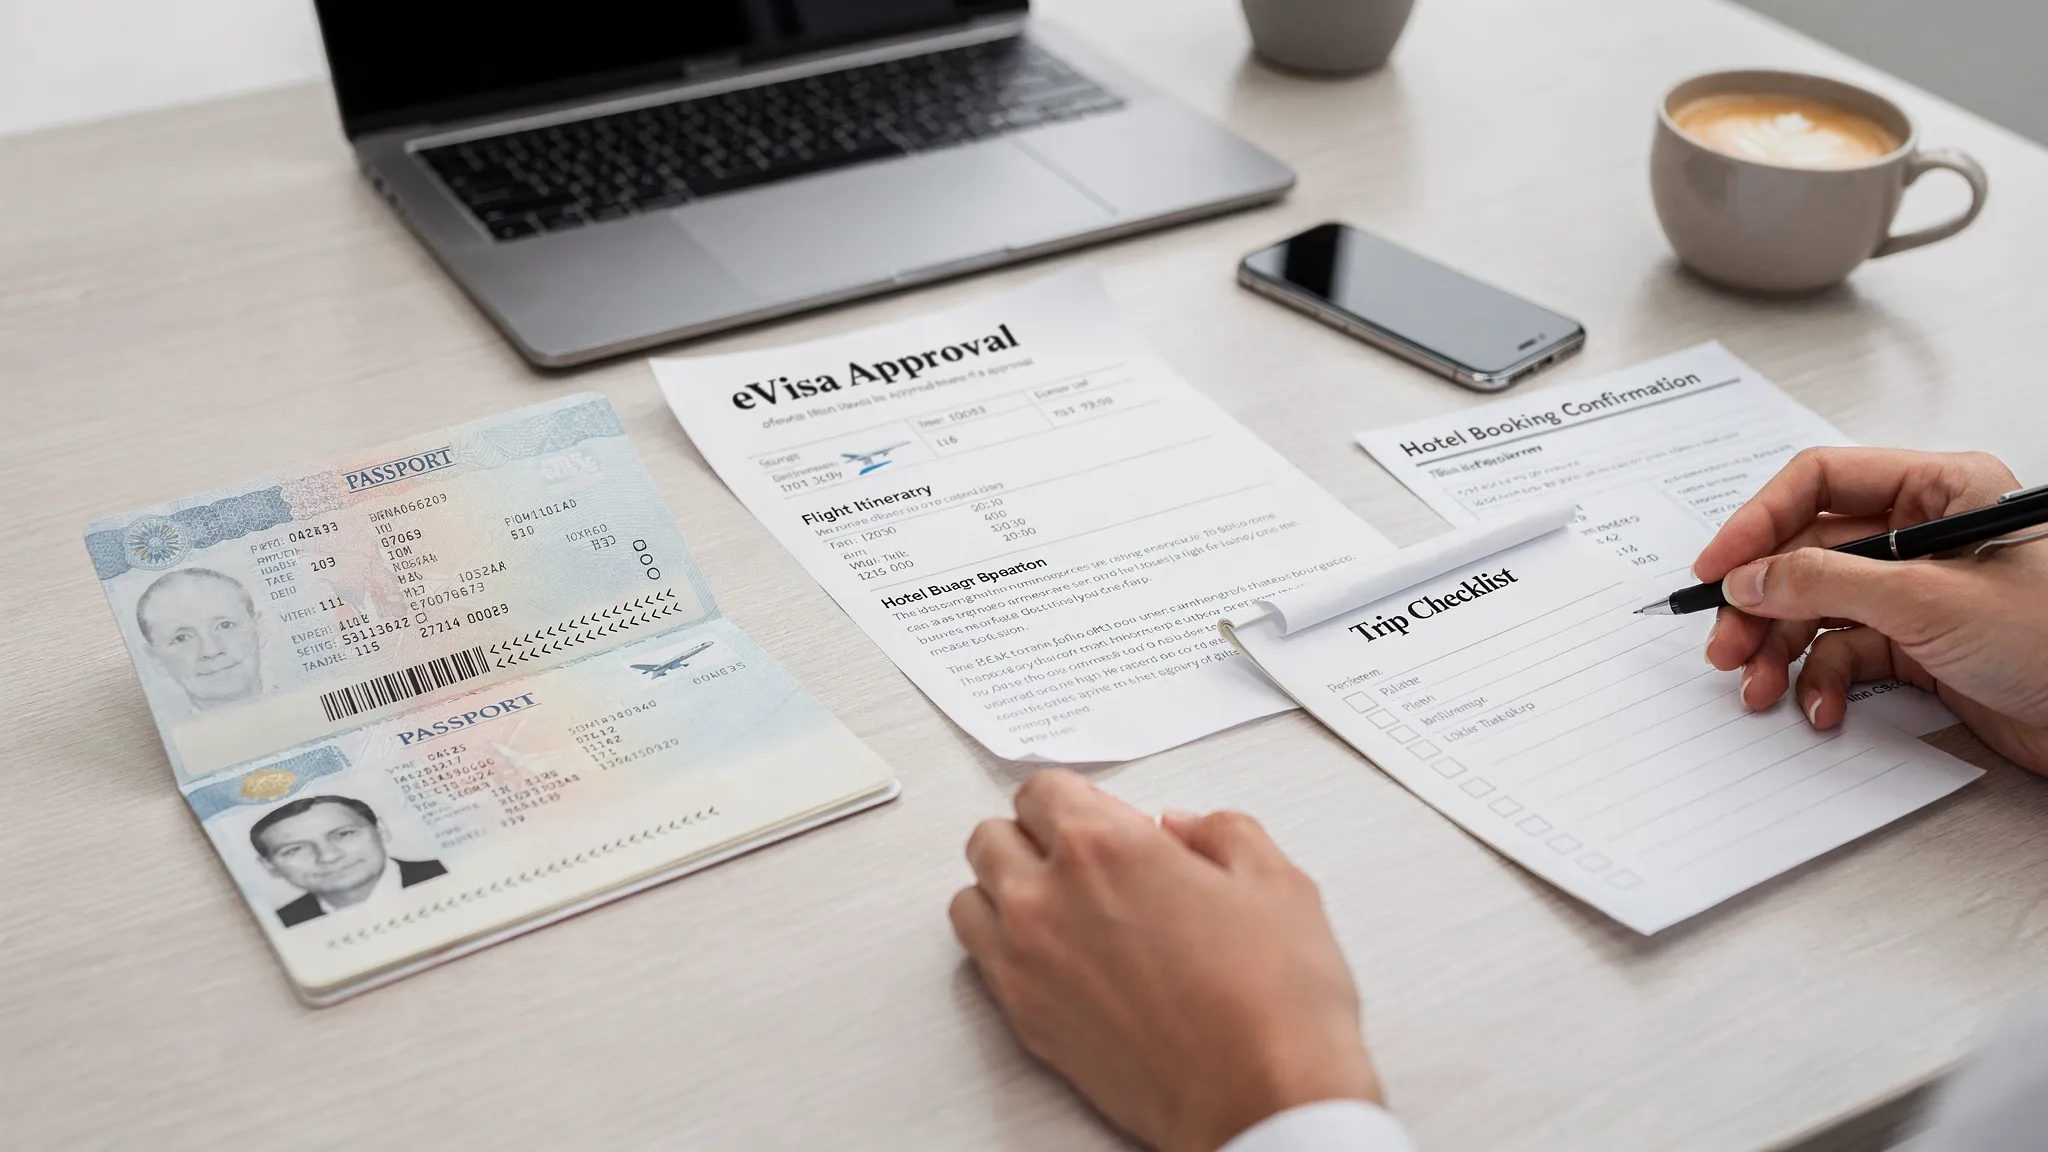
Small inconsistencies in a visa file can create big travel problems. A misspelled name, an old passport number, a date that does not line up with your itinerary, or a business letter that describes a different purpose of travel can lead to extra document requests, delayed approval, denied boarding, or questions at the border.
The good news is that most issues are preventable. Before you submit a visa application, and again after you receive an eVisa or travel authorization, take a few minutes to check whether your travel visa documents match across every source.
This guide walks you through what to compare, how to spot common mismatches, and what to do if something does not line up.
What does it mean for travel visa documents to match?
Matching documents means your identity, passport details, travel plans, and supporting evidence tell the same story from start to finish. Immigration authorities, airlines, online visa processing systems, and border officers may compare information across multiple documents, including your passport, visa application, flight booking, hotel reservation, invitation letter, bank statement, and approved electronic visa.
For electronic visa systems, accuracy matters even more because an eVisa is often linked digitally to the passport used in the application. If the passport number, nationality, or name is wrong, the authorization may not be recognized correctly during check-in or border inspection.
A “match” does not always mean every document must be identical in format. For example, some systems remove accents from names or do not provide a field for a middle name. But the core identity and travel details must be consistent, explainable, and aligned with the destination’s rules.
The main details to compare first
Start by identifying the fields that are most likely to trigger delays or refusals. Your passport should be the source of truth for identity and passport data.
| Detail to check | Should match across | What to look for |
|---|---|---|
| Full name | Passport, visa application, eVisa, ticket, invitation letters | Same spelling, same surname order, no nicknames |
| Date of birth | Passport, application, approved visa | Correct day, month, and year, especially if using different date formats |
| Passport number | Passport, application, eVisa, airline booking if required | No missing letters, swapped digits, or old passport number |
| Nationality | Passport, application, visa type eligibility | Same country of citizenship used for the trip |
| Passport expiry date | Passport, application, eVisa | Correct date and enough validity for destination rules |
| Travel dates | Flights, accommodation, itinerary, invitation letters | Arrival and departure dates fit the visa validity and permitted stay |
| Purpose of travel | Visa type, application answers, supporting documents | Tourist, business, study, transit, or family visit purpose is consistent |
| Contact details | Application, hotel booking, host invitation | Address, phone, and email are current and credible |
| Financial proof | Bank statements, sponsor letter, employment letter | Name, dates, funds, and sponsor details align with the application |
If you only have time for a quick review, check name, passport number, nationality, date of birth, passport expiry, and travel dates first. These are among the most important fields for eVisa validation and border checks.
Step 1: Use your passport as the source of truth
Open your passport to the biographical data page and compare every key field against your visa application. Do not rely on memory, autofill, saved traveler profiles, or past applications. Passport data can change after a renewal, name change, correction, or second citizenship update.
Pay close attention to:
- Surname and given name order
- Middle names or initials
- Hyphenated names
- Apostrophes, spaces, and special characters
- Accents or diacritics
- Passport number letters versus numbers, such as O and 0 or I and 1
- Country of issue versus nationality
- Issue date and expiry date
Many passports include a machine-readable zone, often called the MRZ, at the bottom of the data page. The MRZ follows international passport standards, such as those described in ICAO Doc 9303. It can help clarify how names and document numbers are encoded, especially when a passport includes accents, long names, or multiple surnames.
If your passport shows more than one name format, use the version requested by the application form. When in doubt, check the issuing authority’s guidance or use a trusted visa application service.
Step 2: Compare your visa application line by line
Before submission, review the completed visa application against your passport and supporting documents. Do this slowly, field by field. It is tempting to focus only on document uploads, but simple typing mistakes are one of the easiest ways to create problems.
Check that your application matches your passport for identity and nationality details, then compare the rest of the form to your travel evidence. If you say you are traveling for tourism, your hotel bookings and itinerary should support a tourist visit. If you choose business travel, your invitation letter should describe meetings, conferences, client visits, or other permitted business activities.
For online visa processing, also confirm that uploaded files belong to the same traveler. This is especially important for families, group bookings, business delegations, and travel agencies handling multiple applications at once.
For a broader preparation framework, SimpleVisa’s visa application checklist explains how to organize documents, photos, and timing before you submit.
Step 3: Make sure your travel dates make sense
Travel dates do not always need to match perfectly across every document, but they should be logical. Your planned arrival and departure should fit within the visa validity period, the permitted length of stay, and any entry conditions.
For example, if your visa request says you will stay for 10 days, but your flight reservation shows a 35-day stay, the application may raise questions. If your hotel booking covers only the first night, that may be acceptable for some destinations, but other authorities may ask for a complete accommodation plan.
Look for date conflicts such as:
- Flight arrival before the visa validity start date
- Departure after the allowed stay period
- Invitation letter dates that differ from flight dates
- Hotel booking under a different traveler name
- Transit dates that do not align with onward travel
- Multi-country itinerary dates that exceed regional stay limits
Date formats can also cause mistakes. In the United States, 05/12/2026 usually means May 12, 2026. In many other countries, it means 5 December 2026. When completing international forms, confirm whether the system uses MM/DD/YYYY, DD/MM/YYYY, or YYYY-MM-DD.
Step 4: Align the visa type with your supporting documents
A travel visa document set should clearly support the visa type you selected. If the visa type and evidence do not match, immigration officers may question your intent.
Here are common examples:
| Visa purpose | Documents that should support it | Possible mismatch |
|---|---|---|
| Tourism | Hotel booking, itinerary, return ticket, proof of funds | Invitation letter mentions paid work |
| Business | Company invitation, conference registration, employer letter | Application says tourism but letter says client meetings |
| Study | Acceptance letter, tuition proof, accommodation, funds | Travel dates do not fit the academic program |
| Family visit | Host invitation, relationship proof, host address | Hotel booking and host address conflict without explanation |
| Transit | Onward ticket, next-country visa if needed | Transit stay is longer than allowed |
| Medical travel | Medical appointment letter, treatment plan, funds | Application lists tourism with no medical evidence |
If your trip has mixed purposes, choose the category allowed by the destination’s rules and explain the situation clearly where the form permits it. Do not choose a visa type only because it appears easier or faster if it does not match your real reason for travel.
Step 5: Check names across tickets, hotels, and invitation letters
Your airline ticket and visa documents should use the same traveler identity. Airlines may have their own name correction rules, and immigration authorities may compare your ticket to the passport and visa.
Common name issues include married names, maiden names, shortened first names, missing middle names, and names entered in the wrong order. A ticket booked as “Mike Johnson” while the passport says “Michael Andrew Johnson” may be accepted by some airlines but questioned by others. A surname order reversal can be more serious, especially for travelers with multiple family names.
If you already noticed a name mismatch, do not wait until airport check-in. Contact the airline, booking platform, or issuing authority as soon as possible. You can also review SimpleVisa’s detailed guide on handling name mismatches on tickets, passports, and eVisas for deeper prevention and correction steps.
Step 6: Review document quality and file details
A document can technically “match” but still fail if it is unreadable, cropped, expired, or uploaded in the wrong place. Before submitting, open each file and check it as if you were the officer reviewing it.
Make sure the uploaded document is:
- Clear and not blurry
- Complete, with all corners visible
- In color if required
- Not glare-covered or shadowed
- Under the file size limit
- In the requested format, such as PDF, JPG, or PNG
- Assigned to the correct traveler
- Current, not expired or outdated
For passport scans, confirm that the full data page is visible. For bank statements, confirm that your name, account details, statement date, and balance are visible. For invitation letters, confirm that the host name, traveler name, dates, purpose, and contact information are included.
Step 7: Check the approved eVisa immediately
Your review is not finished when the visa is approved. As soon as you receive your eVisa, ETA, or travel authorization, compare it with your passport and itinerary.
Check:
- Name spelling
- Passport number
- Nationality
- Date of birth
- Visa type
- Number of entries
- Valid from and valid until dates
- Maximum stay allowed
- Conditions or restrictions
- Destination or port restrictions, if listed
If you find an error, contact the issuing authority or your visa service provider before traveling. Do not assume that a small typo will be ignored. Some mistakes are minor, but others can make the authorization invalid because it is linked to the wrong identity or passport.
It is also smart to save the approval notice in multiple places. Keep a digital copy on your phone, store a backup in secure cloud storage, and print a copy if the destination, airline, cruise line, or tour operator recommends it.
What to do if your documents do not match
The right fix depends on the type of mismatch, where it appears, and how close you are to departure. Some issues can be corrected through the airline or visa portal. Others may require a new application.
| Mismatch | Risk level | What to do |
|---|---|---|
| Passport number typo on eVisa | High | Contact the issuer immediately. A new application may be required. |
| Name misspelled on application before submission | Medium to high | Correct it before submitting. Do not proceed with known errors. |
| Ticket uses nickname instead of passport name | Medium | Ask the airline or booking provider about a name correction. |
| Middle name missing | Depends on destination and system | Check the application rules and airline policy. Correct if required. |
| Old passport used for application | High | Verify whether the authorization can be transferred or whether you must reapply. |
| Hotel dates slightly shorter than stay | Low to medium | Be ready to explain the full itinerary or update accommodation proof. |
| Business letter dates differ from flights | Medium | Request a corrected letter from the host company. |
| Date format entered incorrectly | High | Correct before submission or contact the issuer if already submitted. |
If the application has not been submitted, stop and correct the error. If it has been submitted but not approved, check whether the portal allows updates or additional documents. If it has already been approved, follow the issuing authority’s correction process.
For more pre-submission checks, use this online visa application checklist before you pay and submit.
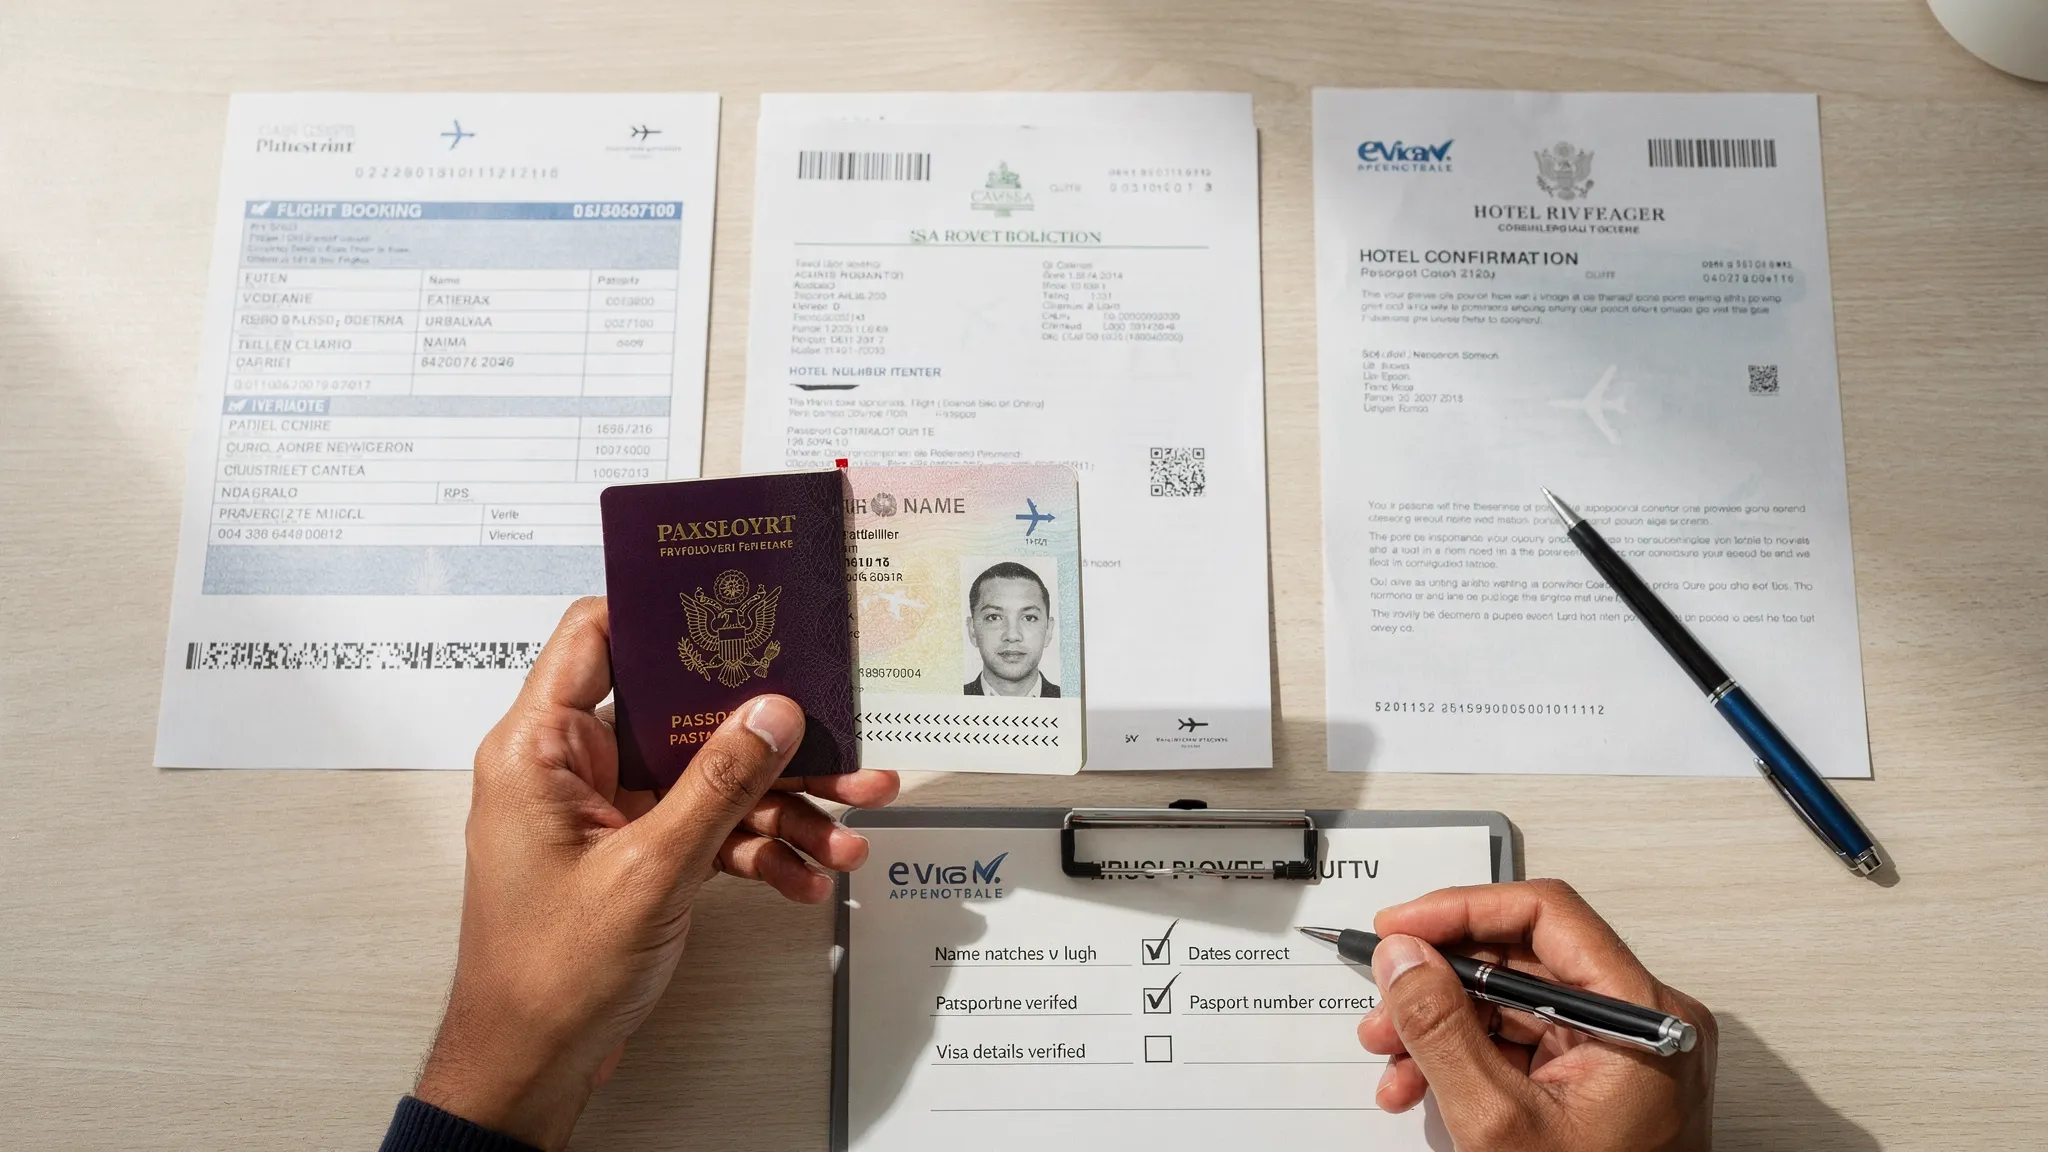
A 10-minute document matching audit
Use this quick audit before every international trip that requires a visa, eVisa, ETA, or other travel authorization.
- Open your passport and compare name, date of birth, nationality, passport number, and expiry date against the visa application.
- Compare your application travel dates with flights, hotel bookings, invitation letters, and the allowed stay period.
- Confirm your visa type matches your real travel purpose and supporting documents.
- Open every uploaded file and verify it is clear, complete, current, and attached to the correct traveler.
- Check that payment, confirmation emails, and application reference numbers are saved.
- After approval, compare the issued visa or eVisa against your passport before booking nonrefundable extras.
- Save digital and printed backups, especially for destinations where internet access may be unreliable.
This simple review can prevent many avoidable support requests, correction fees, urgent reapplications, and airport surprises.
Why travel businesses should automate document matching
For travel businesses, document mismatches are not just a traveler inconvenience. They can affect conversion, customer satisfaction, support volume, denied boarding risk, and ancillary revenue. A traveler who discovers a visa problem late in the journey may blame the booking experience, even if the error happened during a separate visa application process.
This is where travel document automation becomes valuable. Instead of asking customers to interpret complex border rules alone, travel brands can guide them through visa requirements, application steps, and document preparation inside the booking or post-booking journey.
SimpleVisa helps travel businesses streamline visa application workflows through options such as API integration, a white-label visa application app, custom data services, guided customer visa applications, premium eVisa management, and no-code implementation. For airlines, OTAs, travel agencies, tour operators, and other travel platforms, this can turn visa support into a smoother customer experience and a potential ancillary revenue channel.
If you are evaluating automation, SimpleVisa’s overview of travel document automation explains how digital systems can reduce manual checks and help customers complete the right process at the right time.
Frequently Asked Questions
Do my visa documents need to match my passport exactly? Core identity details should match your passport as closely as the application system allows. This includes your full legal name, date of birth, nationality, passport number, and passport expiry date. Some systems may remove accents or limit character types, but the identity should still be clearly the same.
Is it a problem if my middle name is missing from my eVisa? It depends on the destination, the application form, and the airline’s rules. If the form did not request a middle name, it may be acceptable. If you accidentally omitted a required middle name, contact the issuer or your visa service provider before traveling.
Can I travel if my passport number is wrong on my eVisa? Usually, this is a serious issue because many electronic visas are linked to the passport number used in the application. Contact the issuing authority immediately. You may need a correction or a new application.
Should my hotel booking dates match my flight dates? They should make sense together, but they do not always need to match perfectly. For example, you may stay with family for part of the trip or visit multiple cities. If dates differ, your itinerary should explain the gap clearly.
What if my airline ticket has a slightly different name than my visa? Contact the airline or booking provider as soon as possible. Name correction policies vary, and some differences can cause check-in issues. Your passport, ticket, and visa should be consistent enough for airline and border checks.
When should I check whether my travel visa documents match? Check before submission, after approval, and again before departure. For complex trips, group travel, or business travel, review documents as soon as the itinerary is confirmed so there is time to fix errors.
Make visa document checks simpler
Document matching is one of the easiest ways to reduce visa application errors. Treat your passport as the source of truth, compare every supporting document against it, and review the approved eVisa before you travel.
For travel businesses, SimpleVisa makes it easier to guide customers through border requirements, visa applications, and eVisa management inside existing booking journeys. To explore API, white-label, no-code, or custom data options, visit SimpleVisa and see how travel document automation can simplify the visa experience for your customers.