How to Build an Ancillary Revenue Model Around eVisa Sales in 30 Days

International air and rail carriers earned an estimated $117 billion in ancillary revenue in 2024 (IdeaWorks/IATA). Yet most of that came from the usual suspects—bags, seats, meals, insurance. Digital border-crossing services are still treated as an after-thought even though every international booking already carries a visa requirement. Embedding eVisa sales into your checkout and post-booking journey turns a compliance headache into a high-margin product guests actually need.
The best part? With the right partner, you can stand up a fully functioning eVisa revenue stream in a single month. Below is a day-by-day roadmap that dozens of SimpleVisa partners have followed to go live in 30 days or less.
The Commercial Opportunity
- Huge attach pool: More than 1.3 billion leisure and business trips per year require some type of visa or travel authorisation (UNWTO, 2023).
- High conversion: Visa urgency is real; 8–15 percent of eligible travellers purchase an eVisa add-on when the offer is shown in-flow (SimpleVisa network average, Jan 2024–Jun 2025).
- Margin friendly: Service fees are pure digital revenue with no fulfilment costs beyond the API request.
- Reduced risk: Automating eligibility checks and document capture slashes denied-boarding fines and day-of-departure no-shows.
If your brand already monetises travel insurance or car rentals, adding eVisa processing can lift ancillary revenue per booking (ARPB) by $3–$15 without cannibalising existing add-ons.
30-Day Launch Sprint: At a Glance
| Week | Core Objective | Key Deliverables |
|---|---|---|
| 0 (Prep) | Secure cross-functional buy-in | Business case, partner NDA, sandbox credentials |
| 1 | Scope & integrate | Chosen integration model (API, widget, or white-label app) wired to a test environment |
| 2 | Configure CX & compliance | Brand theming, pricing rules, legal/PCI review, support playbooks |
| 3 | Soft launch | A/B flag on 5–10 % of traffic, real transactions, live reporting |
| 4 | Optimise & scale | KPI dashboard, marketing messages, attach-rate experiments, regional roll-out plan |
Let’s unpack the milestones.
Week 0 – Build the Business Case
- Pull your PNR data (or equivalent bookings feed) and identify international routes that require a visa or upcoming schemes such as ETIAS or UK ETA.
- Estimate attachable segments: Use SimpleVisa’s free demand-estimator sheet or multiply visa-eligible legs by a conservative 5 % take-rate and average fee of $40.
- Quantify operational savings—denied boarding costs, call-centre minutes, manual form errors.
- Present a one-page brief to product, legal, finance and customer-care leads.
Tip: If you need numbers to convince finance, our white paper “Why Border Crossing Solutions Are the Next Big Ancillary Opportunity” includes a ready-made ROI formula you can drop into your slide deck.
Week 1 – Choose Your Integration Model
Most partners pick one of three options:
- No-code widget (fastest) – paste a two-line script into confirmation pages. 30-minute dev ticket.
- Travel API – pull eligibility, pricing and the full application flow into your existing checkout. Requires 3–5 front-end/API sprints.
- Hosted white-label portal – your brand colours and URL, zero code. Ideal for contact-centre and email upsells.
Evaluate each against your roadmap, UX control, and data-ownership policies. Our post “API vs. White-Label App: Which Visa Integration Model Suits You?” offers a side-by-side matrix.
Once you’ve decided, complete these tasks:
- Generate sandbox keys in the SimpleVisa Partner Portal.
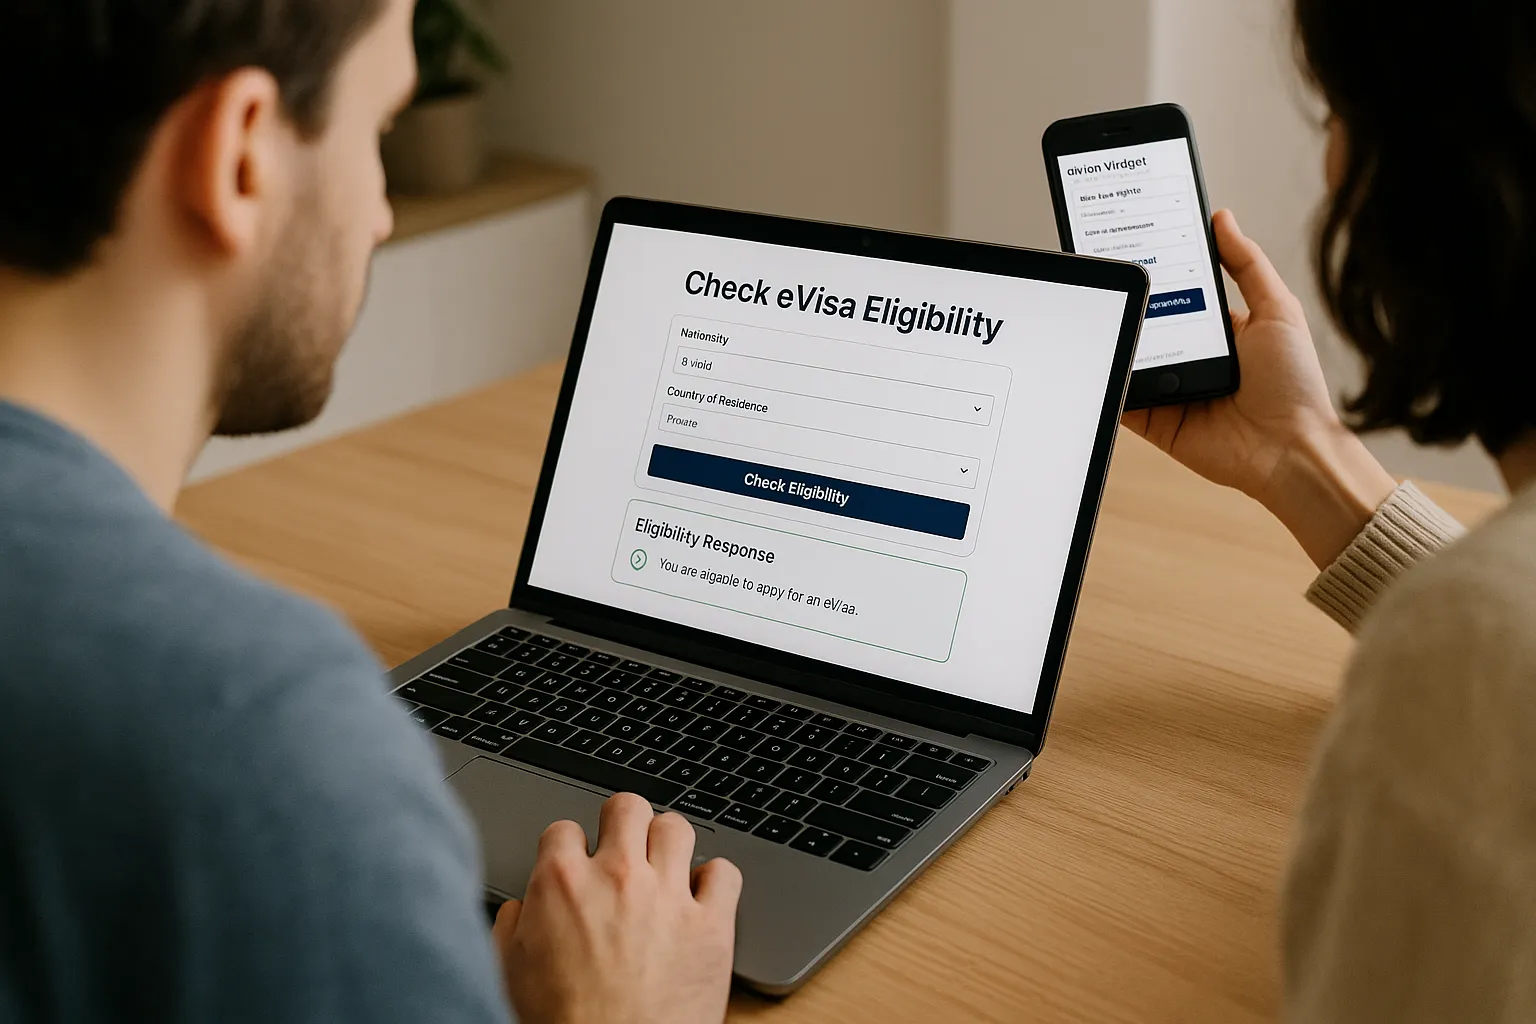
- Call the /eligibility endpoint for your top 10 origin-destination pairs.
- Render the pre-built application iframe or your custom UI and walk through a test card transaction (Visa 4242…).

Week 2 – Configure Pricing, Branding and Compliance
- Set your markup: Flat fee or percentage? If you’re unsure, A/B a $12 service fee vs. a 19 % markup—two common winners we see across airlines and OTAs.
- Localise copy and currencies for major language groups.
- Add trust signals: airline/travel-agency logo, PCI seal, “powered by SimpleVisa” badge, and in-checkout link to our SOC 2 report.
- Train support teams using the 7-day crash course outlined in “How to Train Customer Support Teams on eVisa Rules in One Week”.
- Complete legal review of terms & data-processing addendum; SimpleVisa is already GDPR/CCPA/PCI-DSS compliant—share our documentation bundle to speed sign-off.
Week 3 – Soft Launch & Measure
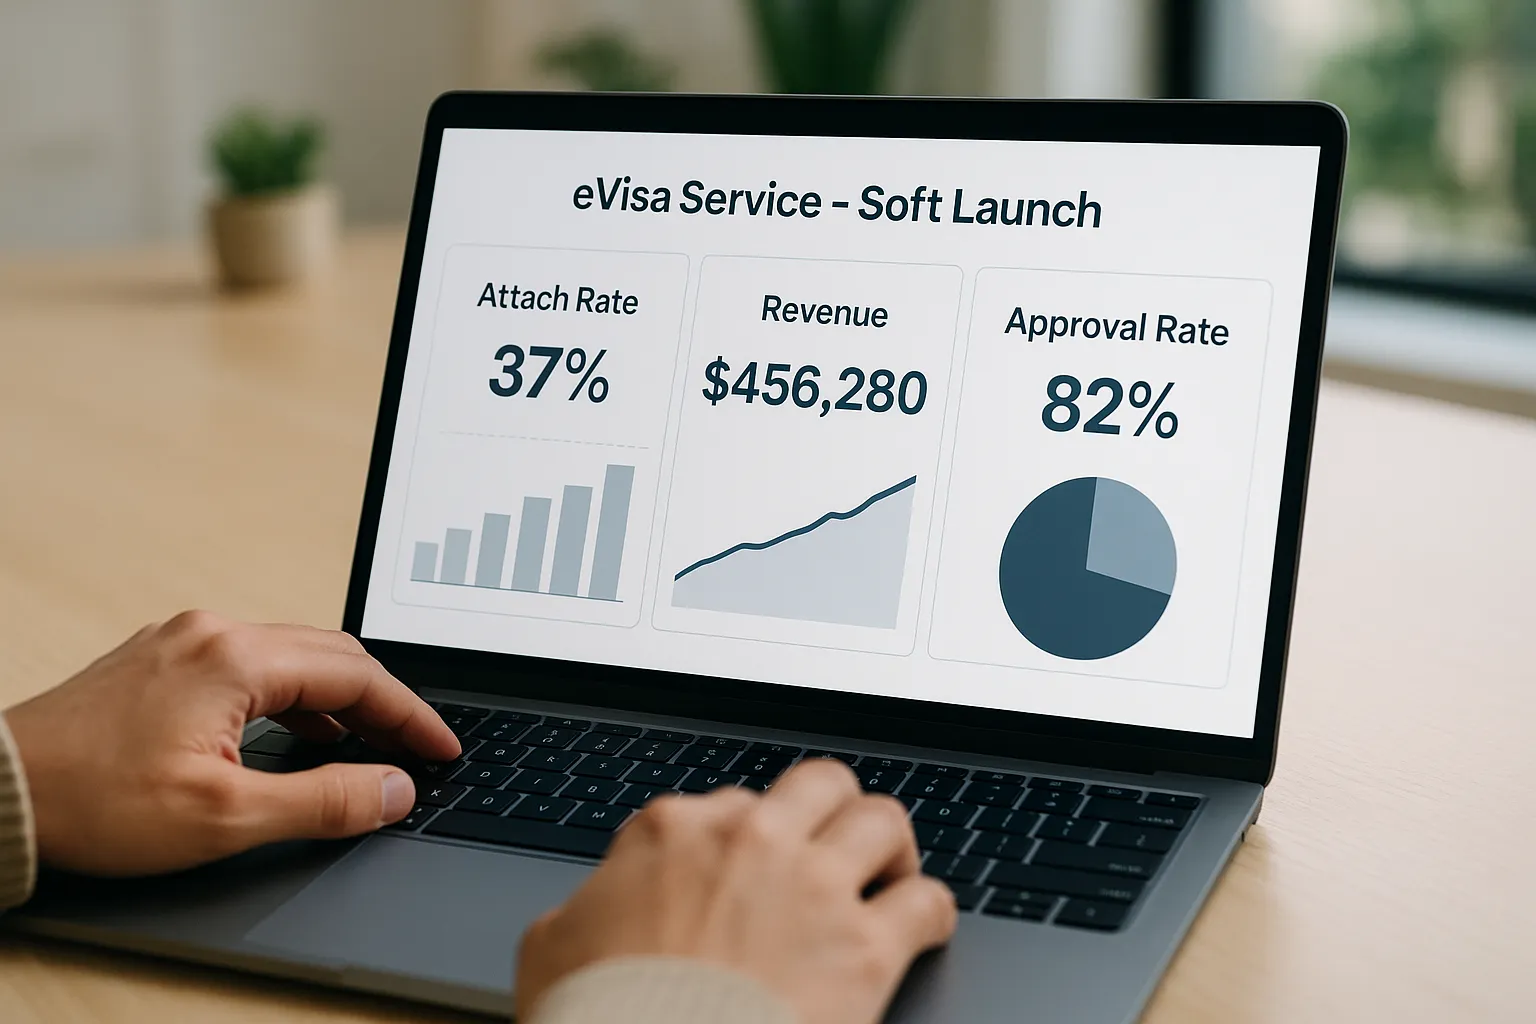
Flip the feature on for a controlled slice of production traffic (internal staff + 5 % live users). Monitor:
| Metric | Target | Data Source |
|---|---|---|
| Attach rate | ≥ 5 % of eligible bookings | SimpleVisa webhook → your BI tool |
| Application completion time | < 7 minutes median | Session events |
| Approval rate | > 98 % | API status updates |
| Incremental ARPB | +$3 | Finance reconciliation |
Send automated Slack or Teams alerts for failed webhooks, low approval spikes, or unusual drop-offs. Our post-launch template in “5 KPIs to Track After Deploying a Visa Management Platform” shows how to wire Grafana, Looker or Power BI in under an hour.
Case snippet: A mid-size European OTA enabled the no-code widget on Spain-to-Turkey routes first. Attach hit 11.2 % in week 1, generating €22 K incremental margin and zero chargebacks.

Week 4 – Optimise & Roll Out
With real conversion data in hand, iterate:
- A/B headline messaging: “Need a visa? Apply now” vs. “Skip embassy lines—get your eVisa in minutes”. Track lift.
- Expand coverage: Add GCC and Southeast-Asia routes where attach rates often break 10 % (see our research on regions with the highest upsell rates).
- Bundle offers: Pair eVisa with travel insurance at a discounted package price to raise average order value.
- Automate reminders at T-7 and T-2 days for travellers who booked but haven’t applied yet—SimpleVisa’s webhook events make this a low-code task.
Finally, present a month-end review to execs: revenue realised, CX improvements (drop in visa-related calls), and the road-map to 100 % traffic. Most partners go full traffic in week 5–6.
Quick Checklist to Stay on Track
- Sandbox keys created and first eligibility call succeeds.
- Legal & DPA signed.
- Widget/API live in staging with brand theme.
- Support cheat sheet distributed.
- Soft-launch cohort enabled and dashboards populated.
- First optimisation experiment scheduled.
Pin this list to your war-room board and mark items off daily.
Common Pitfalls (and How to Dodge Them)
- Hidden fees shock – Display government fee + service fee upfront to avoid checkout abandonment.
- Slow decision cycles – Time-box legal and PCI reviews with pre-approved templates.
- Copy-paste errors in PNR feed – Use our validation endpoint to auto-flag passport-number mismatches before submission.
- Ignoring mobile UX – 70 % of eVisa purchases occur on a phone; treat ≤ 320 px width as your reference design.
For more UX remedies read “Why Travellers Abandon Visa Forms—and 6 UX Fixes That Convert”.
Ready to Start Your 30-Day Clock?
Adding eVisa processing is no longer a 12-month IT project. Whether you paste a widget, integrate an API, or spin up a white-label portal, the revenue and risk-reduction upside is immediate.
Book a 20-minute strategy call with the SimpleVisa partnerships team today and we’ll walk you through a customised 30-day launch checklist for your specific routes and tech stack.
Travel is complex. Monetising compliance shouldn’t be.