How to Organize Travel Visa Documents Without Mistakes
The fastest way to get a visa application rejected is rarely a “bad” document. It is a good document that is hard to verify, uploaded in the wrong format, or inconsistent with the rest of the file.
Organizing travel visa documents is not busywork, it is risk control. A clean document set reduces errors, speeds review, and helps you respond quickly if an immigration authority requests clarification.
Below is a practical, mistake-proof system you can use for any visa application, including an electronic visa (eVisa) or an ETA.
Why visa document organization fails (and what it costs you)
Most visa mistakes happen at the seams between documents and data entry:
- Mismatch errors (name order, hyphens, middle names, passport number digits, date formats).
- Wrong version uploads (old passport scan, outdated bank statement, expired insurance certificate).
- Unreadable files (glare, cropped MRZ lines, low resolution scans, compressed PDFs).
- Missing traceability (you cannot find the confirmation email, payment receipt, or issued eVisa quickly).
For travelers, this can mean delays, denied boarding, or missed departure dates. For travel sellers, it can mean more support tickets, higher cancellation rates, and lost ancillary revenue.
The “one source of truth” rule for every visa application
Before you touch a scanner or upload portal, pick your “source of truth” for identity fields:
- Use your passport MRZ (machine-readable zone) as the authoritative spelling for your name.
- Use your passport data page for passport number, issue date, and expiry date.
- Use a single format for dates (for example, YYYY-MM-DD in your files and notes), even if the application form displays dates differently.
This matters because your documents are not reviewed in isolation. Officers and automated checks compare fields across your passport scan, photo, itinerary, and your typed visa application.
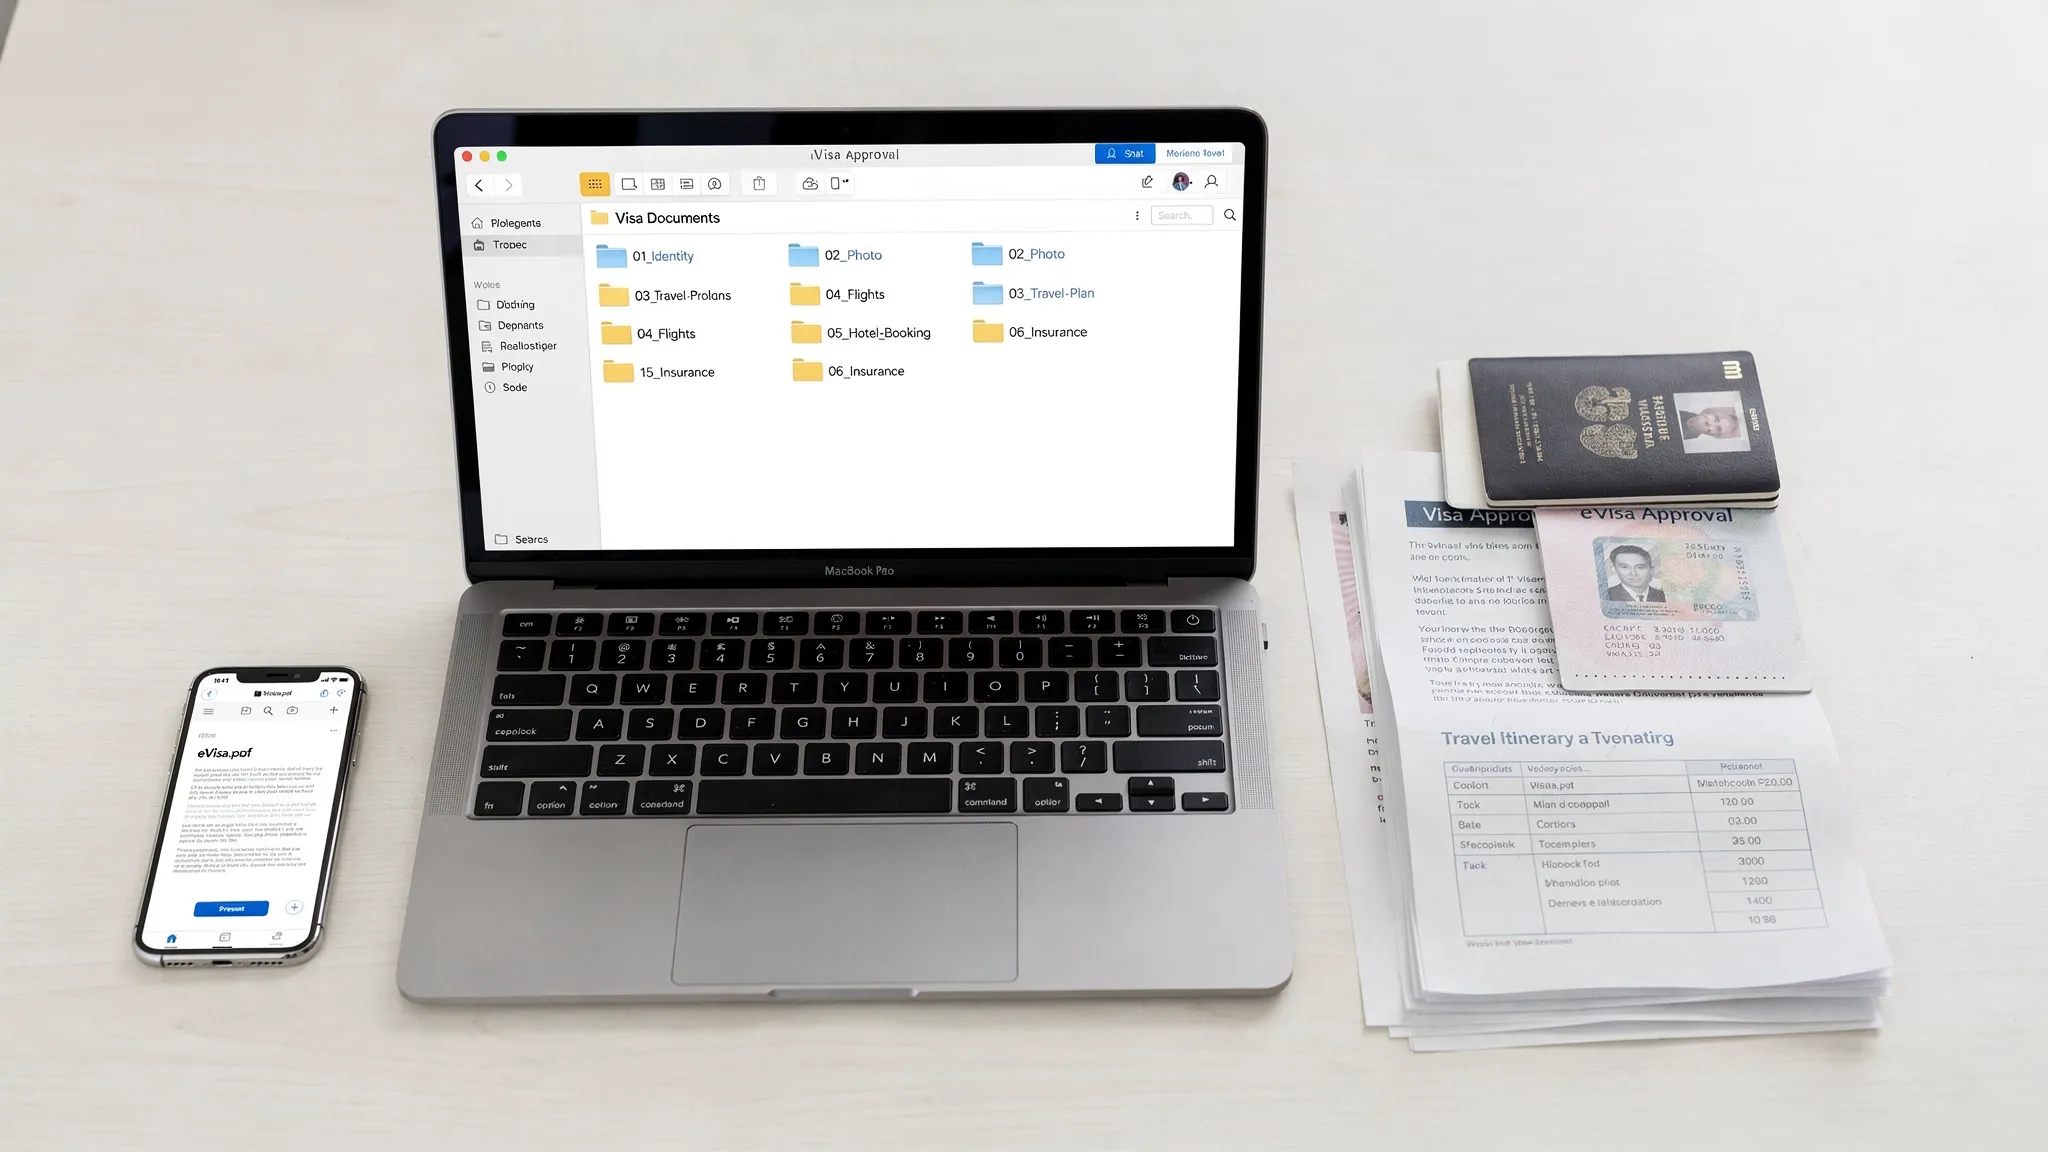
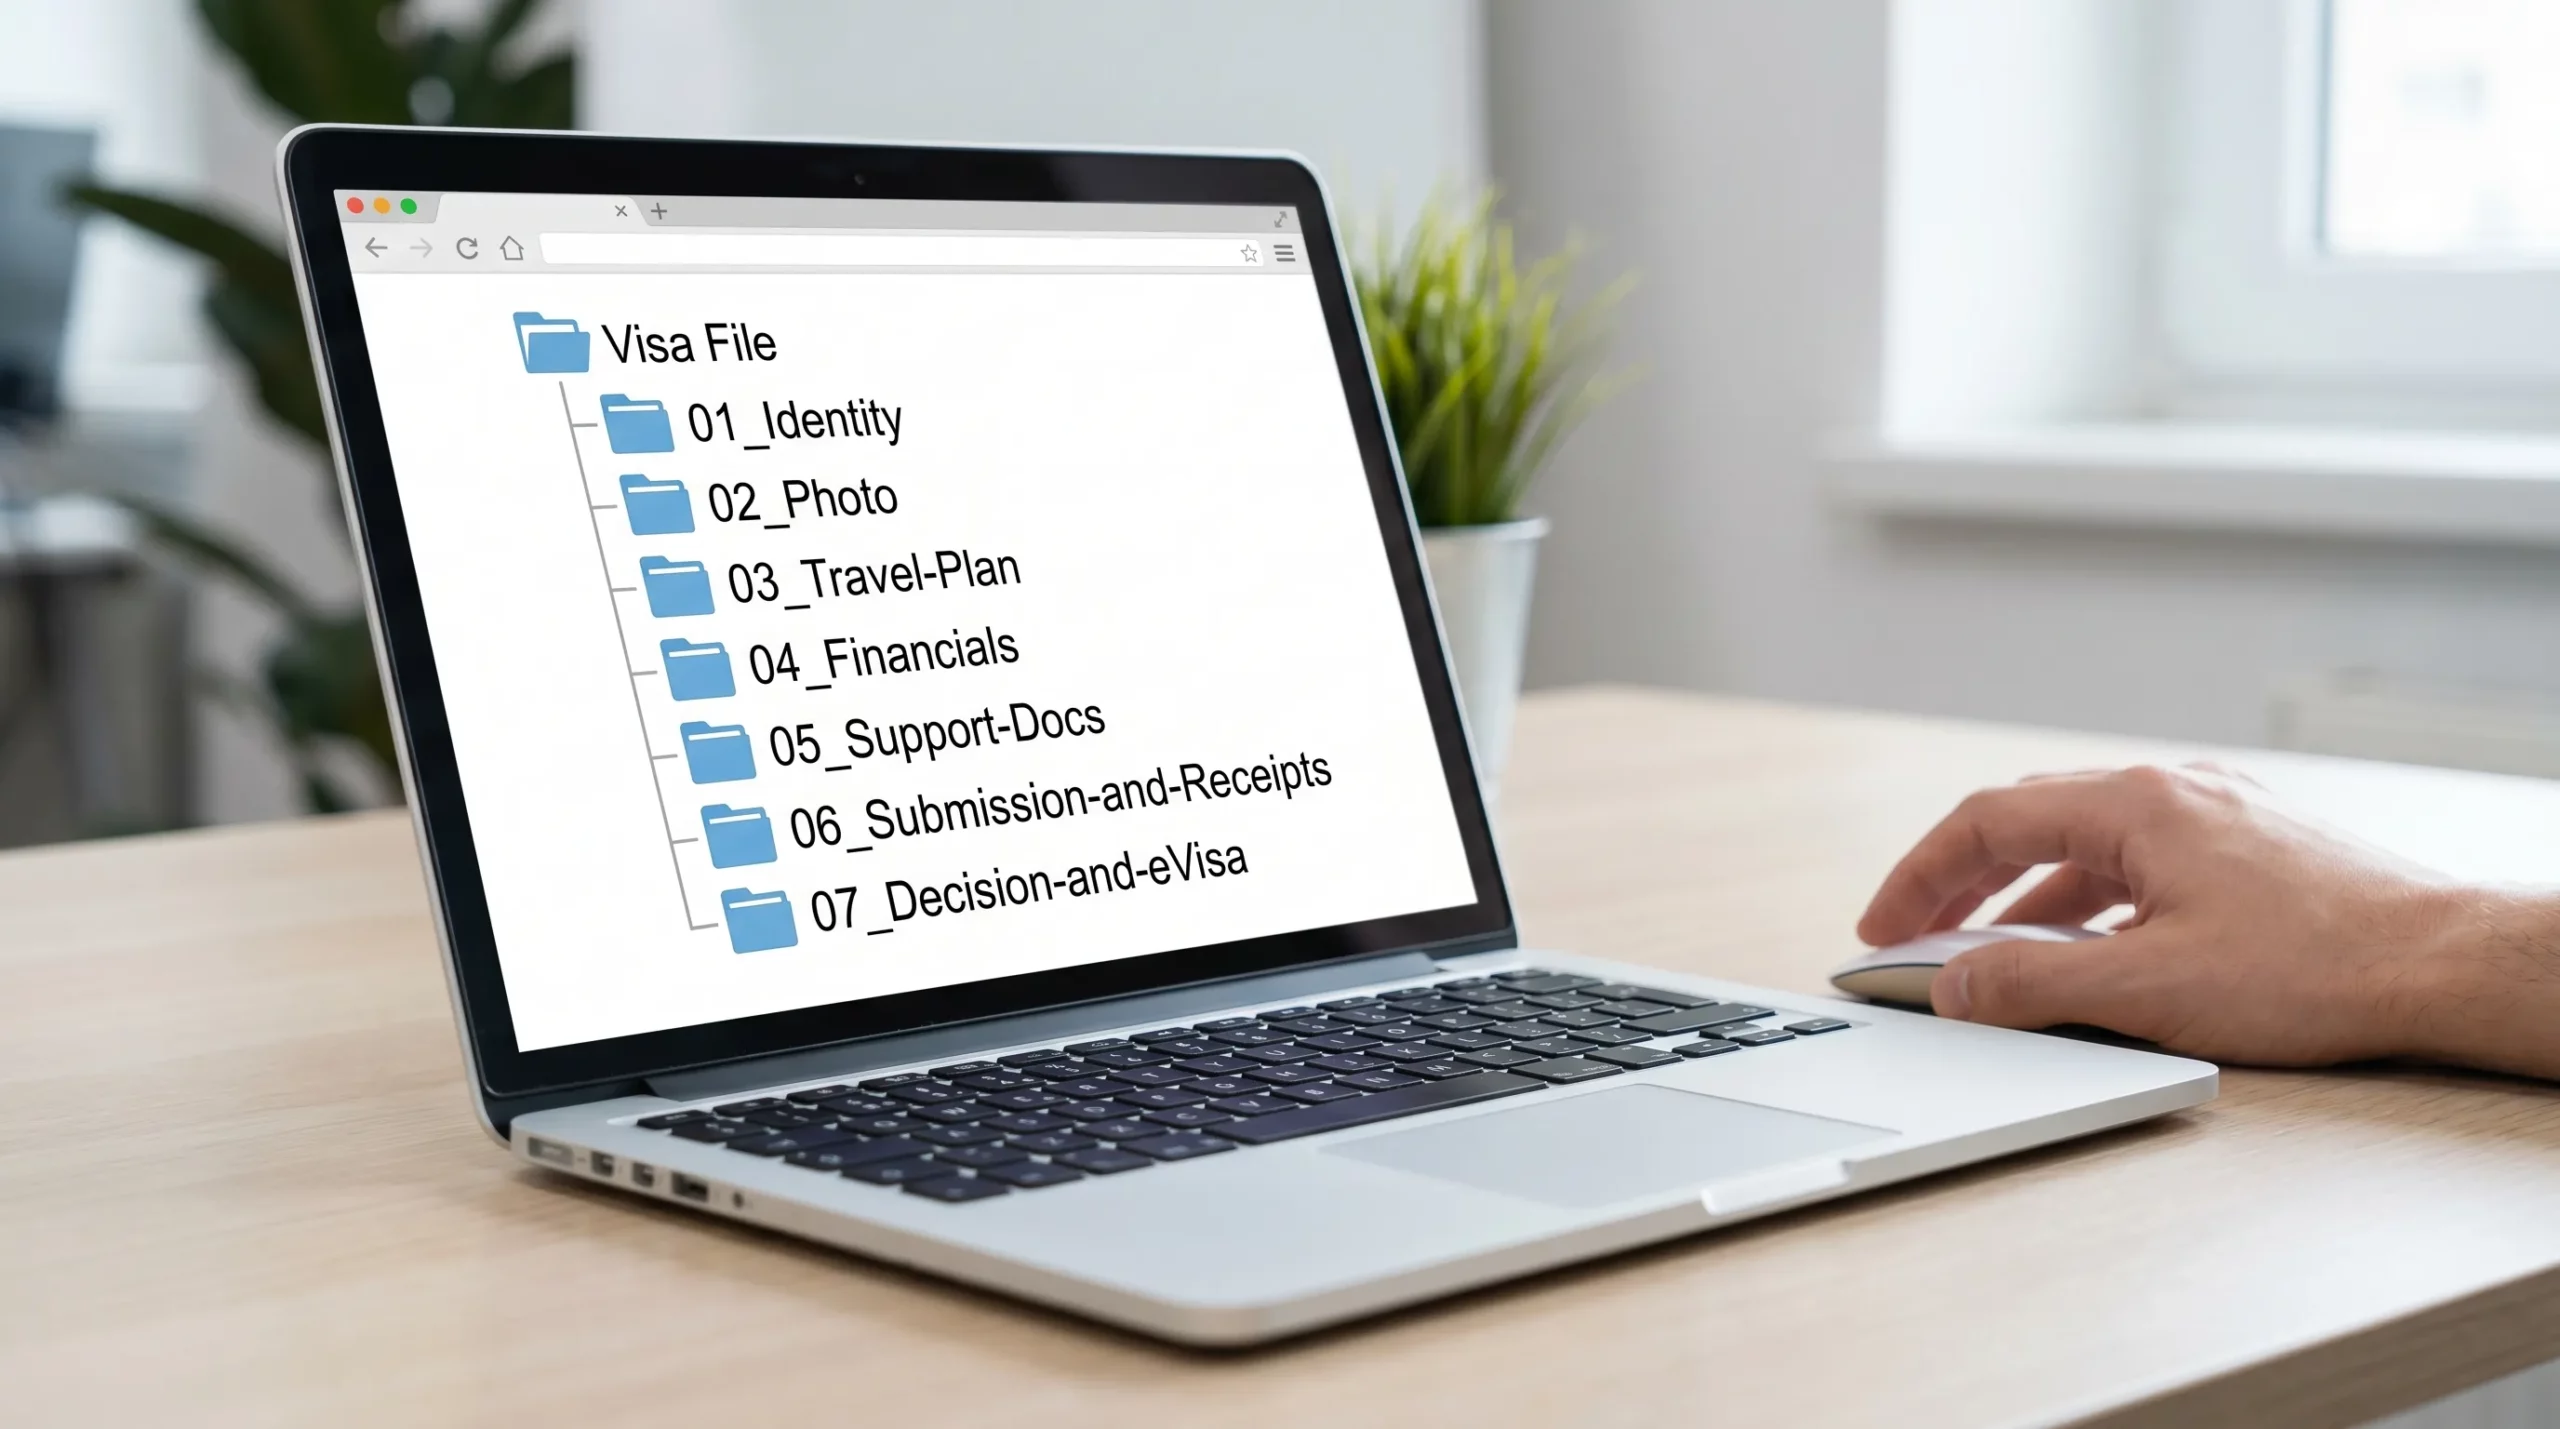
Step 1: Build a simple “Visa File” folder structure (works for any destination)
Create one folder per trip, even if you travel frequently. Inside, separate identity from trip evidence from outcomes.
A reliable structure looks like this:
00_README-Trip-Summary01_Identity02_Photo03_Travel-Plan04_Financial-and-Employment05_Additional-Support06_Submission-and-Receipts07_Decision-and-eVisa
This structure prevents the most common mistake: uploading the right document, from the wrong trip.
What goes in each folder (quick guidance)
Keep it consistent across trips:
- 01_Identity: passport bio page scan, any previous visas if required, national ID if applicable.
- 02_Photo: the exact photo file you will upload, plus a backup export.
- 03_Travel-Plan: itinerary, accommodation proof, invitation letter, onward ticket.
- 04_Financial-and-Employment: bank statements, payslips, employer letter, tax documents.
- 06_Submission-and-Receipts: payment receipt, portal confirmation, reference numbers.
- 07_Decision-and-eVisa: approved eVisa PDF, grant notice, email approval, any QR codes.
Step 2: Standardize your file naming so you never upload the wrong thing
Visa platforms and consular staff see thousands of files named “scan1.pdf”. Your goal is clarity and version control.
Use this naming pattern:
TRIPCOUNTRY_LASTNAME_Firstname_DocType_DateOrRange_V#
Examples:
| Document | Bad filename | Better filename |
|---|---|---|
| Passport bio page | passport.pdf |
JPN_SMITH_John_PassportBio_2026-04_V1.pdf |
| Bank statement | statement.pdf |
JPN_SMITH_John_BankStatement_2026-03_V1.pdf |
| Hotel booking | booking(2).pdf |
JPN_SMITH_John_Hotel_Tokyo_2026-06-10_to_2026-06-15_V1.pdf |
| Issued eVisa | evisa-final.pdf |
JPN_SMITH_John_eVisa_Approved_2026-05-01_V1.pdf |
Two tips that reduce mistakes immediately:
- Put the date in the filename, so you can spot outdated documents.
- Add a version number, so you can replace files without losing history.
Step 3: Digitize documents correctly (scan quality beats “more documents”)
For online visa processing, readability is often the difference between smooth approval and a manual review.
Passport scan quality checks
Make sure your passport scan:
- Shows the full page with all four corners visible.
- Is not cropped, blurred, shadowed, or reflective.
- Clearly includes the MRZ lines at the bottom of the bio page.
If you are using a phone, take the photo in bright indirect light and keep the camera perfectly parallel to the page.
Photo file hygiene
Many eVisa portals are strict about photo requirements (size, background, recency). Even when they are not strict, a poor photo increases the chance of manual checks.
Do not edit aggressively. Heavy filters and background replacements can trigger rejections.
Choose formats that travel well
When you can choose the format:
- Prefer PDF for multi-page evidence (statements, letters).
- Prefer JPG or PNG for photos.
- Avoid exotic formats (HEIC, TIFF) unless explicitly accepted.
If a portal specifies a maximum file size, reduce size by exporting “optimized” PDFs instead of using random online compressors that can degrade clarity.
Step 4: Create a one-page Document Index (your anti-mistake checklist)
A Document Index is a simple page (Google Doc, Notion note, or a text file in 00_README-Trip-Summary) that lists:
- What you uploaded
- Where it came from
- The document date
- The filename
This helps in two scenarios:
- A document request arrives (“Please resubmit proof of accommodation”). You instantly know what you sent.
- You apply again later and can reuse the system without re-building from scratch.
Here is a simple template:
| Category | Document | Document date | Filename | Notes |
|---|---|---|---|---|
| Identity | Passport bio page | 2026-04-21 | JPN_SMITH_John_PassportBio_2026-04_V1.pdf |
MRZ visible |
| Financial | Bank statement | 2026-03 | JPN_SMITH_John_BankStatement_2026-03_V1.pdf |
Shows salary deposits |
| Travel plan | Hotel booking | 2026-06-10 to 2026-06-15 | JPN_SMITH_John_Hotel_Tokyo_2026-06-10_to_2026-06-15_V1.pdf |
Refundable |
| Outcome | eVisa approval | 2026-05-01 | JPN_SMITH_John_eVisa_Approved_2026-05-01_V1.pdf |
Also saved to phone |
Keep it short. The point is traceability, not paperwork.
Step 5: Run a “consistency audit” before you submit
This is the most overlooked step, and it prevents the most painful errors.
Review these fields across your passport, booking, and visa application:
- Full name (including middle name behavior)
- Passport number
- Date of birth
- Nationality
- Passport expiry date
- Arrival date and departure date
If one document uses “John A Smith” and another uses “John Smith”, you may still be fine, but you should not assume. Consistency reduces the risk of extra checks.
If you want a fast method, compare everything to the passport MRZ and update other documents or your data entry to match where possible.
Step 6: Store your visa documents safely (without creating new risks)
Organization is not just neat folders. It is also secure access.
Use a “3-2-1” backup approach for travel documents
A practical version for most travelers:
- Primary: a cloud drive folder (encrypted if possible).
- Secondary: an offline copy on your phone (available without internet).
- Third: a printed pack for border points that still require paper.
This matters because airports, land borders, and ferry terminals do not always have reliable connectivity.
Share documents with the right people, the right way
If someone else might need to help you in a pinch (family member, travel advisor, corporate travel manager), do not forward scattered attachments.
Instead:
- Share a read-only folder link.
- Put the Document Index at the top.
- Include the application reference number and the issued eVisa in the
07_Decision-and-eVisafolder.
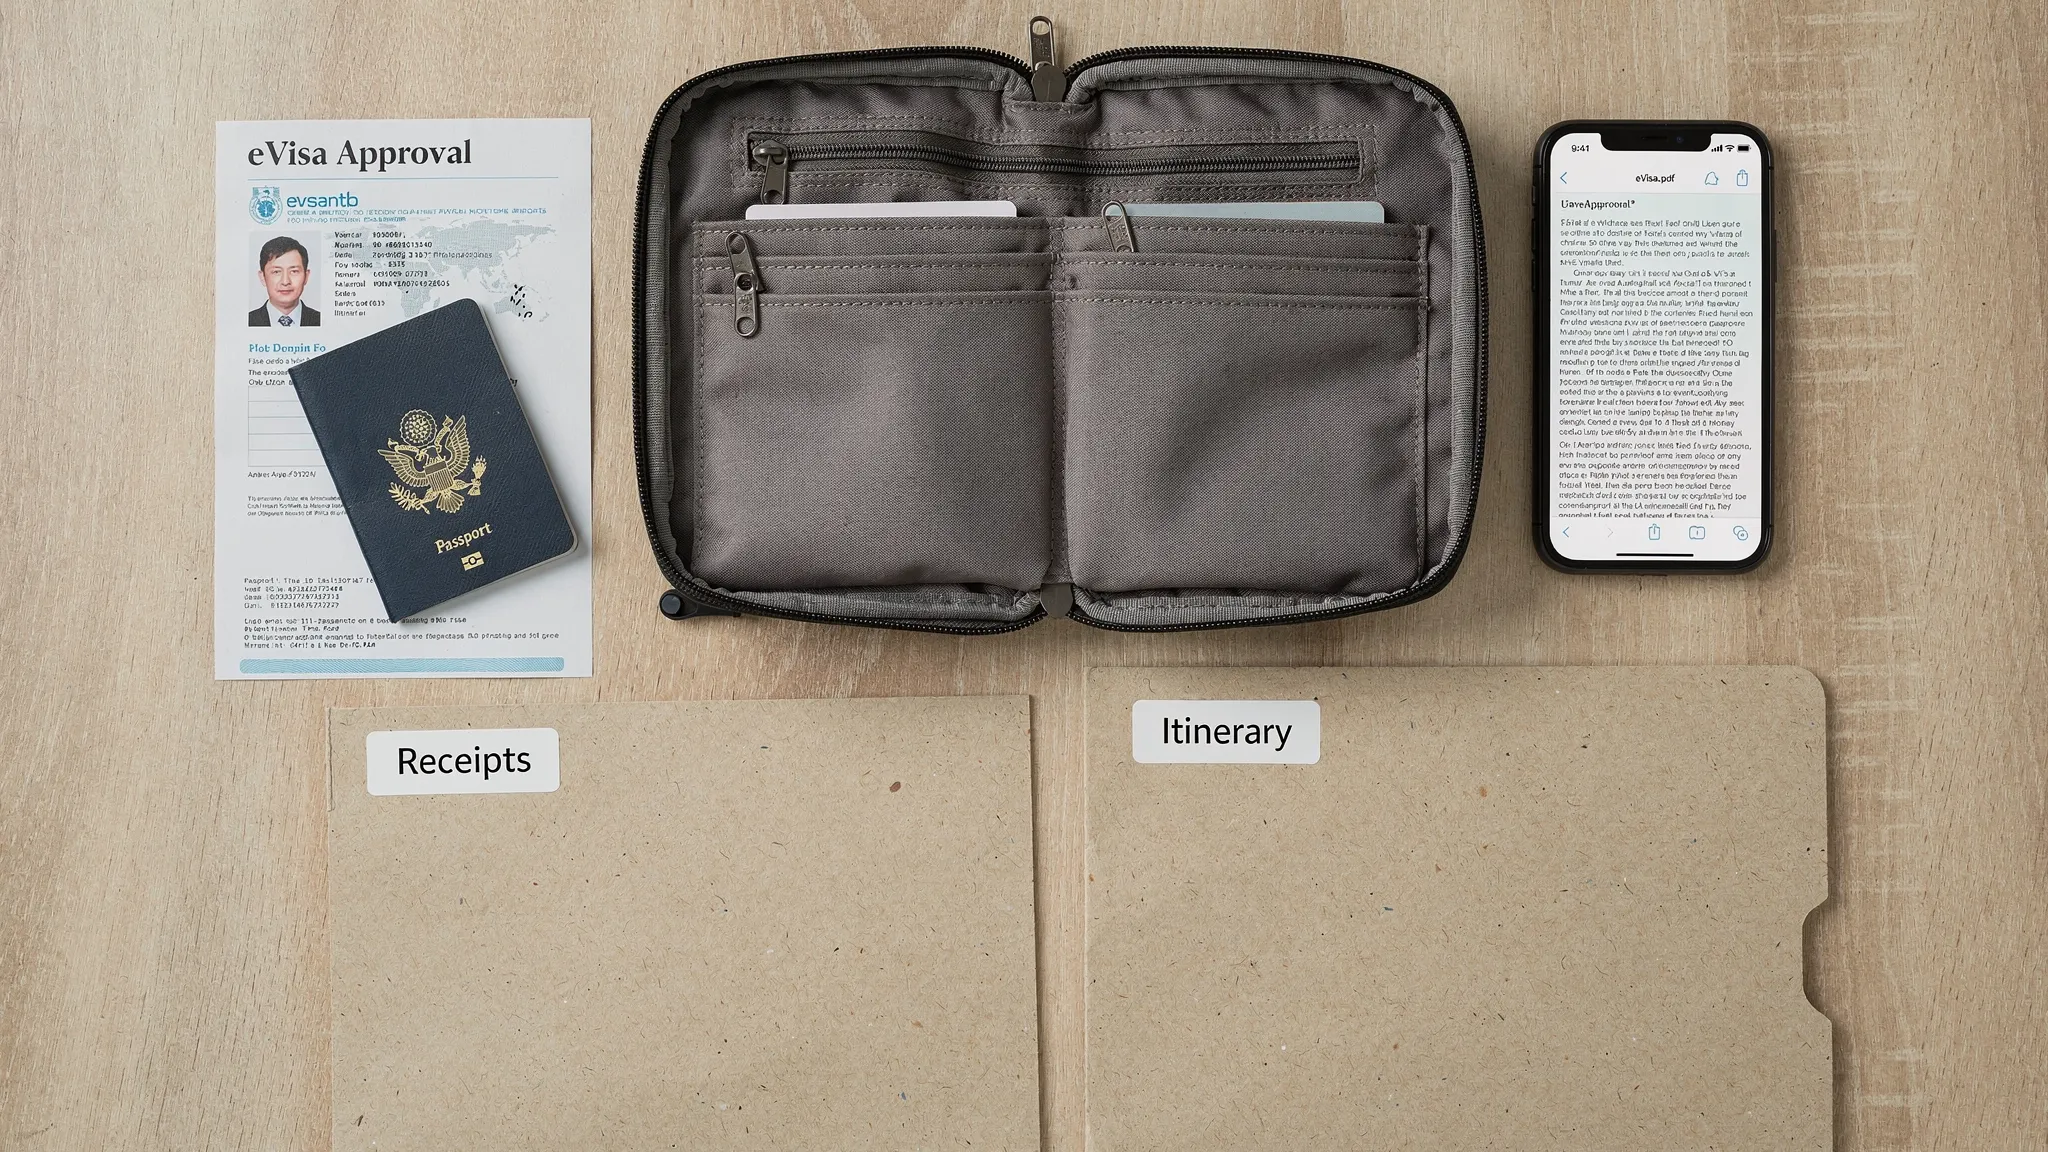
Step 7: Build a “Border Kit” for the day of travel
Even when you have an electronic visa, border officials may ask for supporting evidence. Your goal is to produce it in seconds.
Your Border Kit should include:
- Passport
- Issued eVisa (digital, and printed if recommended)
- Accommodation proof
- Return or onward ticket
- Proof of funds or sponsor letter (if relevant)
- Travel insurance certificate (if required)
A clean Border Kit reduces stress and prevents last-minute scrambling at check-in.
Common “organization mistakes” that lead to real visa problems
Mixing documents from multiple trips
This happens when frequent travelers keep one folder called “Visas”. A past itinerary or outdated hotel booking can end up attached to a new application.
Fix: create one trip folder per destination and departure window.
Saving approvals only in email
If your approval email gets buried, you may arrive at the airport unable to produce proof.
Fix: always download the final approval document into 07_Decision-and-eVisa and save an offline copy.
Uploading the right file, but the wrong page
Bank statements, employer letters, and passport scans often get truncated.
Fix: open every PDF you upload and scroll it, especially if you combined pages.
Over-collecting instead of clarifying
More documents can create more opportunities for inconsistency.
Fix: prioritize clarity, recency, and legibility, then add documents only when they support a requirement.
If you manage travelers at scale: why document organization should be automated
If you are an OTA, airline, tour operator, or travel management company, document organization is not just a traveler problem. It becomes a support and compliance load.
Automation helps when you need to:
- Guide customers through exactly what to upload (and when).
- Validate document completeness and formatting before submission.
- Reduce back-and-forth that causes abandonment.
- Keep confirmations, receipts, and eVisa outputs structured for the traveler.
Platforms like SimpleVisa are built for this, with options to integrate into booking flows via API, deploy a white-label visa application app, or use data services to surface border requirements at the right time.
For travelers, the benefit is a more guided visa application. For travel businesses, the benefit is fewer errors and a cleaner path to ancillary revenue.
Frequently Asked Questions
What is the best way to organize travel visa documents? Use one folder per trip, separate identity, photo, travel plan, financial evidence, and final eVisa outputs, then standardize filenames with dates and versions.
Should I print my eVisa or keep it digital? Many travelers do both. Keep an offline digital copy on your phone, and print a copy when the destination, airline, or border environment suggests paper may be needed.
What documents should I keep after my visa is approved? Save the approval notice (or eVisa PDF), your payment receipt, your application reference number, and any supporting documents you may need at check-in or immigration.
How do I avoid uploading the wrong document to a visa portal? Use a consistent file naming convention with dates, keep a one-page Document Index, and store each trip in its own folder to avoid mixing versions.
Is it safe to store visa documents in the cloud? It can be, if you use strong account security (unique password and MFA) and share access carefully. Always keep an offline backup for travel day.
Make visa document handling simpler for your travelers (and your team)
If your travel business supports customers across multiple destinations, document mistakes are expensive: more support contacts, more abandonment, and more last-minute disruption.
SimpleVisa helps travel brands streamline online visa processing with guided applications, automation, and flexible deployment options (API integration, white-label app, or data services). To explore what a cleaner, lower-error visa journey could look like inside your booking flow, visit SimpleVisa and request a demo.