Quick Tutorial: Embedding an eVisa Widget in Under 30 Minutes
Why offer an eVisa widget in the first place?
Booking flows are already crowded with seat selection, baggage toggles, carbon-offset tips and insurance upsells. Adding one more step sounds risky—until you remember that every international passenger eventually needs to clear immigration. If you can tell your customer right now which documents they need—and let them buy the right electronic visa in two clicks—you remove a conversion blocker and open a brand-new ancillary revenue stream.
SimpleVisa’s plug-and-play widget is the fastest way to achieve that goal. You copy a snippet of code, paste it into your checkout or post-booking email template, and the widget takes care of eligibility checks, secure payment and document delivery. The entire setup takes roughly half an hour, coffee refill included. This tutorial shows you how.
Prerequisites (5 minutes)
-
Access to your website’s HTML or tag manager
Most partners embed the widget either in the payment confirmation page or inside a dedicated “Visa & Documents” tab. If you don’t have direct code access, make sure someone who does can join you for the next 25 minutes. -
A SimpleVisa Partner ID and secret key
If you have not completed onboarding yet, request a demo—our team will email your credentials within one business day. -
A basic colour palette
The widget inherits fonts automatically, but you can brand buttons and links. Having your hex codes at hand speeds things up.
Step 1 – Generate your widget token (3 minutes)
- Log in to the SimpleVisa Partner Portal.
- Navigate to Widgets › Create new.
- Choose a name (e.g. Checkout – Summer 2025).
- Select the default language and currency.
- Click Generate token.
The portal will return a 24-character alphanumeric string—your widgetToken. Keep it private: it links the widget to your revenue account.
Good to know
If you prefer a server-to-server model later, you can switch to the full eVisa API without changing the customer-facing UI.
Step 2 – Paste the embed script (7 minutes)
Copy the following code and insert it where the widget should appear:
<!-- SimpleVisa eVisa Widget start -->
<div id="sv-widget"></div>
<script src="https://cdn.simplevisa.com/widget/v1.js"></script>
<script>
  SimpleVisaWidget.init({
    target: "#sv-widget",
    token: "YOUR_WIDGET_TOKEN",
    travelerEmail: "{{ user.email }}",   // optional prefill
    trip: {
      origin: "LHR",
      destination: "BKK",
      departureDate: "2025-08-12",
      returnDate: "2025-08-28"
    }
  });
</script>
<!-- SimpleVisa eVisa Widget end -->
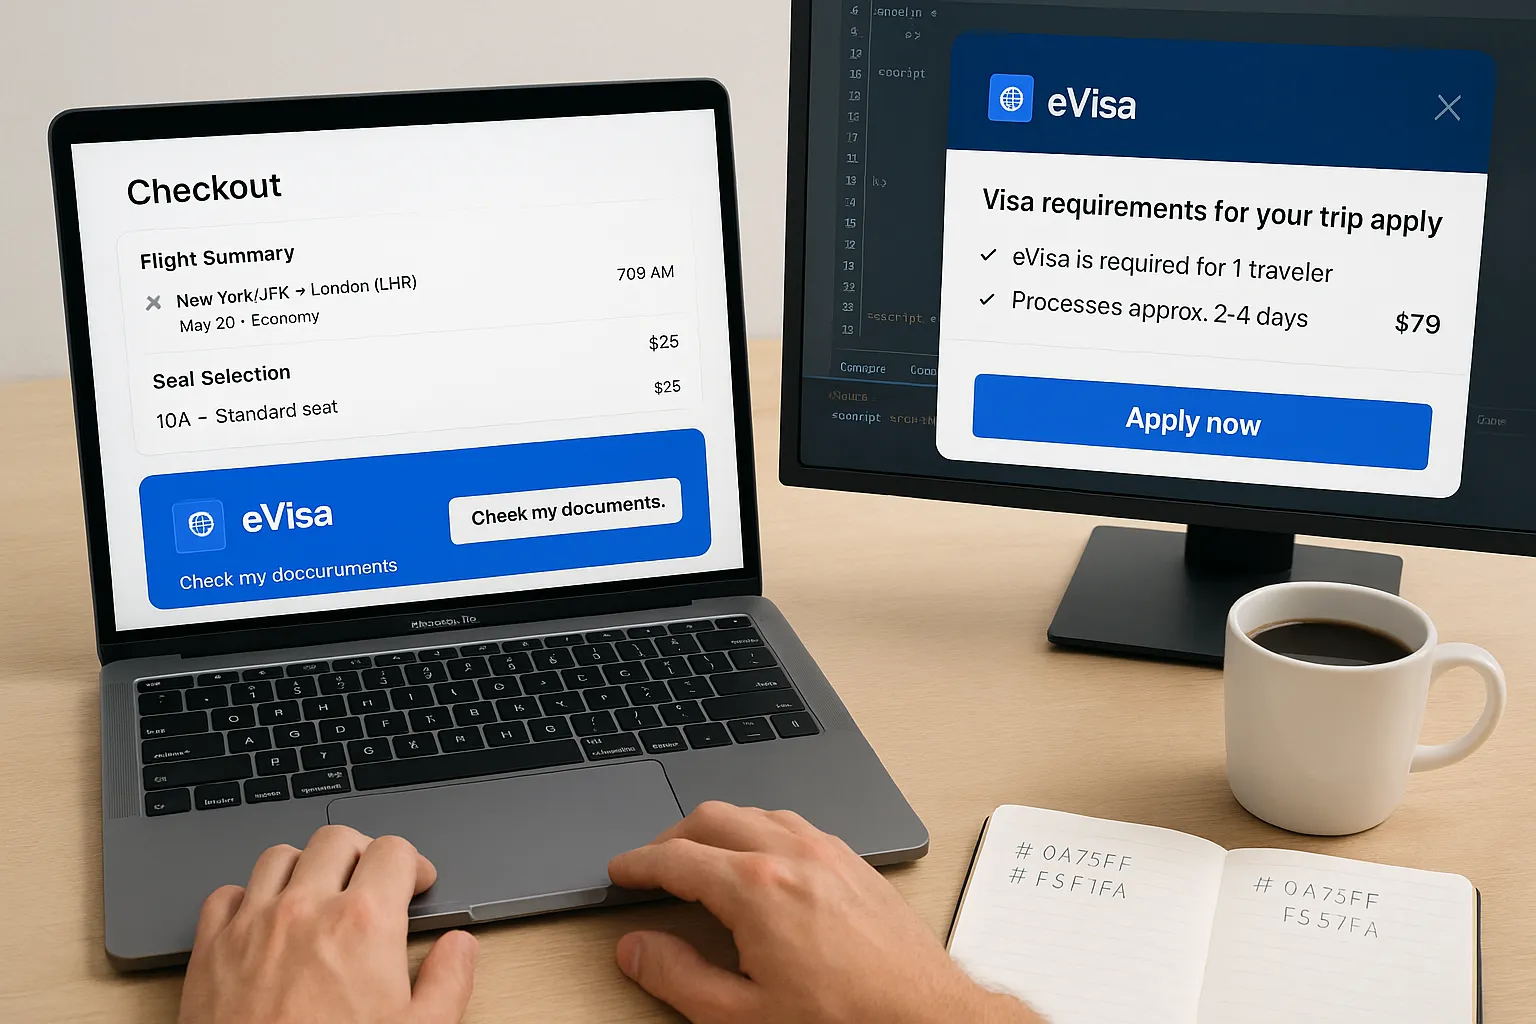
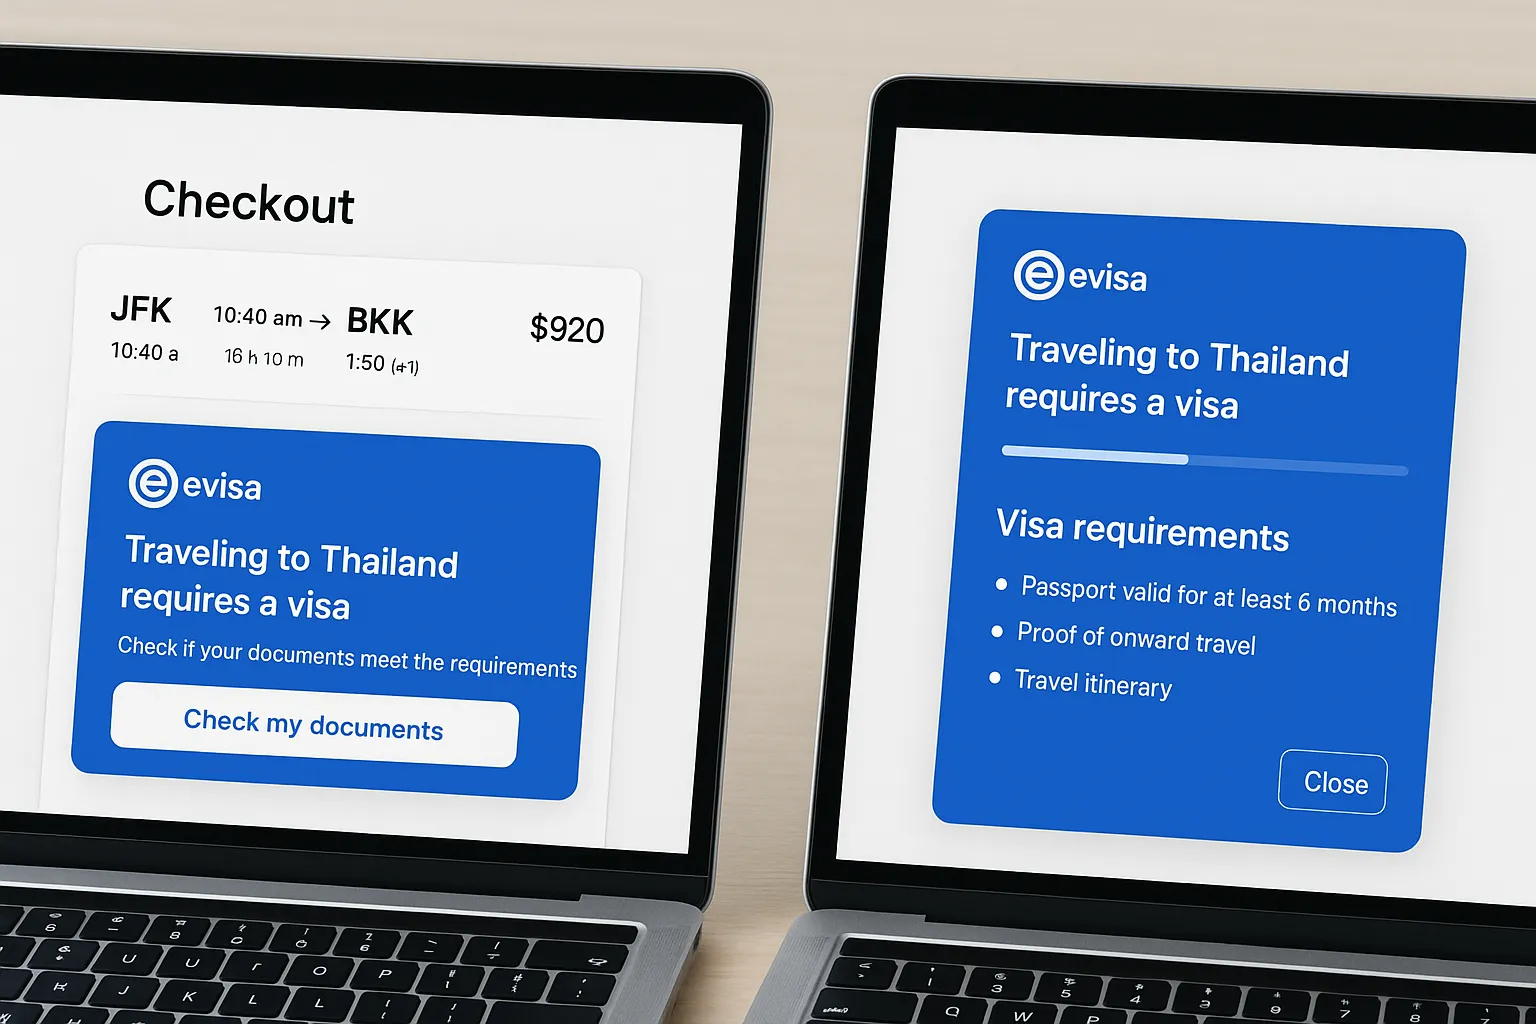
Replace YOUR_WIDGET_TOKEN with the string you generated earlier. The trip object is optional but recommended: it autoselects the correct visa based on nationality and itinerary, cutting the average completion time by 40 seconds.
Save and publish. On refresh, you should see a compact box with a “Check visa requirements” button. When clicked, it opens a modal overlay showing document needs, price and an “Apply now” CTA.
Step 3 – Brand & localise (10 minutes)
The default theme is neutral grey. A few tweaks make it look native:
<script>
  SimpleVisaWidget.init({
    /* previous config */
    style: {
      primaryColor: "#0052CC",          // buttons & links
      hoverColor:   "#003D99",
      textColor:    "#2D2D2D",
      borderRadius: 6                   // px
    },
    i18n: {
      locale: "en-US",                 // auto-detect is default
      fallback: "en-US"
    }
  });
</script>
- Primary & hover colour—match your brand’s accent colour.
- Text colour—stick to your site’s default for consistency.
- Border radius—0 for square edges, higher for pill-style buttons.
- Locale—override if you force a language (e.g. a French microsite).
Tip
Advanced partners use theonStatusChangecallback to fire analytics events when a user views requirements, starts an application or completes payment.
Step 4 – Test the full flow (5 minutes)
- Switch to Sandbox in the Partner Portal.
- Append
sandbox: trueto theinit()config. - Use the test passport number
AA1234567and credit-card number4111 1111 1111 1111. - Submit an application. You should land on the “Success” screen in under 60 seconds. An email confirmation arrives immediately.
Return to the portal → Transactions: the mock purchase appears with status Issued (Test). If everything looks good, remove sandbox: true and republish.
Troubleshooting (5 minutes)
| Symptom | Likely cause | Fix |
|---|---|---|
| Widget fails to load | token typo or script blocked by CSP |
Check console errors, whitelist cdn.simplevisa.com |
| Prices show in USD instead of local currency | Currency not supported for that visa | Leave the widget in USD or hide the currency selector via CSS |
| User completes form but sees “Verification failed” | Passport number doesn’t match ICAO checksum | Ask passenger to re-enter passport data, most typos happen on digits 0/8/9 |
For additional help, email devsupport@simplevisa.com or join the Slack workspace you received during onboarding.
Going further: upsell and automation ideas
- Add the widget to post-booking emails – capture passengers who skipped the step at checkout.
- Bundle with seat selection – display a friendly reminder when a user reserves exit-row seats for a long-haul flight.
- Pre-approve corporate travellers – use the API to bulk-create applications for recurring staff trips.
- Surface requirements in search results – a subtle “Visa required” tag next to fares improves transparency and reduces call-centre queries.
Each completed application generates a service fee credited to your SimpleVisa balance every Friday—no paperwork required.
You’re live—in under 30 minutes
If you followed the timer estimates, you now have a fully functional, branded eVisa widget that:
- Detects travellers’ nationality and destination requirements automatically.
- Handles secure payment, document uploads and status emails.
- Credits your account with a share of every successful application.
That’s thirty minutes well spent—less time than it takes to push a minor release. Ready to see it in action with real passengers? Switch the portal back to Live, grab a celebratory coffee, and watch ancillary revenue roll in.
Need granular control or white-label options? Dive into our full API guide or book a 15-minute technical health check with our solutions team. Happy embedding!