Taking Visa Photos at Home: Specs That Pass First Try
A visa application can be perfect on paper and still get delayed for one simple reason: the photo upload fails automated checks (or an officer flags it for not matching the spec). The good news is that you can take a compliant visa photo at home with a smartphone, as long as you set up the shot like a “document capture” and not like a social photo.
Below is a practical, country-agnostic checklist that works for most online visas and eVisas, plus a few destination examples and a troubleshooting guide so your photo passes the first time.
Start with the only rule that matters: follow the destination’s spec
Every country (and sometimes each visa type within a country) can define its own photo rules: dimensions, background tone, file size, whether glasses are allowed, and how recent the photo must be.
So before you shoot:
- Open the official application portal (or the instructions inside your provider’s application flow).
- Find the “Photo requirements” section.
- Write down four items: photo size, digital format, background color, any special restrictions (glasses, head coverings, shadows).
If you are applying for a U.S. visa or document that references U.S. photo standards, the U.S. Department of State publishes clear examples and measurements, see the official guidance on travel.state.gov.
The “universal” visa photo standards (that most systems check first)
Even when exact dimensions vary, most visa portals and automated validators look for the same fundamentals: a detectable face, even lighting, and a plain background.
Background: plain, light, and distraction-free
Choose a solid, light background (often white or off-white). Avoid:
- Patterns (tiles, curtains, wallpaper)
- Visible corners, door frames, wall art
- Bright colors that can tint the edges of your hair or shoulders
A simple trick is to stand in front of a clean wall, or hang a plain sheet with no wrinkles.
Lighting: bright and even (no shadows)
Uneven lighting is one of the fastest ways to get rejected because it interferes with face detection and makes the background look “non-uniform.”
Aim for:
- Light coming from in front of you, not from above or behind
- No shadow behind your head
- No glare on skin or forehead
Natural window light works extremely well. Face the window and take a step back from the wall to reduce shadows.
Face and expression: neutral, centered, and fully visible
Most systems expect:
- Neutral expression (no exaggerated smile)
- Eyes open and looking straight at the camera
- Full face visible, no hair covering eyes, no heavy shadow on cheeks
- Head centered, not tilted
If the portal shows an on-screen oval or guide, use it. It’s usually tuned to their face-position rules.
Clothing and accessories: keep it simple
Wear something that contrasts slightly with the background (a white shirt against a white wall can cause blending).
Common restrictions to check in the destination spec:
- Glasses: many modern standards discourage glasses due to reflections and frame occlusion, and some destinations explicitly ban them.
- Head coverings: often allowed for religious reasons, but facial features must remain visible (no shadows across the face).
- Uniforms: some countries restrict uniform-like attire.
Home setup that produces “pass-first-try” photos
You do not need special equipment, but you do need a controlled setup.
Step 1: Use the right camera settings
A modern smartphone camera is fine. The key is to avoid “beauty” effects.
- Turn off filters and “beauty” modes
- Avoid portrait mode blur if it softens edges around hair
- Use the rear camera if possible (it’s usually higher quality than the selfie camera)
- Keep the lens clean (a smudged lens reduces sharpness and triggers quality warnings)
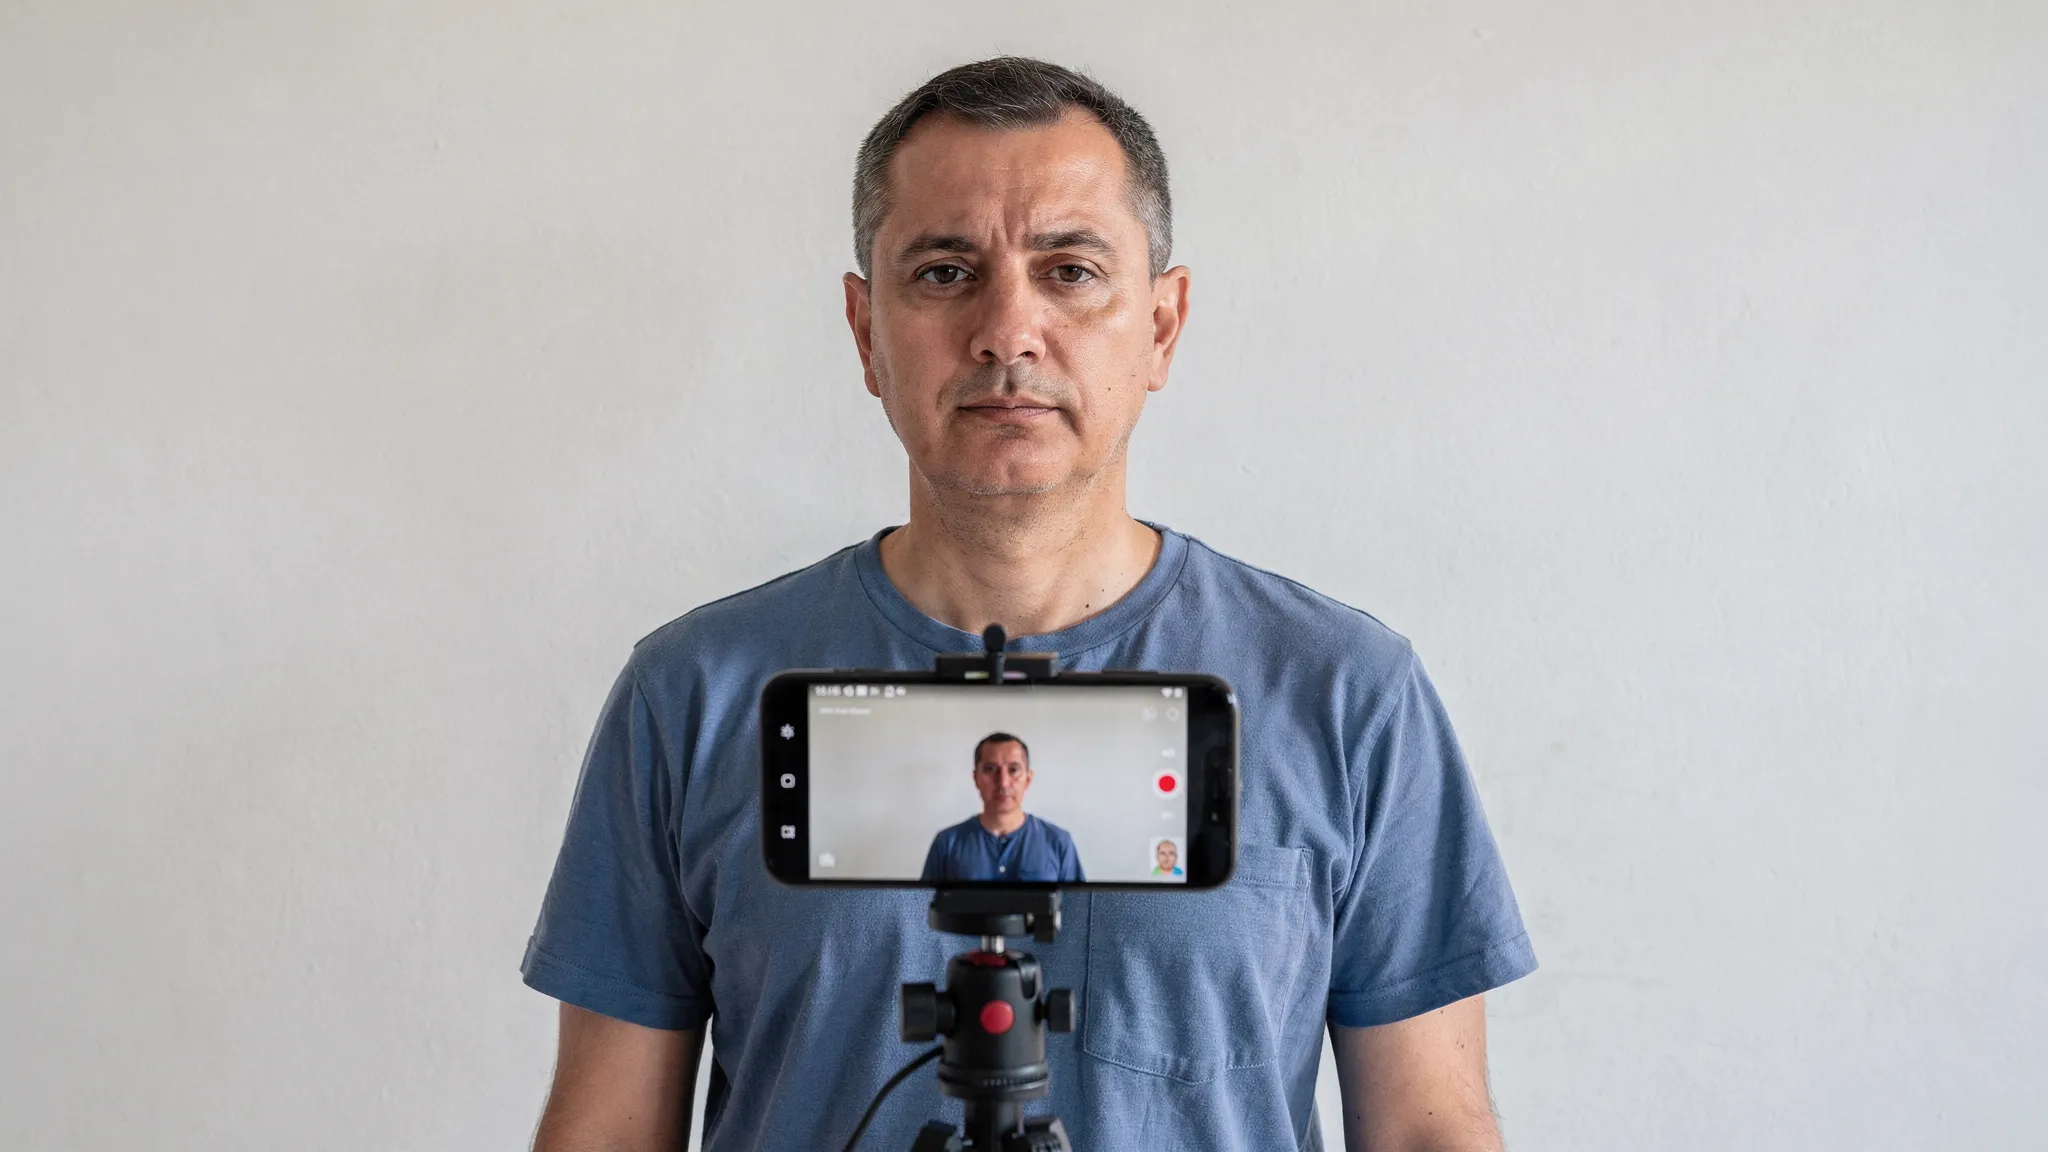
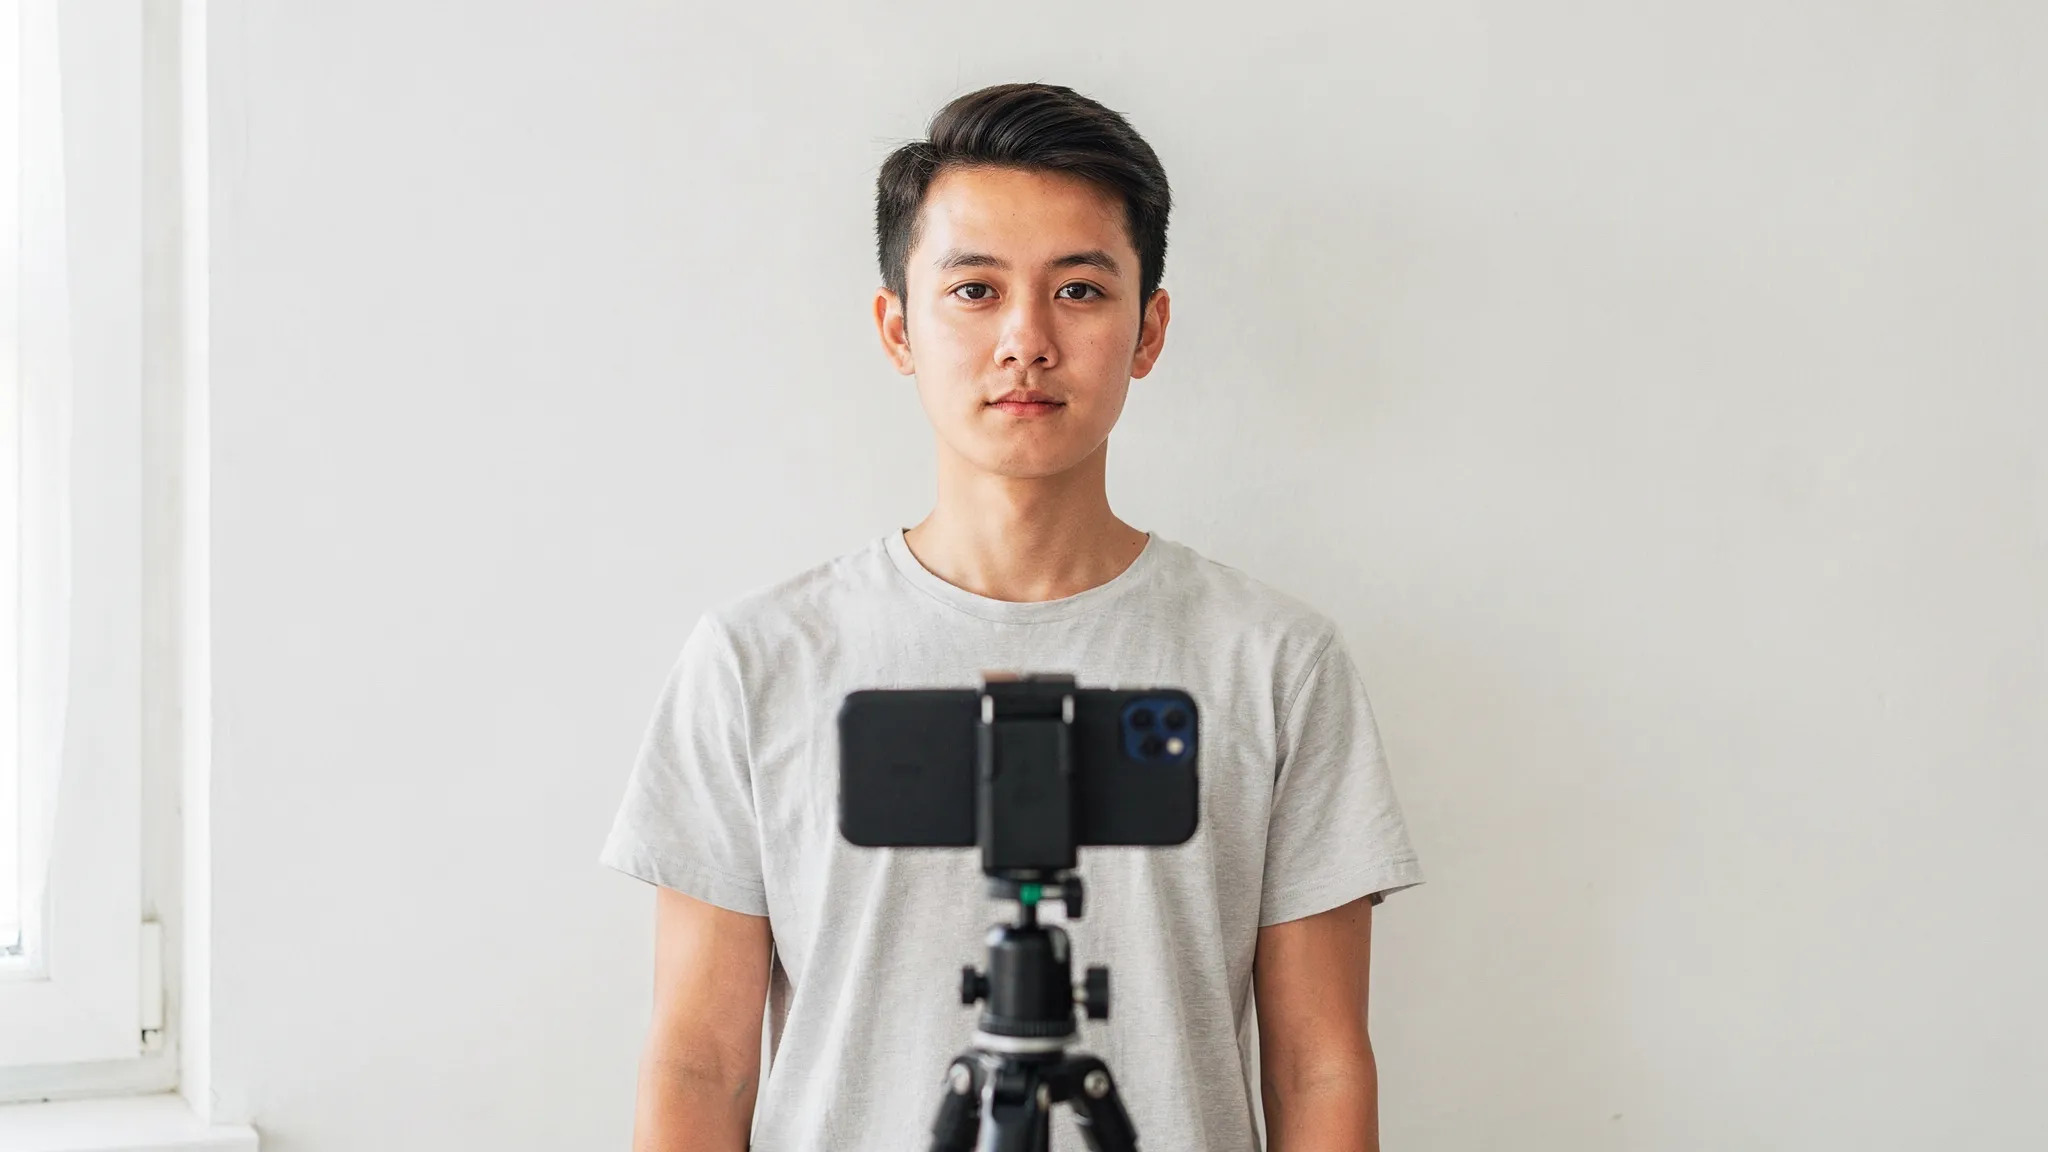
Step 2: Lock your framing (tripod, shelf, or a helper)
The most common DIY mistake is shooting a selfie from above. That changes proportions and can be rejected.
- Place the phone at eye level
- Keep it straight, not angled up or down
- Step back and zoom slightly (if needed) to reduce wide-angle distortion
If you have to handhold, use a timer to prevent motion blur.
Step 3: Keep the background separate from you
Stand a few feet away from the wall. This does two things:
- Reduces hard shadows
- Prevents your hair from blending into the background
Step 4: Take more shots than you think you need
Shoot 10 to 20 photos and choose the sharpest. Small issues like micro-blur or a tiny shadow are hard to notice until you upload.
Cropping and editing: what helps, what hurts
Many rejections happen during “fixing,” not during shooting.
What’s safe
- Cropping to the required dimensions
- Minor exposure correction if the image is too dark
- Straightening if your head is slightly tilted due to camera angle
What often causes rejections
- Filters that change skin tone
- Background removal that leaves halos around hair
- Face-smoothing that removes natural texture
- Over-sharpening (creates unnatural outlines)
If you must use an app to crop, prefer a simple crop tool rather than AI background replacement.
Digital file specs: the common pitfalls
Because eVisa portals vary, treat these as “likely” requirements and confirm the exact numbers on your destination page.
Here’s what most online visa systems commonly request:
| Requirement area | What usually works | What commonly fails |
|---|---|---|
| File format | JPEG (.jpg) | HEIC-only uploads, unusual formats |
| Color | Color photo | Black-and-white, heavy color casts |
| Sharpness | Clear facial features, no blur | Motion blur, low-light grain |
| Background | Plain light background | Patterns, shadows, textured walls |
| Composition | Full face, centered | Cropped chin, eyes too high/low |
If your phone saves photos as HEIC and the portal does not accept it, export as JPEG at high quality.
Quick self-check: a 30-second “pass/fail” audit
Before you upload, zoom in and verify these five points:
- Eyes: both eyes visible, no glare, no hair crossing.
- Edges: hair and shoulders have clean outlines (no blur).
- Background: looks uniform, no visible shadows.
- Color: skin tone looks natural, not over-warm or over-cool.
- Crop: full head and shoulders included (as required), no tight crop cutting hair.
If any of these fail, retake the photo. Retaking is usually faster than waiting for a rejection email.
Common rejection reasons (and how to fix them fast)
| Rejection reason you may see | What it usually means | Fast fix at home |
|---|---|---|
| “Background not acceptable” | Not plain enough, or shadows detected | Face a window, step away from wall, use a blank sheet |
| “Face not centered / incorrect size” | Head too large/small, wrong crop | Re-crop using the portal’s guide, or retake farther back |
| “Blurry / low quality” | Motion blur or low light | Use timer, stabilize phone, increase light |
| “Glare / reflections” | Glasses glare or shiny skin hotspot | Remove glasses, soften light with sheer curtain |
| “Overexposed / underexposed” | Bright window behind you or low light | Turn to face the light source, avoid backlighting |
Special cases: kids, head coverings, and medical exceptions
Children and infants: Many countries still require a neutral face and forward gaze, but infants may have flexibility. Use a plain sheet as a background and make sure no hands or toys are visible in frame.
Religious head coverings: Often permitted, but ensure the face is fully visible and the covering does not cast shadows. Do not use background removal tools that distort the edge of the covering.
Medical or accessibility needs: If you cannot meet a specific requirement (for example, neutral expression), check the destination guidance for exceptions or explanatory notes.
If you’re applying through a travel provider: why “photo quality” affects timelines
Many travel sellers and online visa flows are built to keep applications moving quickly. When a photo fails, it can trigger back-and-forth messages, resubmissions, and missed travel dates.
For travel businesses, this is one of the easiest friction points to reduce because it is both common and preventable. A guided capture experience, clear requirements, and early validation can dramatically cut avoidable resubmissions.
For travelers, the takeaway is simple: treat the photo as a technical upload, not a portrait.
Frequently Asked Questions
Can I take a visa photo at home with my phone? Yes. Most eVisa portals accept smartphone photos if they meet the destination’s requirements for background, lighting, framing, and file format.
Do visa photos have to be taken professionally? Usually not. Some destinations recommend professional photos, but many accept compliant DIY digital photos. The key is meeting the exact spec listed on the application portal.
Are glasses allowed in visa photos? It depends on the destination. Some authorities prohibit glasses due to reflections and frame occlusion. Always follow the destination’s photo rules.
How recent does my visa photo need to be? Many programs require a recent photo (often within the last 6 months), but rules vary. Check the destination’s instructions.
What’s the fastest way to fix a rejected visa photo? Retake the photo in better lighting (face a window), stand away from the wall to remove shadows, remove glasses, and re-crop using the portal’s guide.
Reduce photo-related delays in your visa journey
If you are a travel brand (OTA, airline, agency, tour operator) supporting customers through visas, photo rejections create avoidable support tickets and lost time. SimpleVisa helps streamline visa applications with guided customer flows and automation options that can fit inside booking journeys (via API integration) or run through a white-label visa application app.
Explore SimpleVisa at simplevisa.com and see how a streamlined visa experience can help customers submit compliant documents with fewer retries.