US Travel Visa Application: Step by Step Overview
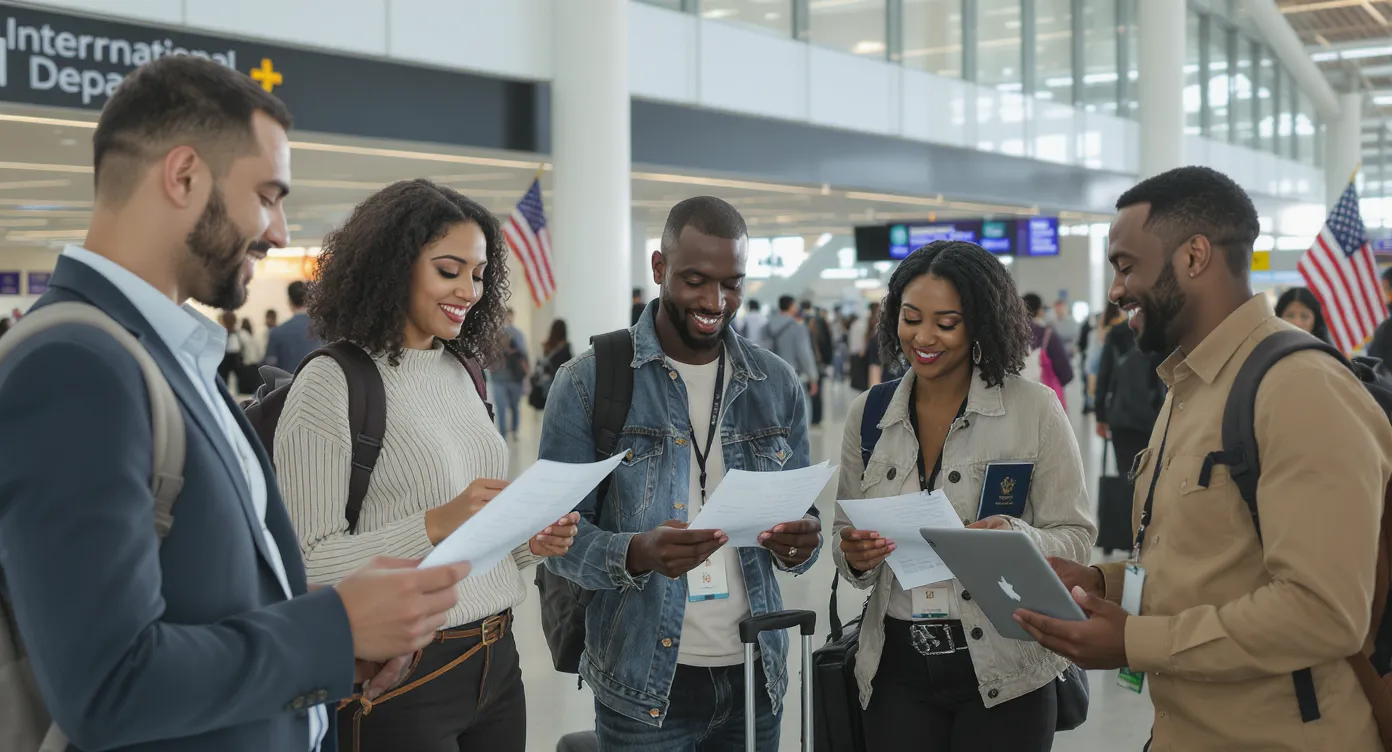
Applying for a U.S. travel visa can feel daunting—long forms, unfamiliar jargon, and weeks of waiting. Yet millions of visitors successfully complete the process every year. According to the U.S. Department of State, more than 6.8 million non-immigrant visas were issued in FY 2024 alone. With the right preparation, you can navigate the system smoothly and avoid costly delays.
Below is a detailed, step-by-step overview that walks you from the first eligibility check all the way to boarding a flight to the United States.
Step 1 – Confirm Whether You Need a Visa or an ESTA
Before diving into paperwork, verify the kind of entry permit you actually need:
| Travel Authorization | Typical Purpose | Eligible Nationalities | Application Channel | Validity & Stay Limits |
|---|---|---|---|---|
| Visa Waiver Program (ESTA) | Tourism & short business (≤ 90 days) | Citizens of 40 VWP countries (e.g., UK, Japan, Australia) | Online ESTA form | 2 years; 90 days per visit |
| B-1/B-2 Visitor Visa | Business meetings, tourism, medical | Most other nationalities; VWP travelers staying > 90 days | DS-160 + interview | Up to 10 years; usually 6 months per entry |
If you hold a VWP passport, applying for an ESTA takes about 15 minutes and costs USD 21. Everyone else—and anyone planning to remain longer than 90 days—must follow the non-immigrant visa process described below.
(Already decided on an ESTA? Our guide on how long it takes to get a US electronic visa breaks down the timeline.)
Step 2 – Choose the Correct Visa Category
For standard leisure or business travel, the B-class visa is almost always the answer:
- B-1 (Business): short-term meetings, conferences, contract negotiations.
- B-2 (Tourism/Medical): vacations, visiting friends and family, medical treatment.
If you plan specialized activities—study, paid work, performing arts, journalism, or investment—you’ll need a different category (F-1, H-1B, O-1, E-2, etc.). Selecting the wrong class is a top cause of refusal, so double-check requirements on the State Department website or consult an accredited advisor.
Step 3 – Gather Mandatory Documents
Start compiling documents before you touch the online form. Having everything at hand prevents time-outs and mistakes.
- Valid passport (expiry at least six months beyond intended stay)
- Digital passport-style photo (2 × 2 in, JPEG < 240 kB, plain white background)
- Travel itinerary (flights, hotel booking, conference invite, cruise schedule, etc.)
- Employment or study proof (letter from employer, enrollment certificate)
- Recent bank statements or payslips demonstrating sufficient funds
- Previous U.S. visas and refusal letters (if applicable)
- Police certificates or medical documents if directed by the embassy
SimpleVisa users can auto-generate a personalised checklist—see our complete document list for details.
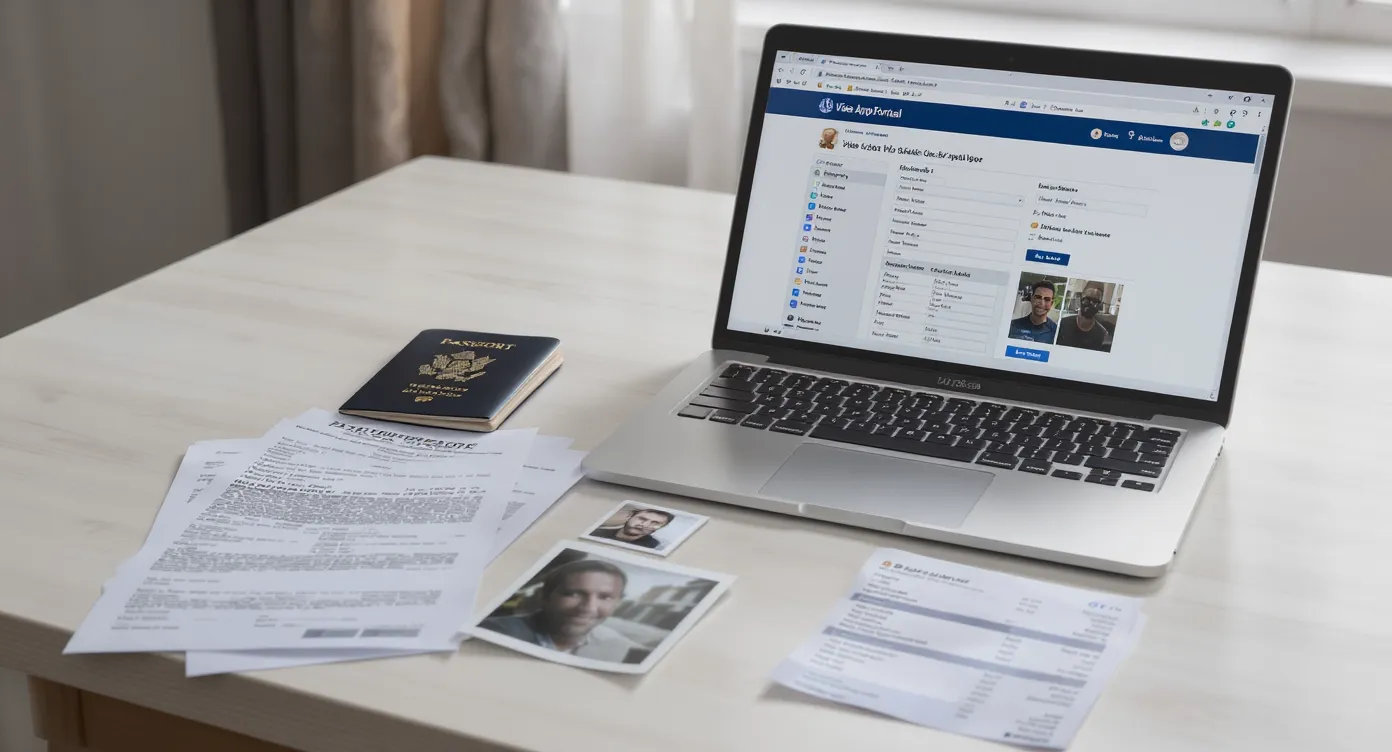
Step 4 – Complete the DS-160 Online Form
- Visit the secure Consular Electronic Application Center (CEAC) and select “Non-immigrant Visa (DS-160).”
- Choose the embassy/consulate where you will interview. This locks the location on your confirmation barcode.
- Create a security question so you can save progress—most errors originate from rushing here.
- Enter personal data exactly as in your passport (names, dates, accents, hyphens).
- Upload your digital photo; if it fails auto-check, you may bring a printed copy to the interview instead.
- Review every section, then electronically sign and submit.
- Save and print the DS-160 confirmation page with barcode. You’ll need it twice: for fee payment and the consular interview.
Pro-tip: DS-160 sessions time-out after 20 minutes of inactivity. Save frequently or use the “Retrieve an Application” feature.
Step 5 – Pay the Machine-Readable Visa (MRV) Fee
Fees vary by visa class; B-1/B-2 currently costs USD 185 (Nov 2025). Payment platforms differ by country (online banking, mobile money, cash deposits). After payment you’ll receive a receipt number; store the email or printout, as you’ll need that to book your interview.
| Visa Class | MRV Fee (USD) | Reciprocity Fee* |
|---|---|---|
| B-1 / B-2 | $185 | Varies by nationality |
| F-1 (Student) | $185 | — |
| C-1/D (Crew) | $185 | — |
*Some nationalities must pay an additional reciprocity fee after approval. Check the Fee Calculator.
For a breakdown of U.S. e-visa and reciprocity costs, read our article on how much a US electronic visa is.
Step 6 – Schedule Your Appointment(s)
Most applicants must book two appointments:
- ASC/VAC biometrics: fingerprints and photo capture (takes ~15 minutes).
- Consular interview: conducted by a consular officer.
Appointment portals differ by country (U.S. Travel Docs, CGI Federal, or embassy-specific systems). Enter your DS-160 barcode and MRV receipt number to unlock the calendar.
Interview wait times fluctuate—anywhere from two days in Singapore to 200 + days in Mexico City during peak season. Monitor the official wait-time tool and set availability alerts.
Step 7 – Attend the Biometrics Appointment
Bring:
- DS-160 confirmation page
- Appointment confirmation letter
- Valid passport
Your fingerprints and live photo will be captured; no formal interview questions occur here. Minors under 14 and seniors over 79 often skip this step (check local rules).
Step 8 – Prepare for and Pass the Visa Interview
The consular interview is usually short—3 to 5 minutes—but decisive. The officer’s goal is to confirm:
- Your travel purpose matches the visa category.
- You have the funds to cover the trip.
- You intend to leave the U.S. before visa expiry.
Bring physical originals plus one set of photocopies:
- Passport valid six months beyond stay
- DS-160 confirmation and appointment letter
- Fee payment receipt
- Supporting documents (itinerary, proof of employment/studies, bank statements, property deeds, invitation letters, previous visas)
Dress smart-casual, answer honestly, and keep explanations concise. If additional documents are requested, you’ll receive a 221(g) slip with instructions.
Step 9 – Track Application Status and Receive Your Passport
After the interview your application enters one of three paths:
- Issued: congratulations! Your visa will be stamped and couriered within a week.
- Administrative Processing (AP): extra background checks; timing varies (days to months). Check status on the CEAC tracker.
- Refused: you’ll receive a written reason. You may re-apply once circumstances change; see our guide on recovery strategies after visa denial.
When the status flips to “Issued,” your passport is dispatched via DHL, courier pickup, or local collection point. Inspect the visa foil for errors—name spelling, number of entries, and expiration date—before booking flights.
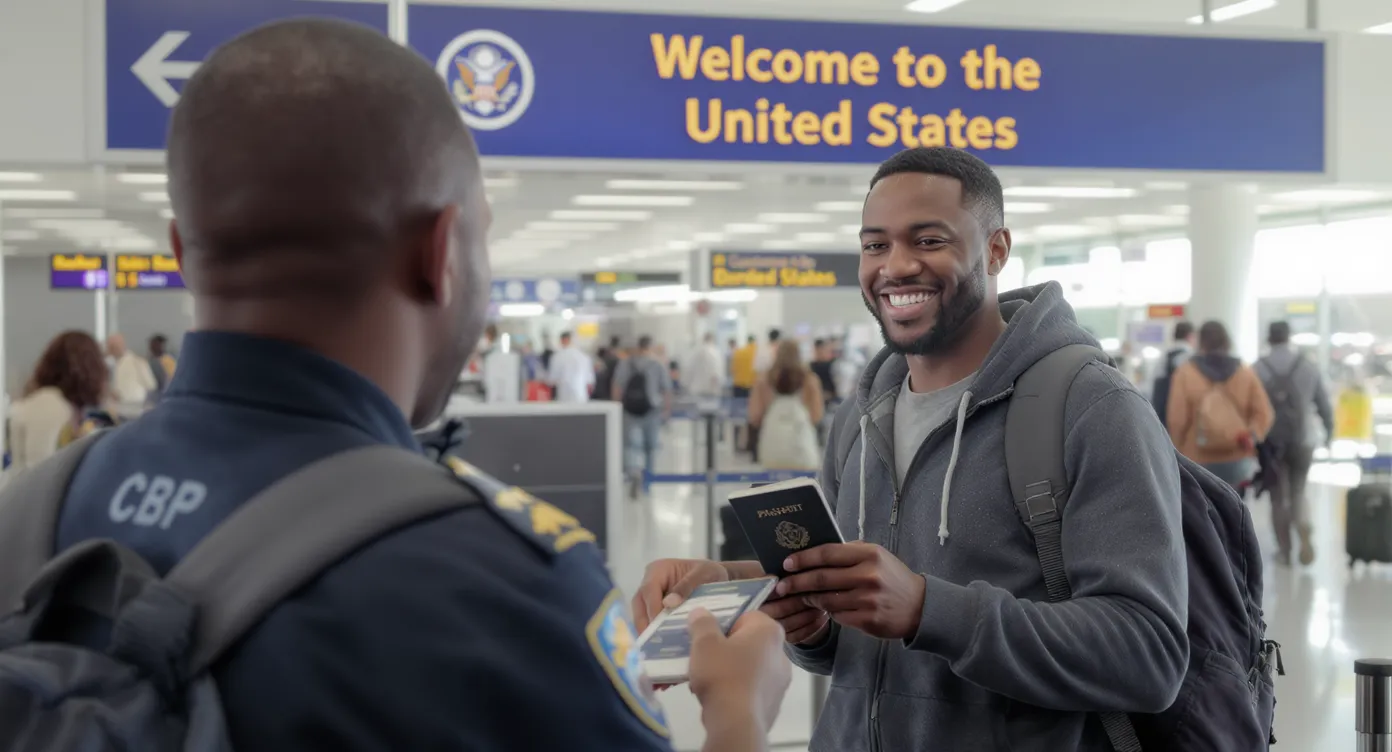
Step 10 – Arrive in the United States
Holding a visa does not guarantee entry. At the port of entry a U.S. Customs and Border Protection (CBP) officer will:
- Re-scan fingerprints and take a photo.
- Verify the purpose and duration of your trip.
- Issue an electronic I-94 record with your authorized stay date.
You can retrieve the I-94 later at cbp.gov/i94. Overstaying, even unintentionally, can jeopardize future visa applications, so mark the departure deadline in your calendar.
Typical Timeline at a Glance
| Stage | Average Duration* |
|---|---|
| DS-160 completion | 1–2 hours |
| Biometrics wait | 1–30 days |
| Embassy interview wait | 3–120 days |
| Passport return | 3–10 days |
*Times differ widely by country and season. For real-time figures, consult local embassy pages.
Common Pitfalls—and How to Avoid Them
- Inconsistent data: Names that don’t match passport MRZ lines trigger AP.
- Old or edited photos: U.S. photo standards are strict; get a fresh image.
- Incomplete employment history: Gaps raise red flags—list every role in the past five years.
- Overlapping travel plans: Booking non-refundable flights before visa issuance can be risky. Opt for refundable fares or hold options.
- Ignoring reciprocity fees: Some applicants assume the MRV fee is the only cost and get surprised at pickup.
For a deeper dive, read our piece on common mistakes that cause visa rejections.
How SimpleVisa Can Help
Whether you’re a traveler needing a personal checklist or a travel agency integrating visa screening into checkout, SimpleVisa automates the heavy lifting:
- API or no-code widget to surface U.S. entry requirements during booking
- White-label application portals with branded emails and status tracking
- Ancillary-revenue sharing while boosting customer satisfaction
Travel brands already live with SimpleVisa have seen +9 % uplift in post-booking conversion for U.S. routes. Request a demo to see how it works.
Key Takeaways
- Verify ESTA vs. Visa eligibility first to avoid unnecessary steps.
- Finish the DS-160 accurately—errors snowball into delays.
- Pay required MRV and reciprocity fees and keep receipts.
- Interview prep matters: concise answers, robust documentation.
- Track your passport and check visa details immediately upon return.
- Respect the I-94 departure date to preserve future travel freedom.
With careful planning and the resources above, your U.S. travel visa application can move from mystery to manageable checklist—and you’ll be ready to explore the United States sooner than you think.