Visa Application for US: First-Timer’s Checklist
Applying for a United States visa for the very first time can feel overwhelming. Different visa classes, multi-step forms, fees in unfamiliar currencies, and the fear of a denied application all add pressure to an already time-sensitive travel plan. This checklist distills the process into actionable steps so first-time applicants can prepare confidently, avoid common pitfalls, and maximise the chances of a swift approval.
1. Confirm You Need a Visa — and Choose the Right Type
Not every traveller needs a full U.S. visa. Citizens of 40 Visa Waiver Program (VWP) countries can often enter with an ESTA, while others must apply for a traditional visa or e-Visa category.
| Travel Purpose | Typical Classification | Interview Required? | Stay Limit |
|---|---|---|---|
| Short tourism or family visit | B-2 Visitor Visa | Yes (exceptions for minors and some renewals) | Up to 180 days |
| Business meetings, conferences | B-1 Business Visa | Yes | Up to 180 days |
| Transit through the U.S. | C-1 Transit Visa | Yes | 29 days |
| Eligible VWP citizens on short trips | ESTA (Electronic System for Travel Authorization) | No interview | 90 days per visit |
If you are unsure which classification fits your itinerary, consult the official U.S. Department of State tool or see SimpleVisa’s explainer on the difference between electronic visas and regular visas.
2. Map Out a Realistic Timeline
The State Department processed more than 11.7 million non-immigrant visas in 2024. During peak holiday seasons, interview slots vanish quickly. Build your schedule around these benchmarks:
- DS-160 form completion: 1–2 hours (allow extra time to gather information).
- Interview wait time: ranges from 3 days to 6 weeks depending on consulate.
- Administrative processing (if triggered): 2–60 days.
- Passport delivery after approval: 3–7 days in most regions.
For electronic categories such as ESTA, approvals often arrive within minutes, but apply at least 72 hours before departure to meet airline boarding rules. For more detail, see How long does it take to get a US electronic visa?.
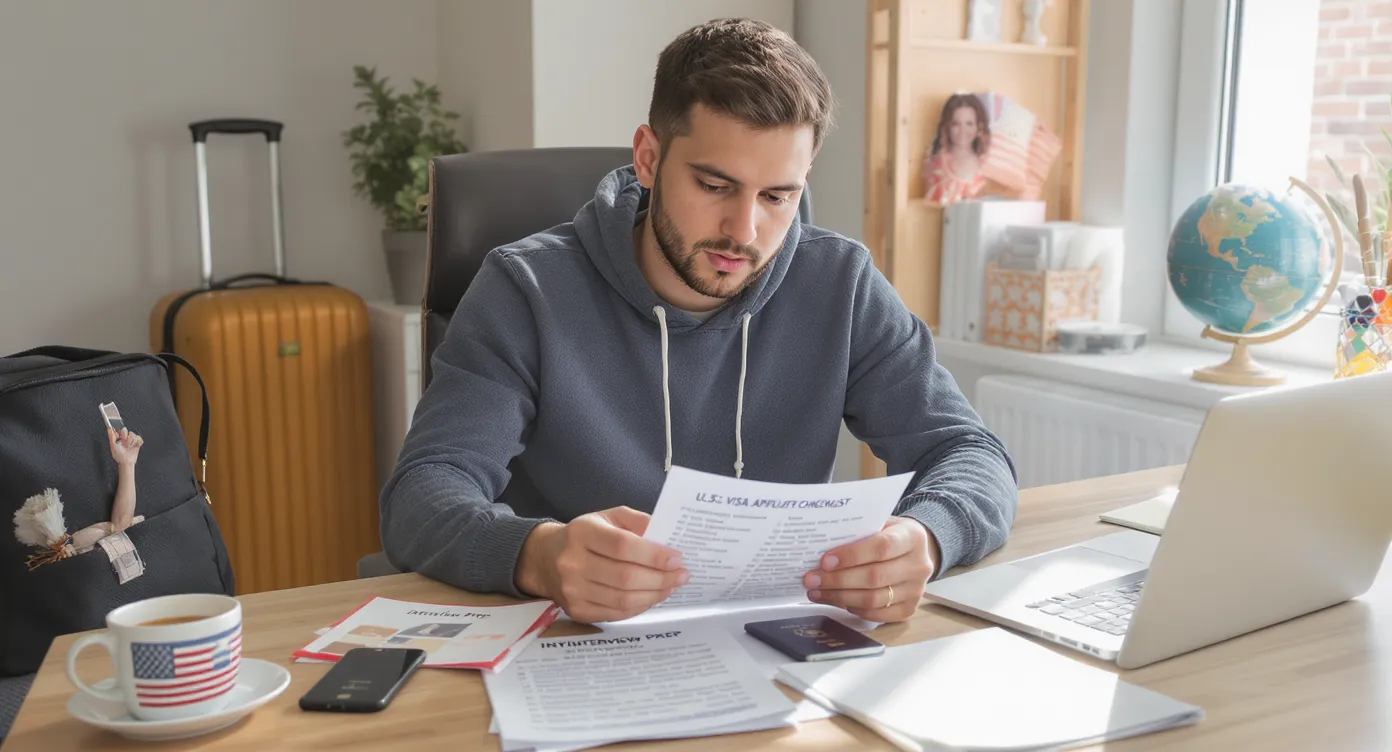
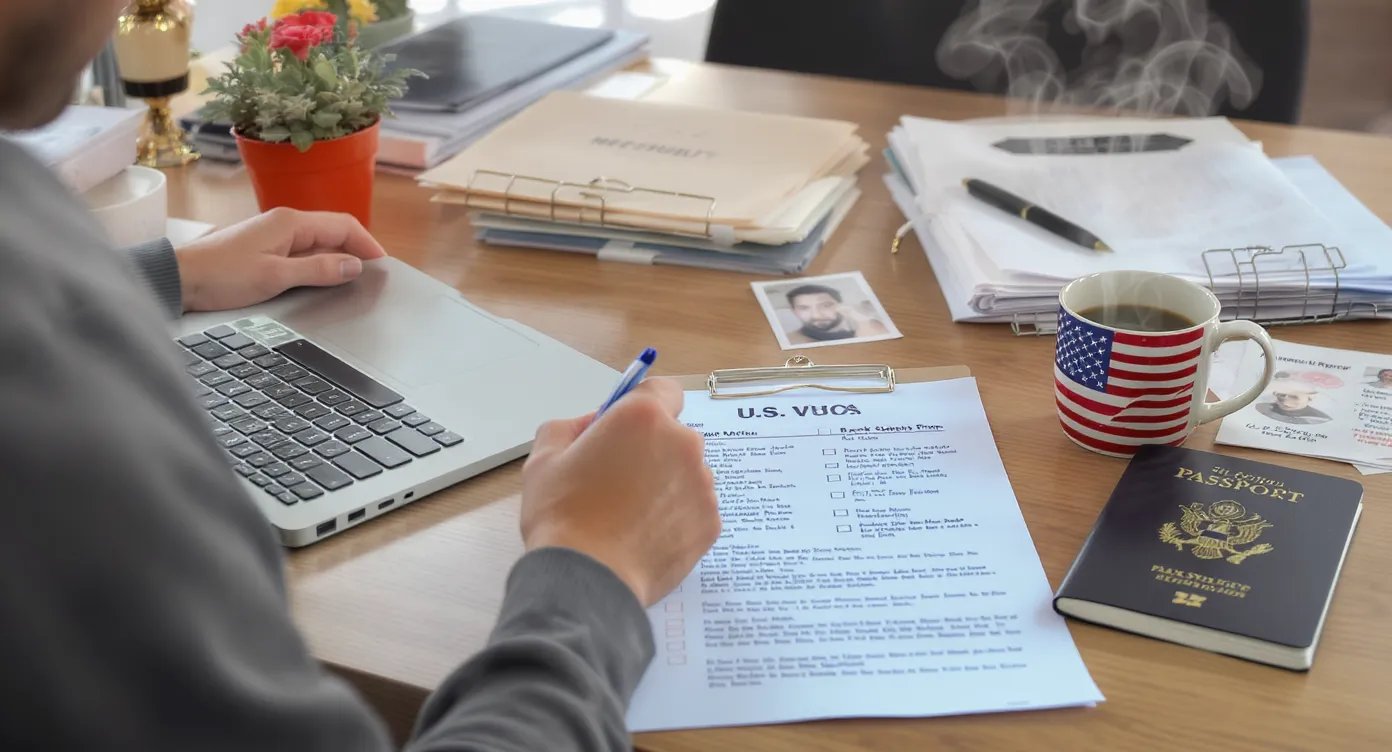
3. Gather Mandatory Documents Early
An incomplete file is the #1 reason first-time applicants are turned away at the consulate window. Use the table below as your master packing list:
| Document | Notes | Common Issues |
|---|---|---|
| Valid passport | Must be valid 6 months beyond intended stay | Damaged covers, insufficient blank pages |
| DS-160 confirmation page | Barcode required for entry to the embassy | Typos in personal data that conflict with passport |
| Photo (51×51 mm) | Recent, colour, plain white background | Shadows, glasses, wrong dimensions |
| MRV fee receipt | Proof of payment | Using wrong reference number |
| Travel itinerary | Flights, accommodation, conference invites | Open-jaw tickets without explanation |
| Proof of funds | Bank statements, payslips, sponsorship letters | Low balances, unverifiable documents |
| Strong ties to home country | Job letter, property deeds, enrolment letter | Missing company contact details |
For electronic visas and ESTAs, most files are uploaded rather than carried to an interview. Follow the digital-file rules in 10 Essential Documents You Need for an Electronic Visa Application to avoid upload errors.
4. Complete the DS-160 (or Online ESTA) With Laser Accuracy
Every typo is flagged by automated systems before a human officer ever looks at your case. Triple-check:
- Name spelling matches the machine-readable zone of your passport.
- Dates use MM-DD-YYYY format.
- Previous travel history is truthful; electronic records will be cross-checked.
- Security questions are answered accurately — “Don’t remember” can trigger delays.
Tip: Save the DS-160 application ID and your security questions somewhere secure so you can log back in if the session times out.
5. Pay Fees Through Approved Channels Only
Scams thrive in visa processing. Always pay the Machine-Readable Visa (MRV) fee or ESTA fee through the official portal linked from travel.state.gov or the local consulate website. Keep digital and printed receipts; you will upload or present them later.
For a breakdown of official and third-party costs, read How much is a US Electronic Visa?.
6. Book Your Interview and Biometrics Appointment (If Applicable)
After fee payment you will be prompted to schedule:
- A biometrics appointment at an off-site Application Support Center (ASC) — fingerprints and photo.
- A consular interview — bring originals of every document uploaded online.
Slots open at midnight local time on most systems; set a calendar alert and book the first date that fits your travel plan.
7. Rehearse for the Interview Like a Job Candidate
Consular officers are trained to decide in two to three minutes whether you qualify. Prepare concise answers to:
- “What is the primary purpose of your trip?”
- “How will you finance your visit?”
- “What guarantees you’ll return home?”
Carry neat, labelled folders so supporting evidence is easy to find. Dress professionally and arrive 15–30 minutes early — many embassies forbid bags, phones, and large electronics.
8. Track Application Status and Respond Promptly
Use the CEAC tracking portal or ESTA dashboard for updates. If additional information is requested (the dreaded 221(g) letter), submit it as soon as possible to keep your file moving.
9. Verify the Visa Once Issued
When the passport returns:
- Check your name, passport number, visa class, and expiry dates for errors.
- Confirm the number of entries (S for single, M for multiple).
- Store digital and printed copies in separate locations.
Need post-approval guidance? Our article 8 Things to Do Immediately After Receiving Your Electronic Visa covers best practices.
10. Common First-Timer Mistakes — and How to Avoid Them
- Waiting until flights are booked before starting the visa; obtain approval first to avoid costly changes.
- Uploading low-resolution passport scans that fail automated verification.
- Omitting middle names on the DS-160 when they appear in the passport.
- Relying on outdated travel blogs instead of the official consulate website for document lists.
- Forgetting to carry the original passport used in the application to the interview.
Cross-check your file against 10 Tips for a Smooth Electronic Visa Application Process for more safeguards.
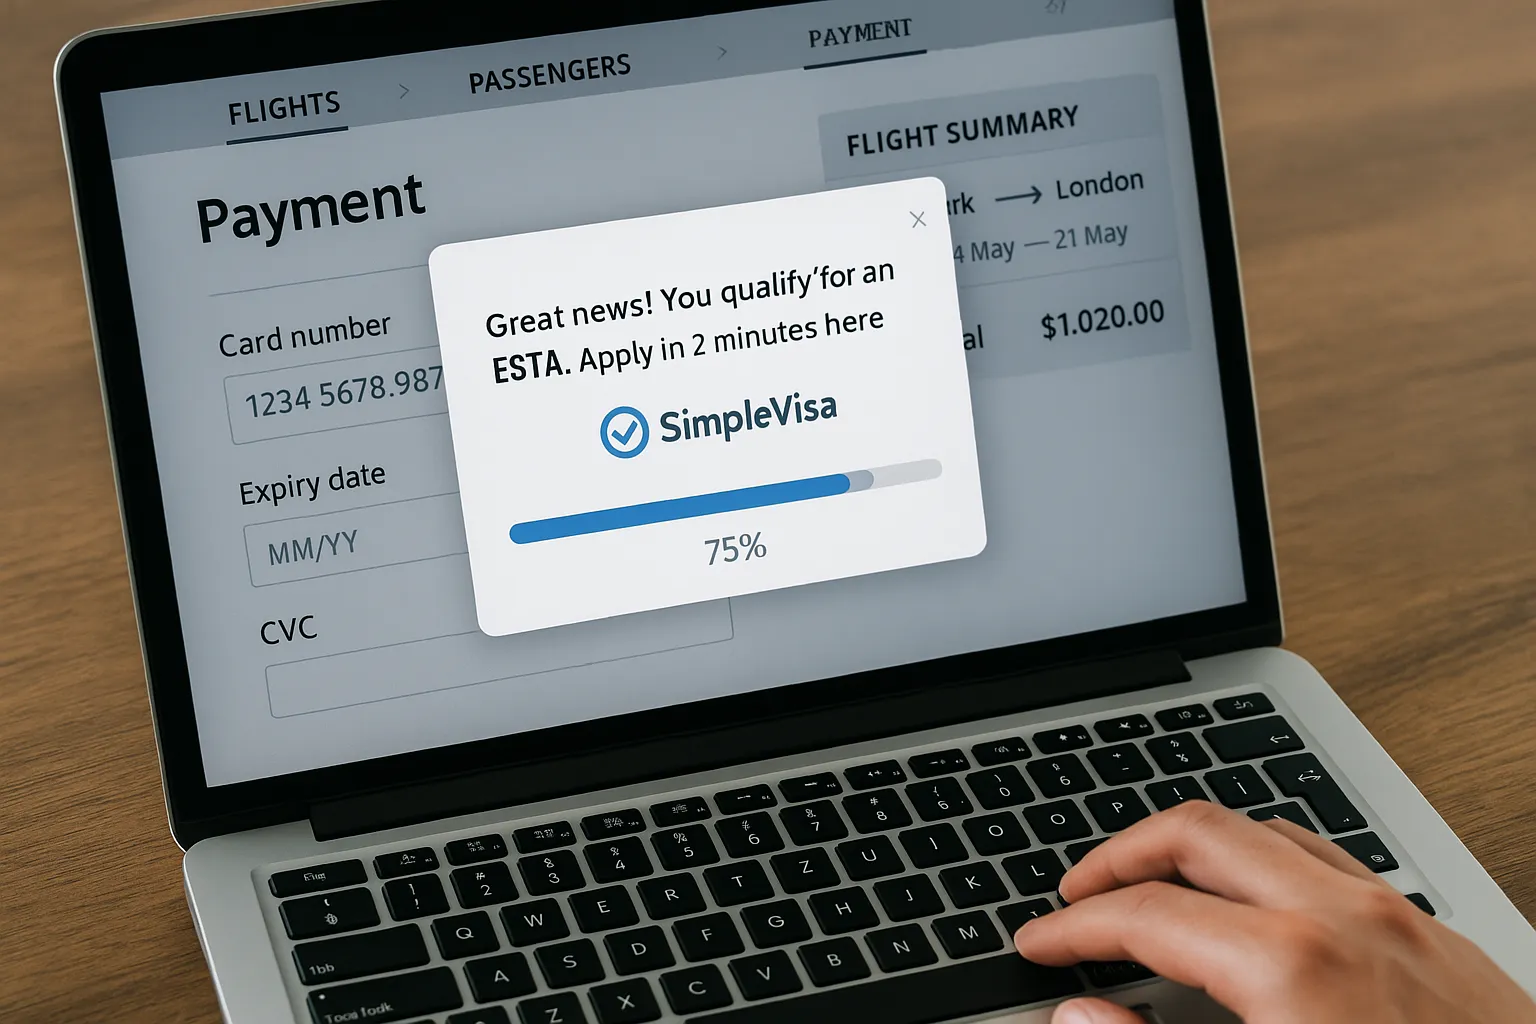
11. How SimpleVisa Can Streamline the Process
If you are a travel agency, airline, or OTA helping customers secure U.S. entry, embedding SimpleVisa’s no-code widget or API lets travellers:
- Auto-detect whether they need a B-visa, ESTA, or transit permit based on nationality and itinerary.
- Pre-fill DS-160 or ESTA forms using passport OCR to cut manual typing by up to 65 percent.
- Receive real-time status notifications and document reminders inside your booking flow.
These features are already live on 400+ partner sites, driving higher customer satisfaction and ancillary revenue. Learn more in our guide Quick Tutorial: Embedding an eVisa Widget in Under 30 Minutes.
A U.S. visa application is undeniably detailed, but it does not have to be daunting. Follow this checklist step by step, use only official or trusted platforms like SimpleVisa for submissions and tracking, and you will move from first-timer to approved traveller far sooner than you think.