Visa Help for First-Time Travelers: What to Do First
Your first international trip is supposed to be exciting, but one missing detail (an expired passport, the wrong visa type, a typo in your name) can turn into denied boarding or a stressful airport surprise. The good news is that first-time travelers don’t need to memorize immigration law. You just need a clear order of operations so you can confirm what you need, apply safely, and keep proof ready for check-in and arrival.
Below is a practical “do this first” guide that works whether your destination uses an eVisa, an electronic travel authorization, or a traditional consular visa.
Start with 3 questions (before you book anything non-refundable)
Visa and entry rules are not only about where you’re going. They depend on a combination of factors. Before you start clicking “Book now,” write down:
- Destination(s): every country you will enter, including layovers if you pass immigration
- Passport nationality: the passport you will actually travel with
- Trip details: purpose (tourism, business, study), length of stay, number of entries (one-time vs multiple)
Why this matters: many travelers look up “Do I need a visa for Country X?” and stop there. In reality, the correct question is “Do I need a visa for Country X, for this purpose, for these dates, using this passport?”
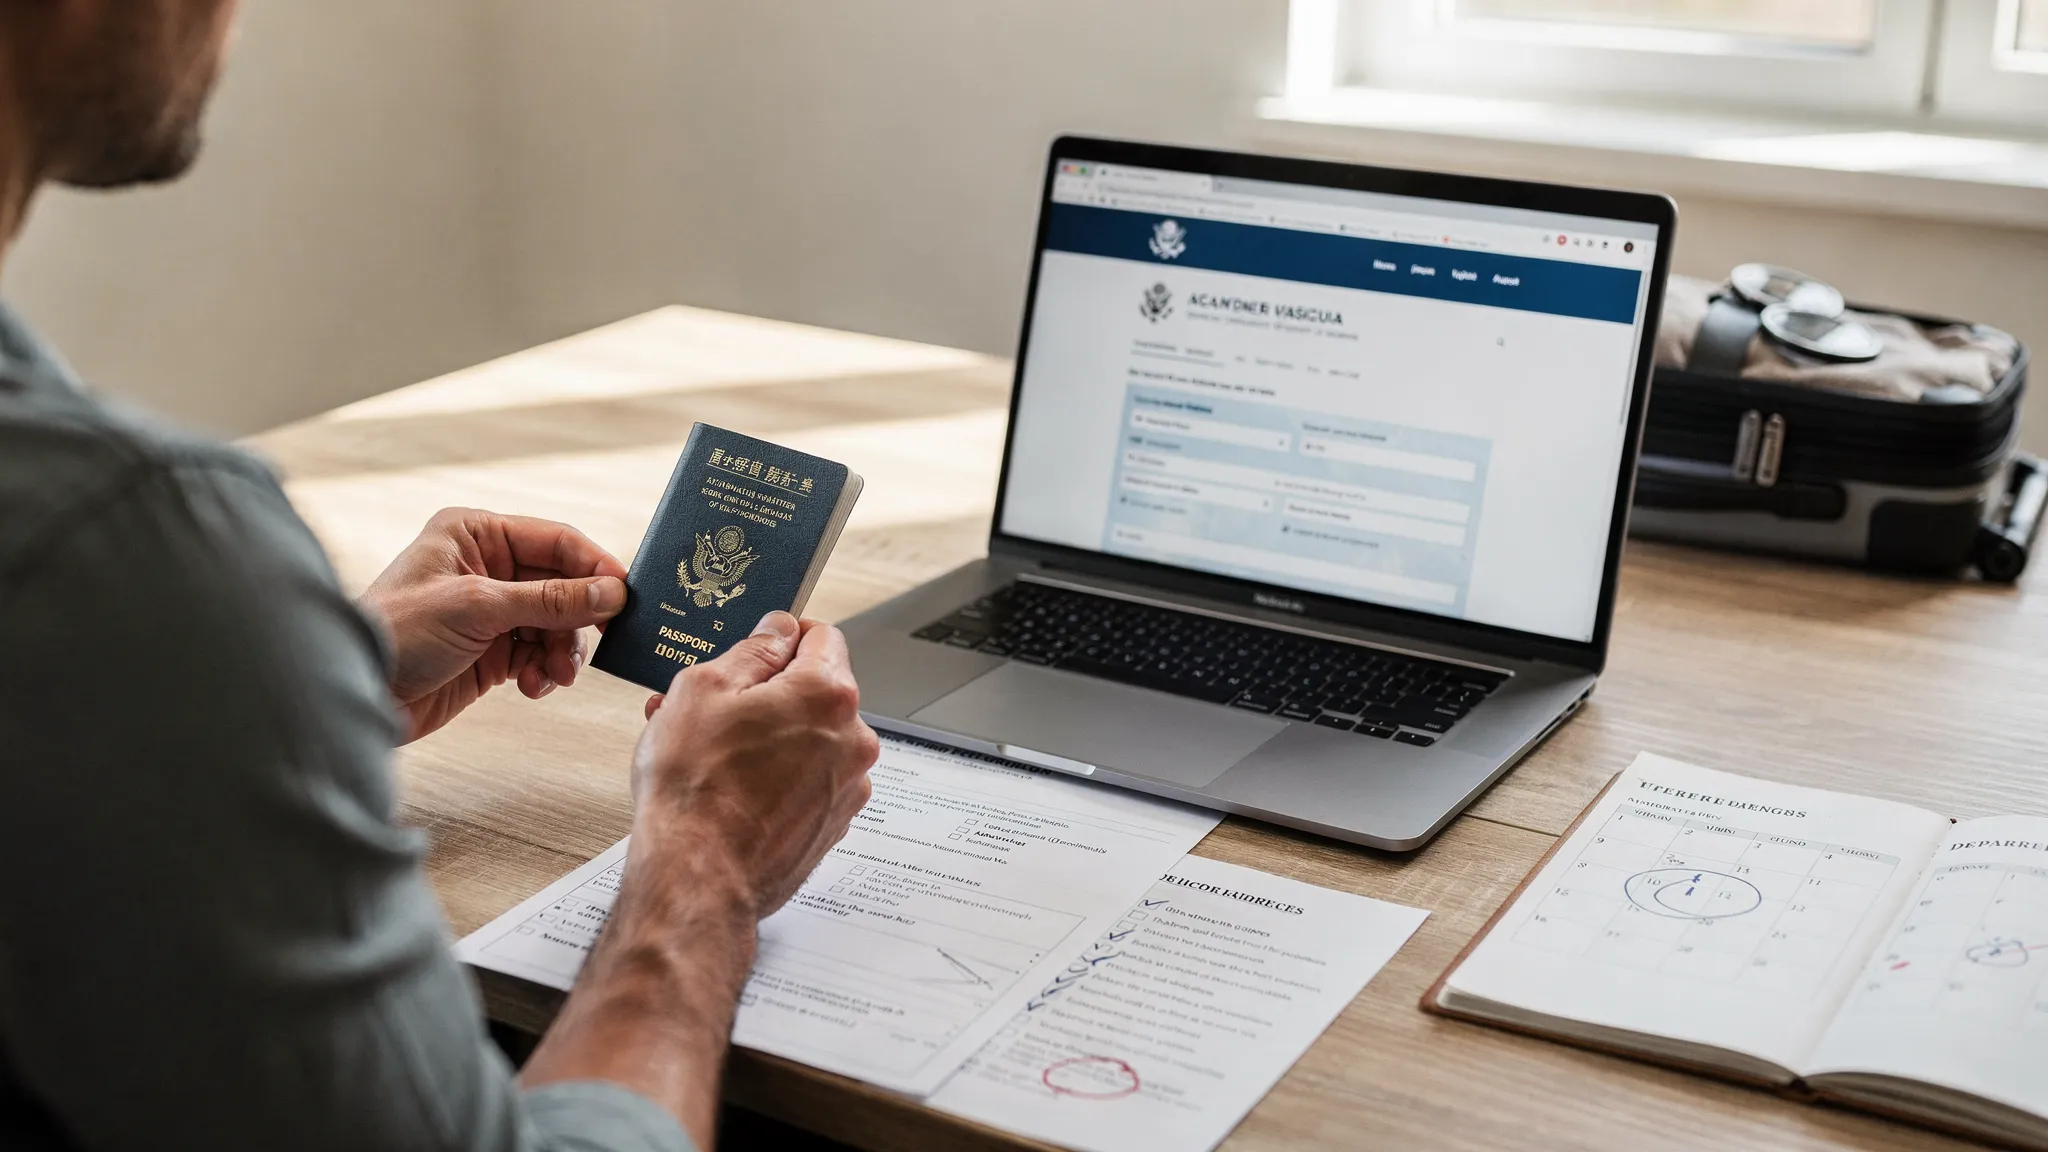
Step 1: Check your passport basics (today)
For first-time travelers, the passport step is often the fastest win and the most overlooked.
What to verify right now
- Expiration date: many countries require your passport to be valid for months beyond your arrival or departure date.
- Damage: water damage, torn pages, or a cracked cover can cause problems.
- Name format: your booking should match your passport exactly (including middle names if they appear).
If you’re a U.S. passport holder and unsure what counts as “valid,” the U.S. Department of State travel site is a reliable starting point for passport guidance.
Step 2: Identify which entry document you need (visa-free vs eTA vs eVisa vs consular visa)
Many first-timers use “visa” as a catch-all. But in practice, you might need one of several things, or nothing at all.
| Entry requirement type | What it usually means | Typical use cases | What first-timers should watch for |
|---|---|---|---|
| Visa-free entry | No pre-approval required (but rules still apply) | Short tourism trips for eligible passports | Stay limits (for example, day caps), return ticket expectations, proof of funds questions |
| Electronic Travel Authorization (eTA/ETA/ESTA-style) | Pre-travel authorization, often lighter than a visa | Visa-exempt travelers flying in, short visits | Confusing it with a visa, forgetting that airlines may check it before boarding |
| eVisa (electronic visa) | A visa issued digitally after an online application | Tourism or business visits where the destination offers an online visa portal | Wrong visa category, incorrect uploads, misunderstanding single vs multiple entry |
| Consular/embassy visa (traditional) | A visa obtained via consulate procedures | Longer stays, complex cases, certain nationalities | Longer timelines, appointments, biometrics, interviews |
If you want a simple primer on the terminology and what to check before committing to tickets, SimpleVisa has a helpful overview: Travel visa basics: what to know before you book.
A quick note on Europe and the UK
Rules in Europe are evolving with new digital authorization systems. If your trip involves the Schengen Area and you are visa-exempt, check the official EU ETIAS page for the latest status and requirements: ETIAS (official EU site). For the UK, use the official government guidance for ETA requirements and updates: UK ETA guidance.
Step 3: Build a realistic timeline (the “avoid panic” step)
First-time travelers often apply too late because they assume online processing is instant, or they don’t realize they need anything at all until check-in.
A safe approach is to work backwards from your departure date and include buffer time for document re-uploads, clarification requests, or payment issues.
| Timing window | What to do | Why it matters |
|---|---|---|
| As soon as you choose dates | Confirm passport validity and entry requirements | Prevents rebooking costs and last-minute document surprises |
| Before booking non-refundable travel | Check if you need an eVisa/eTA and what data/documents are required | Some approvals can take longer than expected, especially during peak travel |
| After booking | Apply (or schedule consular steps), then monitor status | You may need time to fix errors or submit extra documentation |
| 72 hours before departure | Re-check your approvals, confirm your name matches bookings, save offline copies | Reduces airline check-in problems and “I can’t find my visa email” chaos |
For more detailed timing guidance specific to electronic visas, you can reference: When should I apply for an e-visa?.
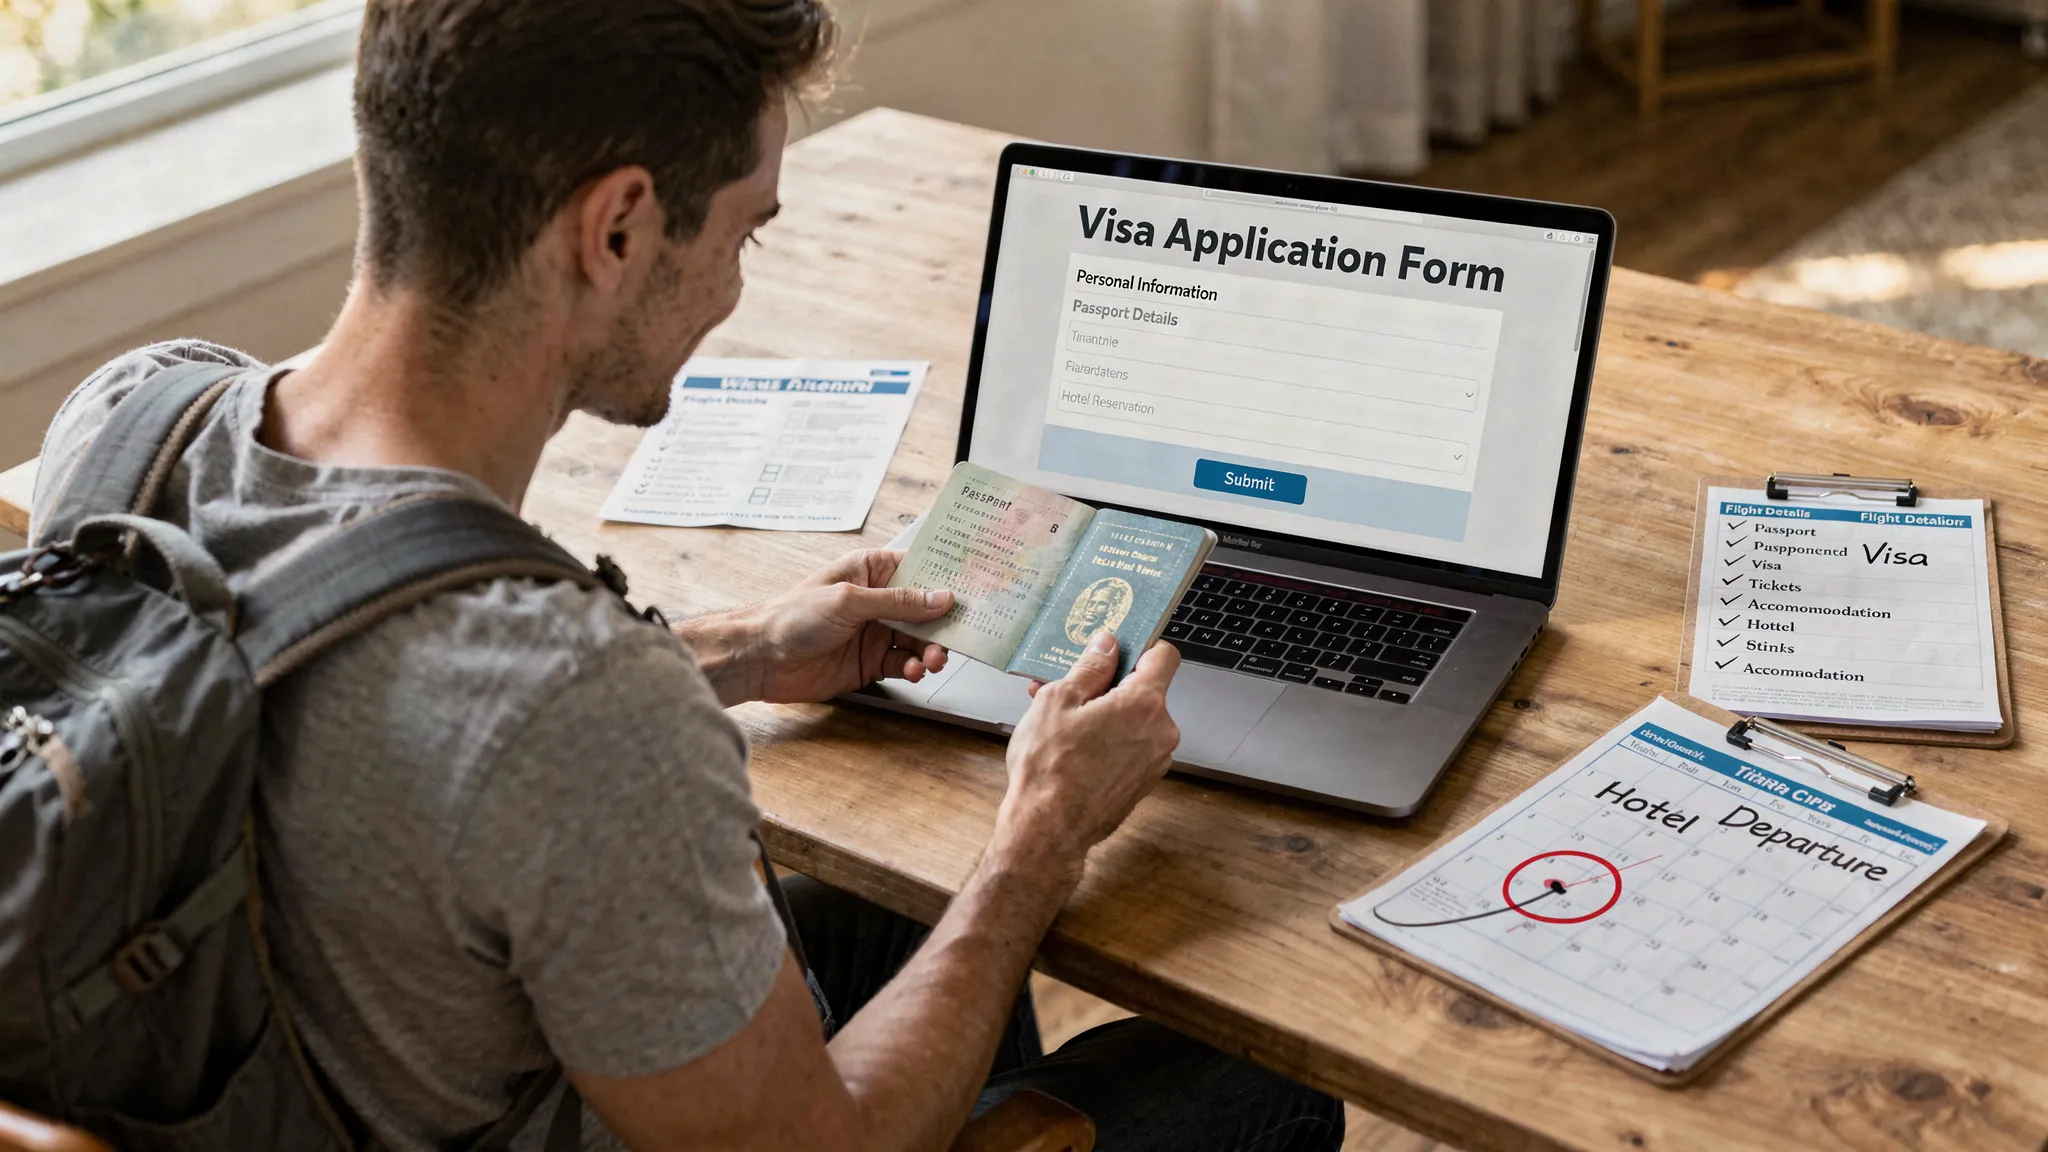
Step 4: Gather your “core” application items (so you don’t abandon the form halfway)
Most online visa processing workflows fail for first-timers at the same moment: you’re halfway through, and the form suddenly asks for a file you don’t have in the right format.
While requirements vary by country and visa type, these are commonly requested:
- Passport scan (photo page)
- Digital passport-style photo (with specific background/size rules)
- Itinerary details (dates, address of first accommodation)
- Proof of funds or employment (sometimes requested)
- Payment method for any fees
If you want a structured checklist you can follow before you begin, SimpleVisa provides a detailed prep guide here: Checklist: everything you need before submitting an online visa application.
Step 5: Apply safely online (and avoid common scams)
Applying online is convenient, but first-timers are also the most common targets for “lookalike” visa websites and paid intermediaries that are not transparent.
What “safe” looks like
- You apply through an official government portal or a clearly identified authorized provider
- Fees are explained before payment
- You get a confirmation number or reference immediately after submission
- You can track status without relying only on email
Red flags to take seriously
- A site that claims “guaranteed approval”
- Urgency tactics like countdown timers for immigration approvals
- Unclear refund policies or hidden service fees that appear late in checkout
For a more complete safety framework, see: Travel visa online: how to apply safely.
Step 6: Once approved, “border-proof” your documents
Approval is not the finish line. Your goal is to make it easy to present proof at three moments:
- Airline check-in
- Boarding gate checks (sometimes)
- Immigration on arrival
Do these right away:
- Verify every detail (name, passport number, validity dates, entries)
- Save backups: email, cloud storage, and offline on your phone
- Print a copy if the destination or airline is known to request paper backups, or if you’re traveling where internet access is unreliable
If you want a practical post-approval routine, this guide is useful: 8 things to do immediately after receiving your electronic visa.
The most common first-time traveler mistakes (and how to prevent them)
You can avoid most visa problems with a few checks.
Name mismatches across passport, ticket, and visa
Airlines and border systems can be strict about identity matching.
Prevention: copy your name exactly as printed on the passport (and be consistent with spacing and middle names). If you’re worried you already booked something incorrectly, use this guide: Handling name mismatches on tickets, passports, and eVisas.
Applying for the wrong thing (eVisa vs eTA vs a full visa)
First-time travelers often apply for an “eVisa” because it sounds right, when their nationality actually needs an eTA, or a traditional visa.
Prevention: confirm the entry requirement type first, then apply.
Applying too late
Even fast systems can slow down during peak travel periods, or if your application is flagged for manual review.
Prevention: build buffer time and apply as early as the rules allow.
Uploading the wrong files
Incorrect photo background, unreadable passport scans, or wrong file formats can delay approvals.
Prevention: prepare files before you start and follow the exact upload rules.
When to get visa help (instead of guessing)
DIY is fine for many straightforward tourist trips, but it can be worth getting help if:
- You have multiple nationalities or are unsure which passport to use
- Your trip involves multiple stops with complicated transit rules
- You’ve had previous visa refusals
- You’re traveling for a purpose beyond tourism (work, study, long stays)
If you need a starting point to understand your options and next steps, this guide breaks it down clearly: Need help with a visa application? Start here.
Frequently Asked Questions
What should I do first if I’ve never traveled internationally? Start by checking your passport validity and condition, then confirm the exact entry requirement for your destination based on your passport nationality and trip purpose.
Is an eVisa the same as an eTA or ETA? Not usually. An eVisa is a visa issued digitally after an application, while an eTA/ETA is typically a lighter pre-travel authorization for visa-exempt travelers. Always confirm which document your trip requires.
How early should I apply for an online visa? It depends on the destination and visa type, but you should apply as soon as you’re eligible and have firm travel dates. Build buffer time for corrections, manual review, and peak-season delays.
Do I need to print my electronic visa? Sometimes. Many travelers carry both a digital copy and a printed backup in case an airline agent requests it or you have limited connectivity during travel.
Where can I verify visa and entry rules officially? Use official government immigration sites whenever possible. For Europe’s ETIAS and the UK ETA, refer to the official EU and UK government pages for the latest updates.
Make your first visa process simpler
If your airline, travel agency, or booking site offers SimpleVisa in the checkout or post-booking flow, you can complete a guided visa or travel authorization application in one place and keep your travel documents organized.
To learn the safest next step for your situation, use: Need help with a visa application? Start here. If you’re a travel business looking to embed visa help for customers, you can explore SimpleVisa’s solutions at SimpleVisa.