Your Electronic Visa: How to Store, Print, and Present
Most travelers think the hard part is getting approved. In practice, the last 5 percent of the journey, storing your electronic visa correctly, having a print backup, and presenting it confidently at check-in and at the border, is where avoidable problems happen.
Airlines can deny boarding if they cannot verify your entry permission, and border officers can delay entry if the document on your screen is incomplete, unreadable, or doesn’t match your passport. The good news is that a simple storage system and a two-minute “presentation routine” removes nearly all of that risk.
First, know what “your electronic visa” actually is
“Electronic visa” is a catch-all term travelers use for a few different realities. How you store and present it depends on which one you have.
- Downloadable eVisa (most common): you receive a PDF (or sometimes a PNG/JPG) with your details, validity dates, and often a barcode or QR code.
- Portal-based approval: you must log into an official website to view or download the document.
- Passport-linked authorization (often called an eTA/ETA/ESTA): it may not produce a “visa PDF” at all. Your approval is stored electronically in government systems, but airlines may still want to see a confirmation page or email.
If you are unsure which you have, check the approval notice. If it includes a document number and a downloadable file, treat it like a downloadable eVisa and follow the steps below.
How to store your electronic visa (the 3-2-1 method)
A reliable rule for travel documents is 3 copies, on 2 different mediums, with 1 offline. This is borrowed from basic IT backup practices, and it works perfectly for visas.
1) Your “primary” copy: a clean PDF on your phone
Save the visa file directly to your device, not just in an email thread.
Practical tips that reduce last-minute stress:
- Rename the file clearly:
EVISA_Country_FamilyName_PassportLast4_YYYY-MM-DD.pdf - Save it in a travel folder you can find in seconds.
- Open it once while you still have good internet to confirm it loads fully.
If the visa is a web page (not a PDF), use the official site’s download option if available. If you can only view it in-browser, capture a PDF via your phone’s “Print” function (save as PDF) and store that.
2) Your “secondary” copy: cloud storage that you can access from another device
Use a cloud drive (Google Drive, iCloud Drive, OneDrive, Dropbox) so you can retrieve the document if your phone is lost, damaged, or out of battery.
Security best practices for cloud storage:
- Use a strong, unique password and enable multi-factor authentication.
- Avoid sharing a public link to your visa file.
- Consider putting the PDF into an encrypted container (for example, password-protecting the PDF) if the issuing authority allows it.
3) Your offline copy: print plus one “no-internet” digital backup
Offline is the point. Airports and land borders are full of connectivity dead zones.
Recommended offline backups:
- Printed copy (details below)
- A second offline digital location, such as:
- A files app “offline available” folder
- A USB drive (useful for business travelers carrying laptops)
- A secondary phone (if you travel with a work phone)
Should you print your electronic visa?
Even when a destination officially accepts digital presentation, printing is still the lowest-effort insurance policy you can carry.
Print a copy when any of these are true:
- You are transiting through multiple airports, especially with separate tickets.
- Your approval includes a QR code or barcode.
- You are traveling to a destination where officers sometimes request paper copies.
- You rely on a single phone for everything.
- You expect limited connectivity on arrival.
What to print (and how)
Print the full approval page or PDF, not just a screenshot that cuts off conditions.
Best printing settings:
- Paper: A4 or US Letter, black and white is fine.
- Scale: “Fit to page” (do not crop barcodes).
- Quality: Standard is fine, but avoid draft mode if there is a QR code.
If your eVisa has multiple pages, print all pages. Some visas include conditions (permitted activities, allowed entries) on page 2.
What not to do
- Don’t laminate unless you are sure it won’t obscure security features or barcodes.
- Don’t fold across a QR code.
- Don’t rely on an emailed link that requires login or a one-time password.
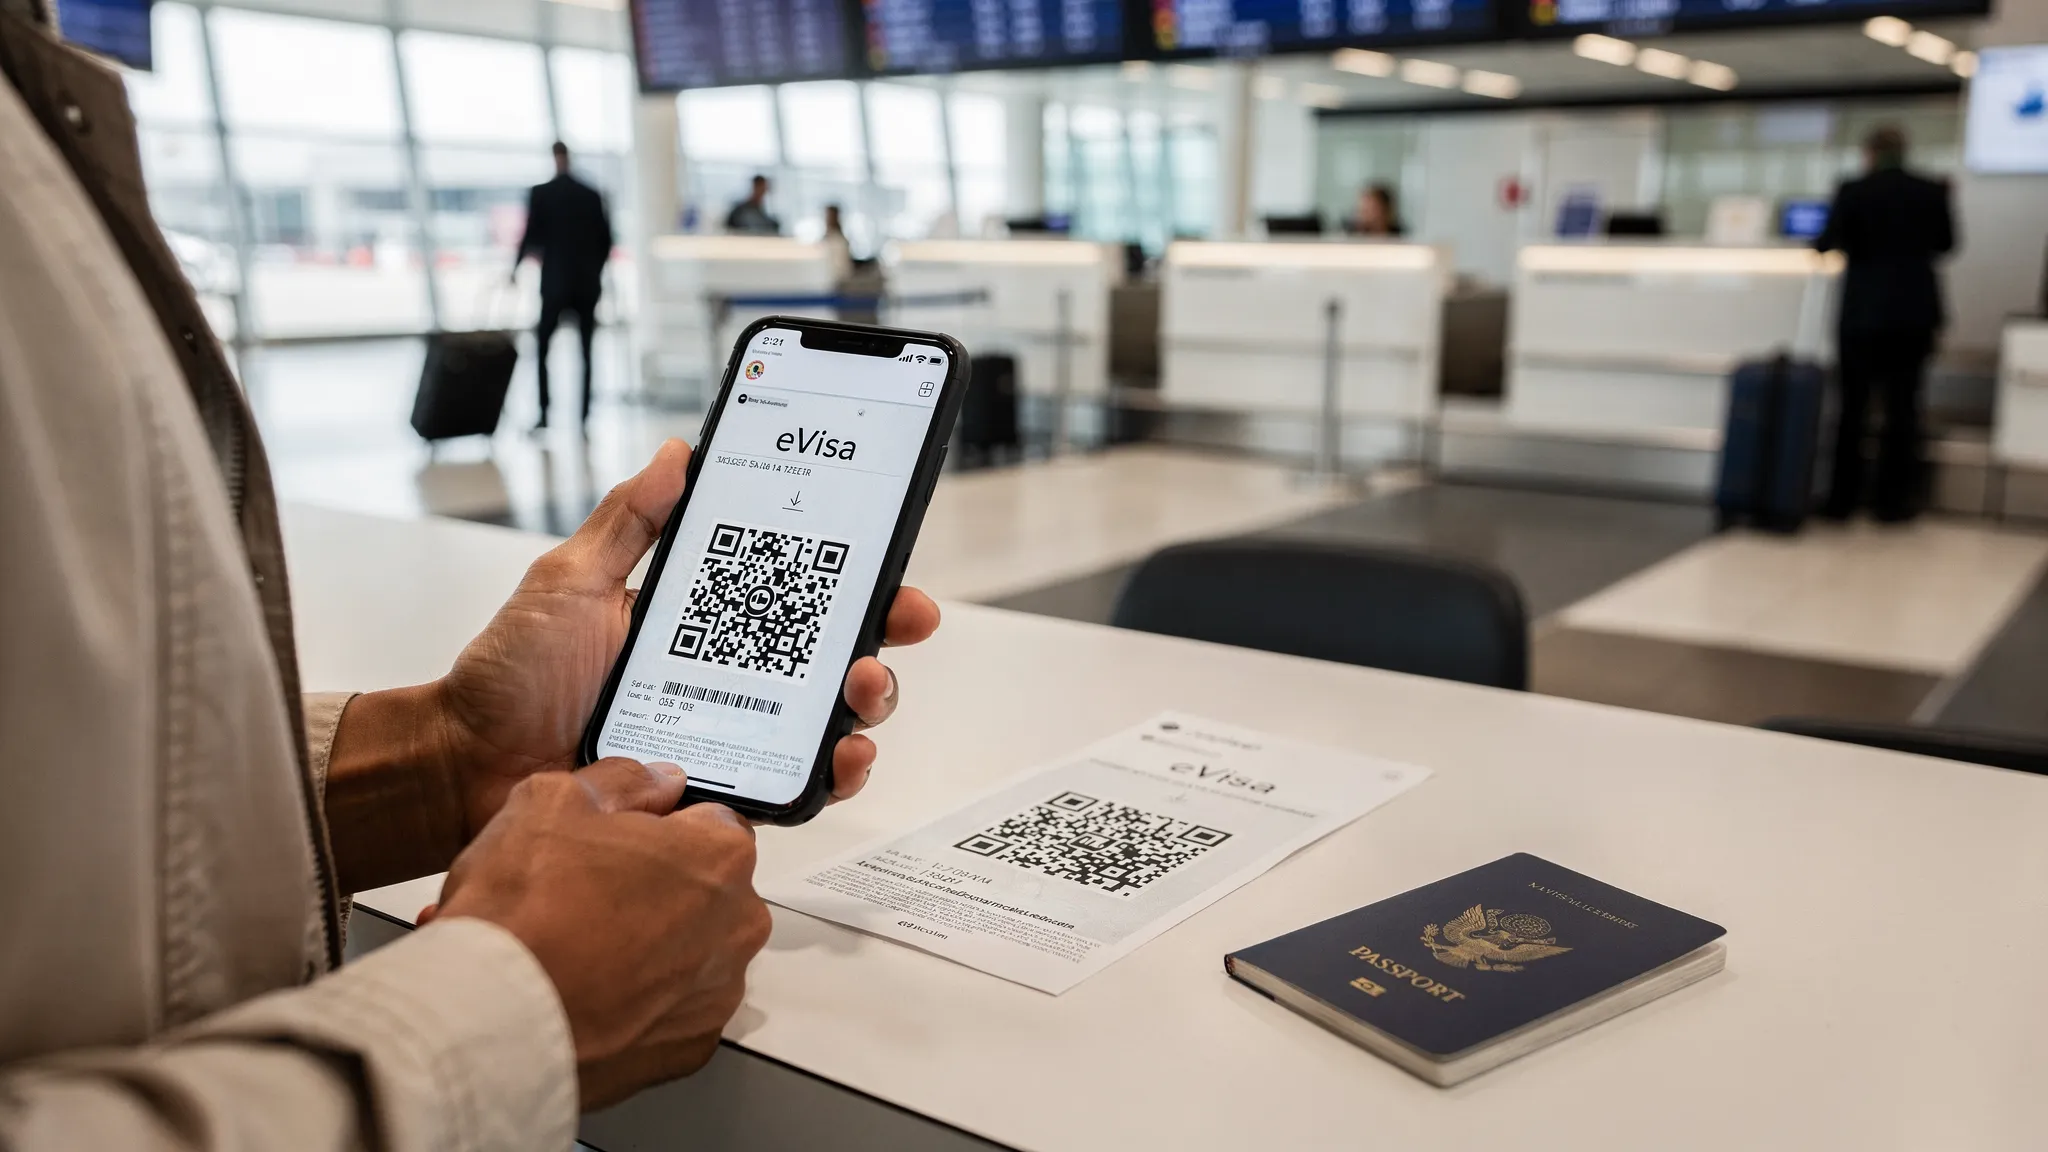
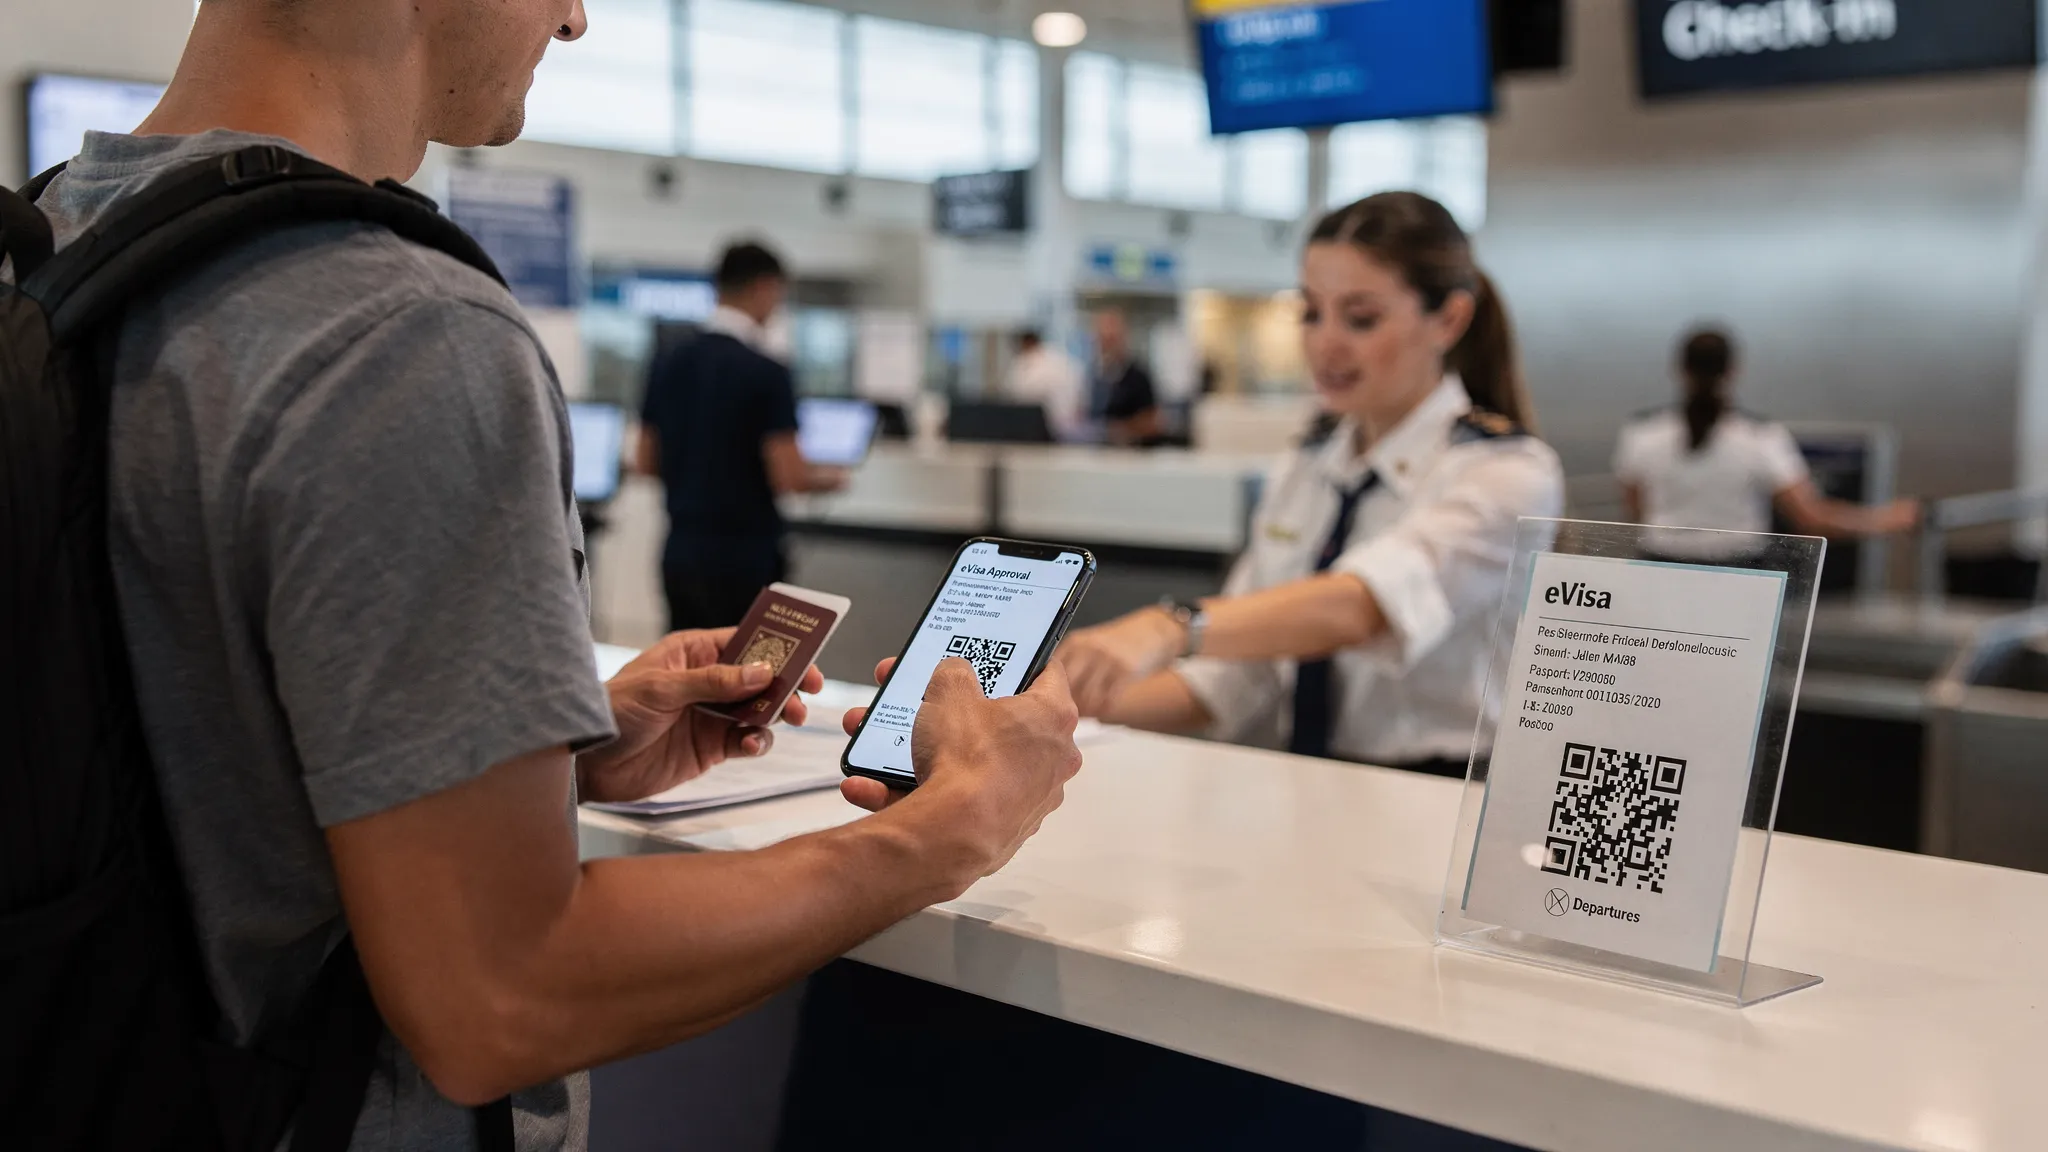
How to present your electronic visa at the airport (check-in and boarding)
Airports are where “document readiness” is tested first. Airline staff are responsible for ensuring passengers meet entry requirements, and their tools sometimes show only yes/no results, not your full context.
What airline agents typically need
In most cases, they want to verify three things quickly:
- Your passport matches the visa approval details (name, passport number)
- Your travel dates fit the validity window
- The visa is for the right purpose (tourism vs business, single vs multiple entry)
A simple presentation routine that works
Keep it calm and structured.
- Hand over your passport.
- Present your electronic visa on-screen, already zoomed to the key details.
- Offer the printed copy as a backup if the agent prefers paper.
If the agent looks uncertain, ask politely whether they want the visa number, validity dates, or the QR code. This helps them know where to focus.
How to present your electronic visa at immigration
Immigration officers vary by country and even by airport. Some will ask for nothing because the visa is already linked to your passport. Others will ask to see the approval notice.
At the border, be ready to show more than just the visa
Your electronic visa is one piece of the entry decision. Officers may also ask for:
- Proof of onward or return travel
- Accommodation details
- Evidence of sufficient funds
- Travel purpose explanation (tourism, meetings, visiting family)
Having the visa available quickly sets a professional tone and reduces back-and-forth.
Digital vs paper at the border
- If the officer is looking at a screen, digital is usually fine.
- If you are in a busy hall or at a land border, paper can be faster.
When in doubt, present the digital version first and keep the print ready.
Quick comparison: best ways to store an electronic visa
| Storage method | Best for | Pros | Cons |
|---|---|---|---|
| Phone local file (offline) | Most travelers | Fast, works without internet | Phone loss or dead battery risk |
| Cloud drive | Redundancy | Recoverable from any device | Needs login, sometimes needs internet |
| Email inbox | Last resort | Searchable | Easy to lose in threads, may require connectivity |
| Printed copy | Day-of-travel resilience | Works with dead phone, fast to show | Can be lost or damaged |
Common problems, and how to fix them in minutes
“My eVisa won’t open on my phone”
Most often, it’s a file viewer issue.
- Try a different PDF viewer (Adobe Acrobat, Apple Files, Google Drive viewer).
- Download the file again from your cloud backup.
- Use the printed copy.
“The airline says they can’t see my visa in their system”
This can happen with passport-linked authorizations or if details were entered incorrectly.
- Verify that the passport number on the visa matches your current passport.
- Check if you recently renewed your passport.
- Show the approval notice and ask the agent what detail they need to match (sometimes it is just the document number).
“My name is spelled slightly differently”
Small discrepancies can cause delays.
- Compare your visa details to the passport’s machine-readable zone (MRZ), the two lines of letters and numbers at the bottom of the photo page.
- If there is a material mismatch (missing middle name required by that program, wrong passport number), contact the issuing authority or your visa service immediately. Do not assume it will be fine.
“No internet on arrival, and my visa is in a portal”
This is exactly why you create an offline PDF and print.
- Before departure, download the official PDF.
- If no download exists, save a PDF from the browser and keep a print.
A mini checklist for the day before you fly
Do this once, and you will not think about it again.
- Confirm your eVisa details match your passport (name, passport number, date of birth).
- Confirm validity dates and permitted entries.
- Save the visa offline on your phone.
- Upload a copy to cloud storage.
- Print one copy and store it with your passport.
- Screenshot key details only as a convenience, not as your primary copy.
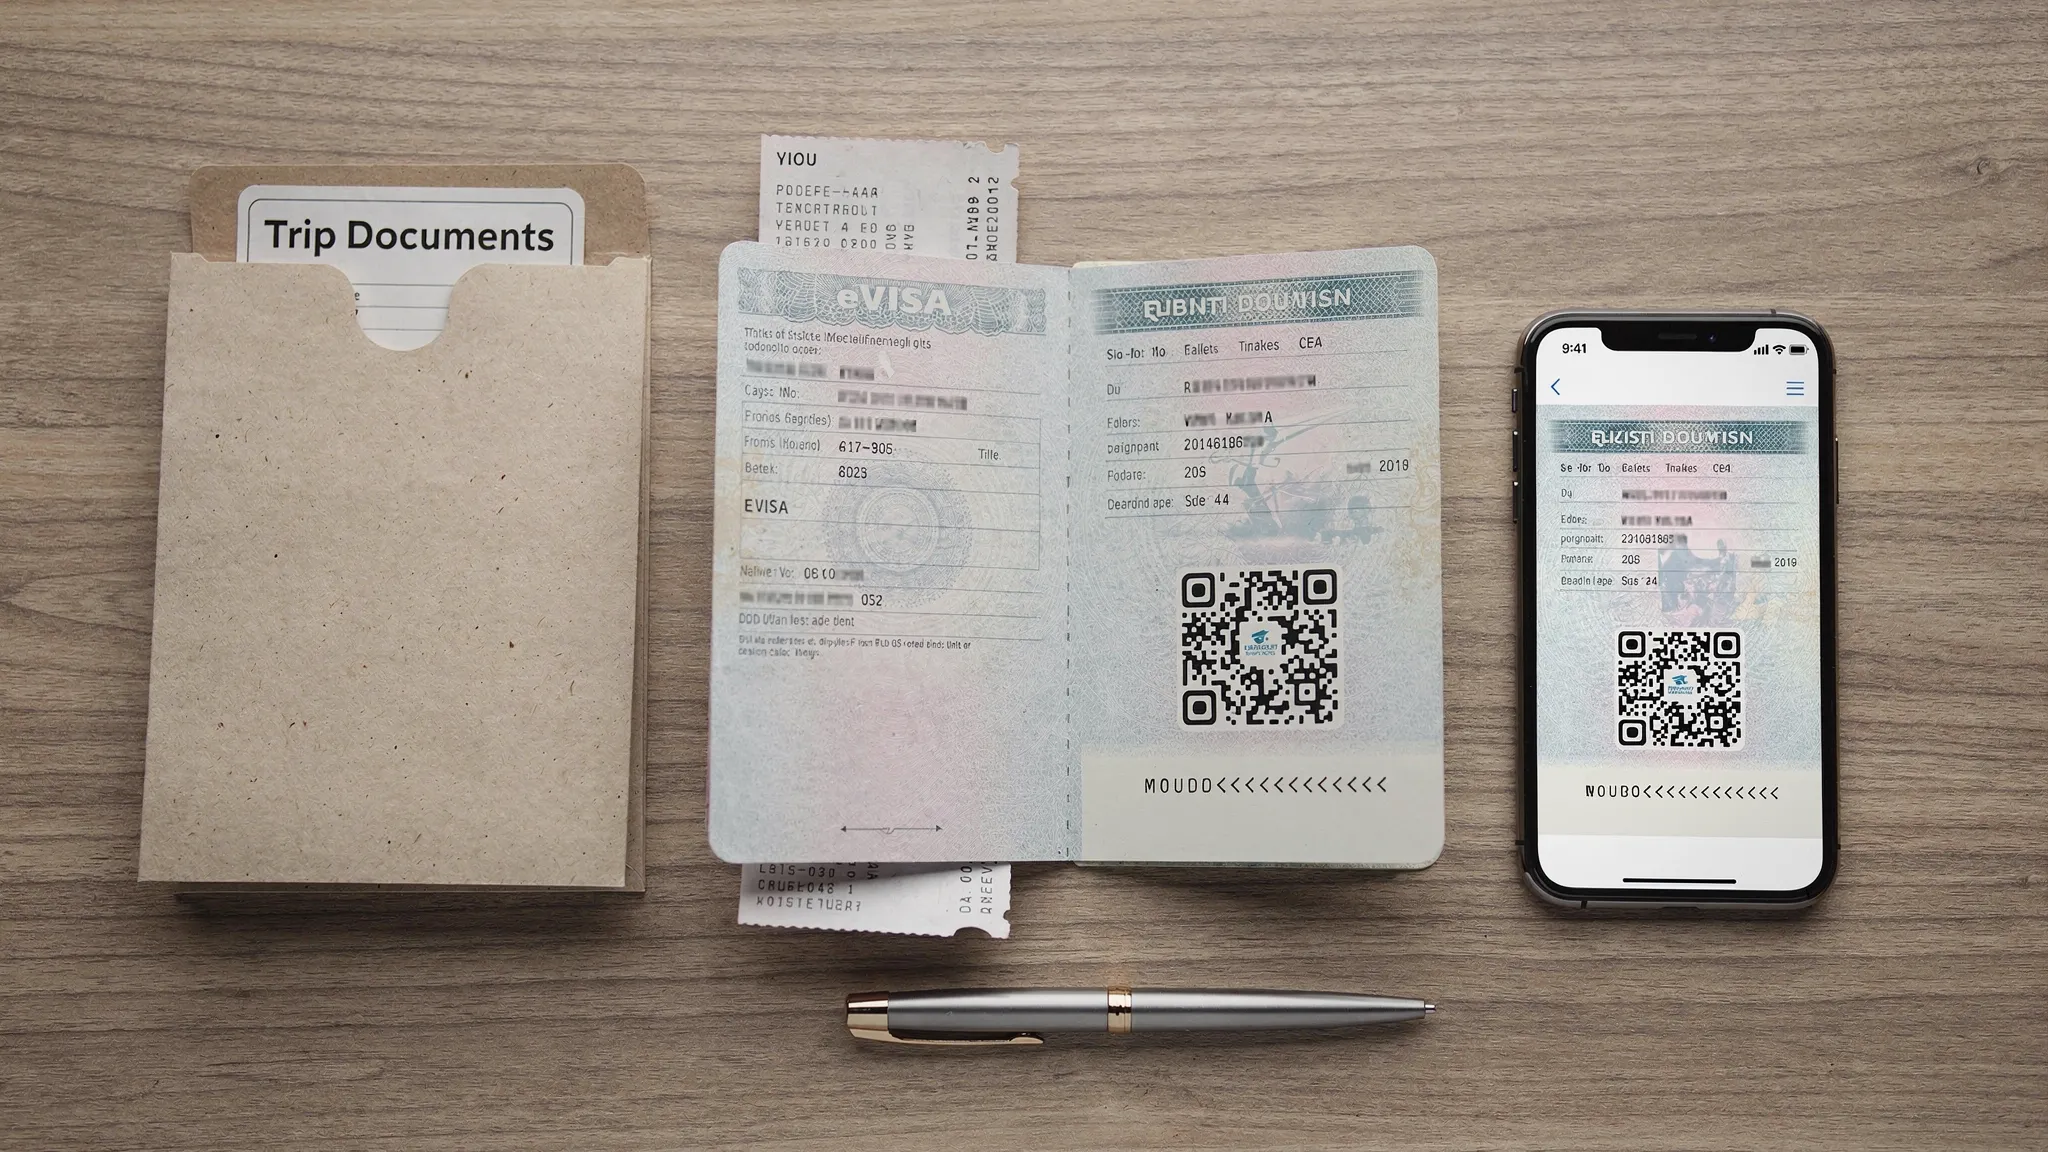
For business travelers: keep visa admin and receipts organized
If you travel for work, you may need to reconcile visa fees, service fees, and supporting document costs across multiple trips. A simple habit is to store your eVisa and your payment confirmation in the same “Trip Documents” folder, then export receipts for expense reporting.
If you run a small business or manage travel across multiple entities, using an online invoicing and company management tool can make this smoother, for example Kontozz.hu, which is designed for managing billing and company administration in one place.
Where SimpleVisa fits (for travelers and travel brands)
Travelers usually interact with the eVisa process in one of two ways:
- Applying directly through a government portal
- Applying through a travel provider or platform that guides the process
SimpleVisa focuses on making that second experience easier for travel businesses and their customers by streamlining visa journeys, embedding guidance into booking flows, or offering a white-label application experience. The practical storage and presentation steps in this guide still apply regardless of where the application was submitted.
Frequently Asked Questions
Do I need to print my electronic visa? Printing is not always required, but it is strongly recommended as a backup, especially for multi-leg trips, weak connectivity, or visas with QR codes.
Can I show my electronic visa as a screenshot? A screenshot can help you find key details fast, but it should not be your only copy. Screenshots can crop conditions, barcodes, or page numbers that officers and airline staff may need.
What’s the safest place to store my electronic visa? Store it offline on your phone, back it up in a secure cloud drive with multi-factor authentication, and carry one printed copy.
What if my phone dies at the airport? Use your printed copy. If you do not have one, retrieve the file from your cloud backup on another device or ask airline staff if you can email the PDF to a service desk for printing.
If my eVisa is linked to my passport, do I still need anything else? Often you can travel with just your passport, but airlines may still ask for a confirmation email or approval notice. Keeping an offline copy is a smart precaution.
Make border crossings simpler for your customers
If you’re a travel company looking to reduce denied boarding risk, lower support volume, and add a new ancillary revenue stream, SimpleVisa helps you integrate visa guidance and applications into your customer journey.
Explore SimpleVisa at simplevisa.com to learn about API integration, white-label visa applications, and guided eVisa management for travel brands.