Your Get-Started Guide to eVisa Applications
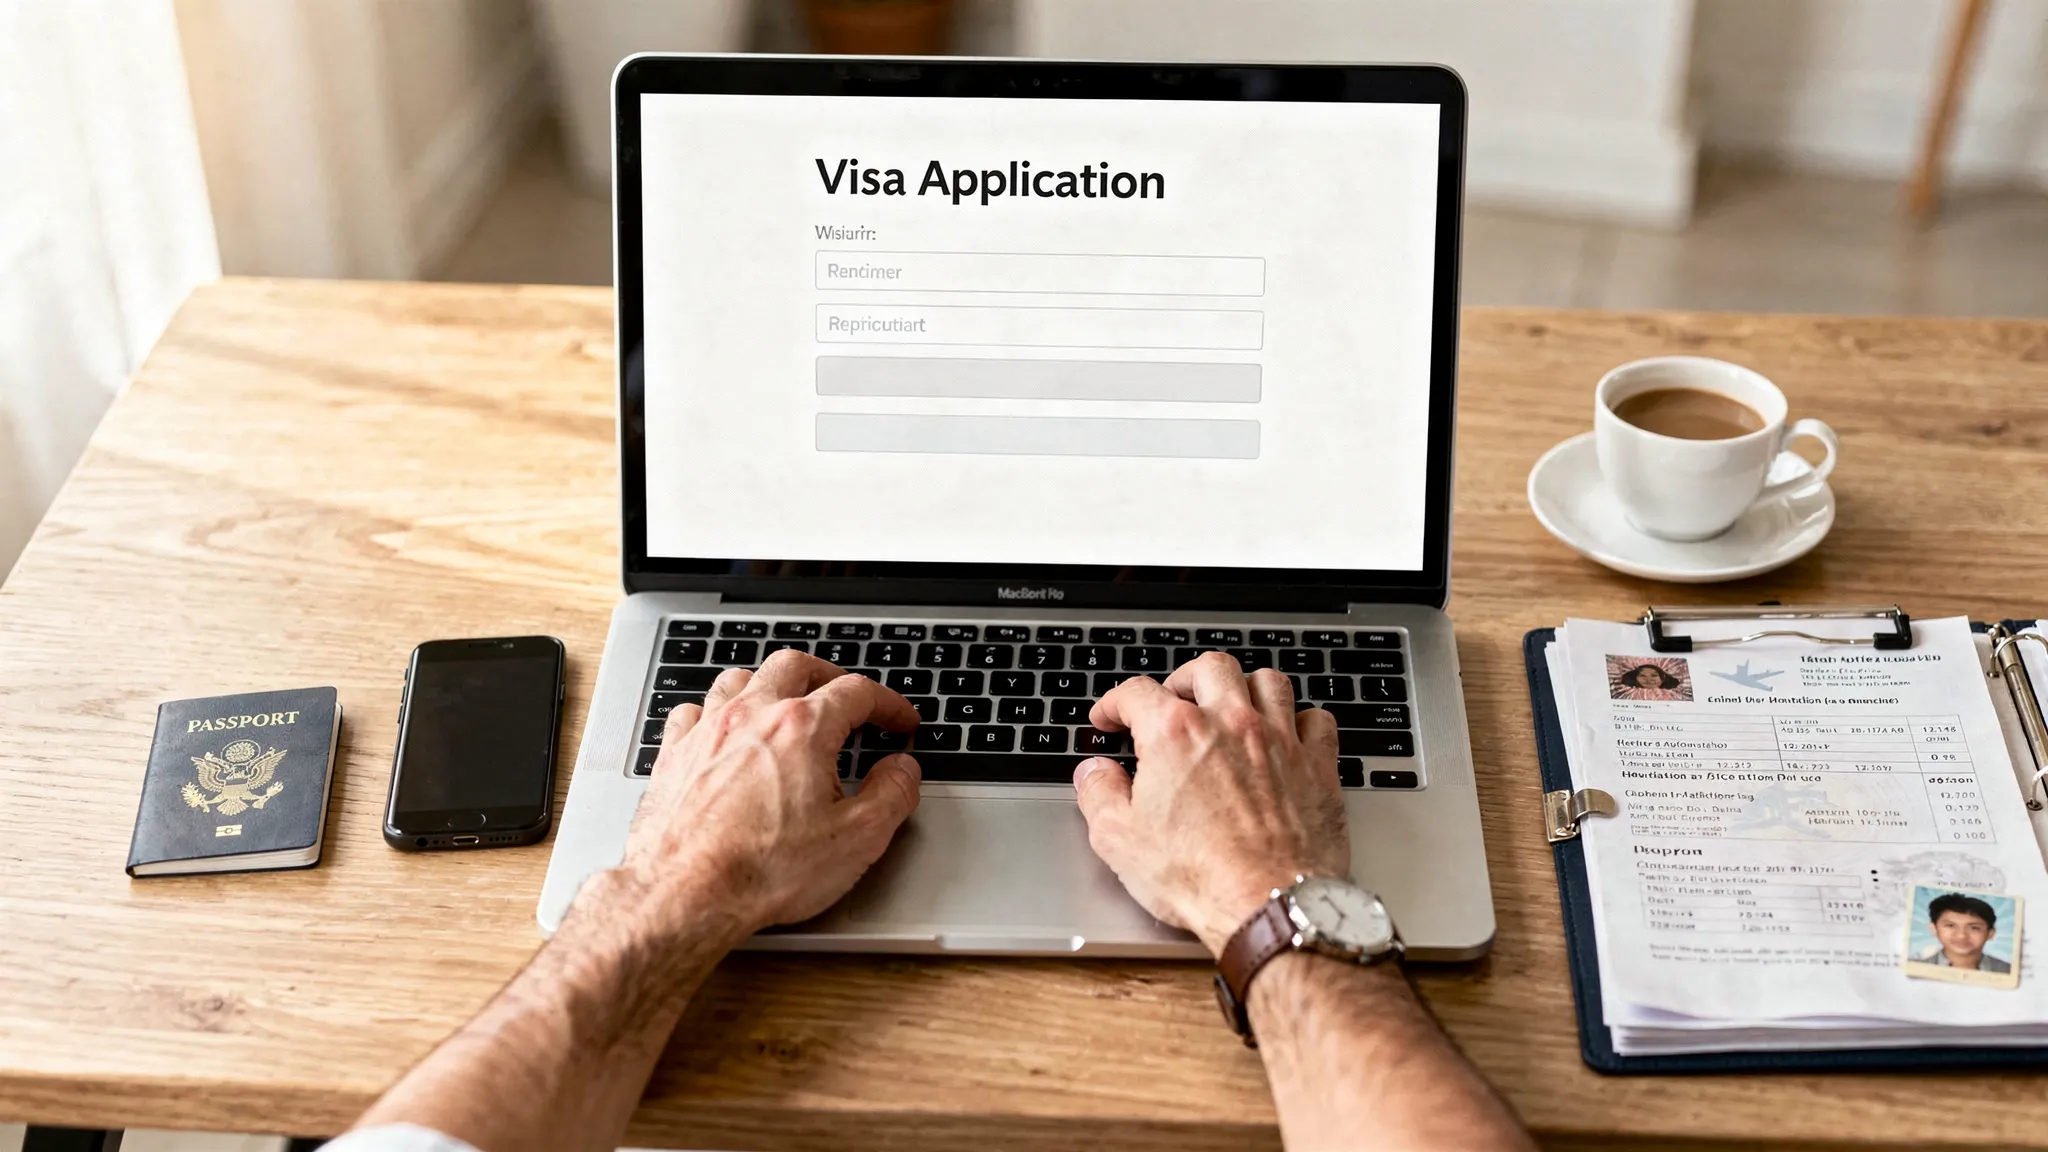
Applying for an eVisa can feel deceptively simple: fill out an online form, upload a passport scan, pay a fee, wait for an email. In practice, most delays (and denials) come from small avoidable issues like mismatched passport details, unclear files, or choosing the wrong visa type.
This get-started guide breaks the process into clear steps so you can apply with confidence, avoid common pitfalls, and know what to do once your eVisa is approved.
What an eVisa is (and what it is not)
An eVisa is a visa issued electronically by a government, usually after you submit an online application and supporting documents. Approval is typically delivered as a PDF, email confirmation, or digital record linked to your passport.
Two common points of confusion:
- eVisa vs. visa-free: “Visa-free” means you do not need a visa at all for your trip’s purpose and duration.
- eVisa vs. ETA/eTA (travel authorization): An ETA is often a lighter pre-travel authorization for visa-exempt travelers, while an eVisa is usually a more formal permission to enter, and can require more documentation.
Because rules change frequently (and vary by nationality, purpose, and entry point), treat any generic advice as a framework, then verify requirements for your specific passport and destination.
Step 0: Confirm you need an eVisa (and which one)
Before you start an application, clarify three things:
- Destination and entry points: Some eVisas are valid only through certain airports or border crossings.
- Purpose of travel: Tourism, business meetings, transit, study, and paid work are often distinct categories.
- Length of stay and number of entries: Single entry vs. multiple entry rules can change your options.
If you pick the wrong category, you can end up with a valid approval that still does not match what you are doing at the border.
Quick pre-application checklist (save this)
Use this table as your “5-minute” audit before you touch the form.
| Check | What to confirm | Why it matters |
|---|---|---|
| Passport validity | Valid well beyond travel dates (some countries require months of validity) | Too-short validity is a common cause of refusal or denied boarding |
| Nationality eligibility | Your passport is eligible for that eVisa program | Some programs exclude specific nationalities |
| Visa type | Tourism vs business vs transit (and so on) | Wrong category can lead to denial or entry issues |
| Processing timeline | Typical processing time plus buffer | Last-minute applications are higher risk |
| Document requirements | Exact file types, size limits, and translations | Upload errors cause delays and rework |
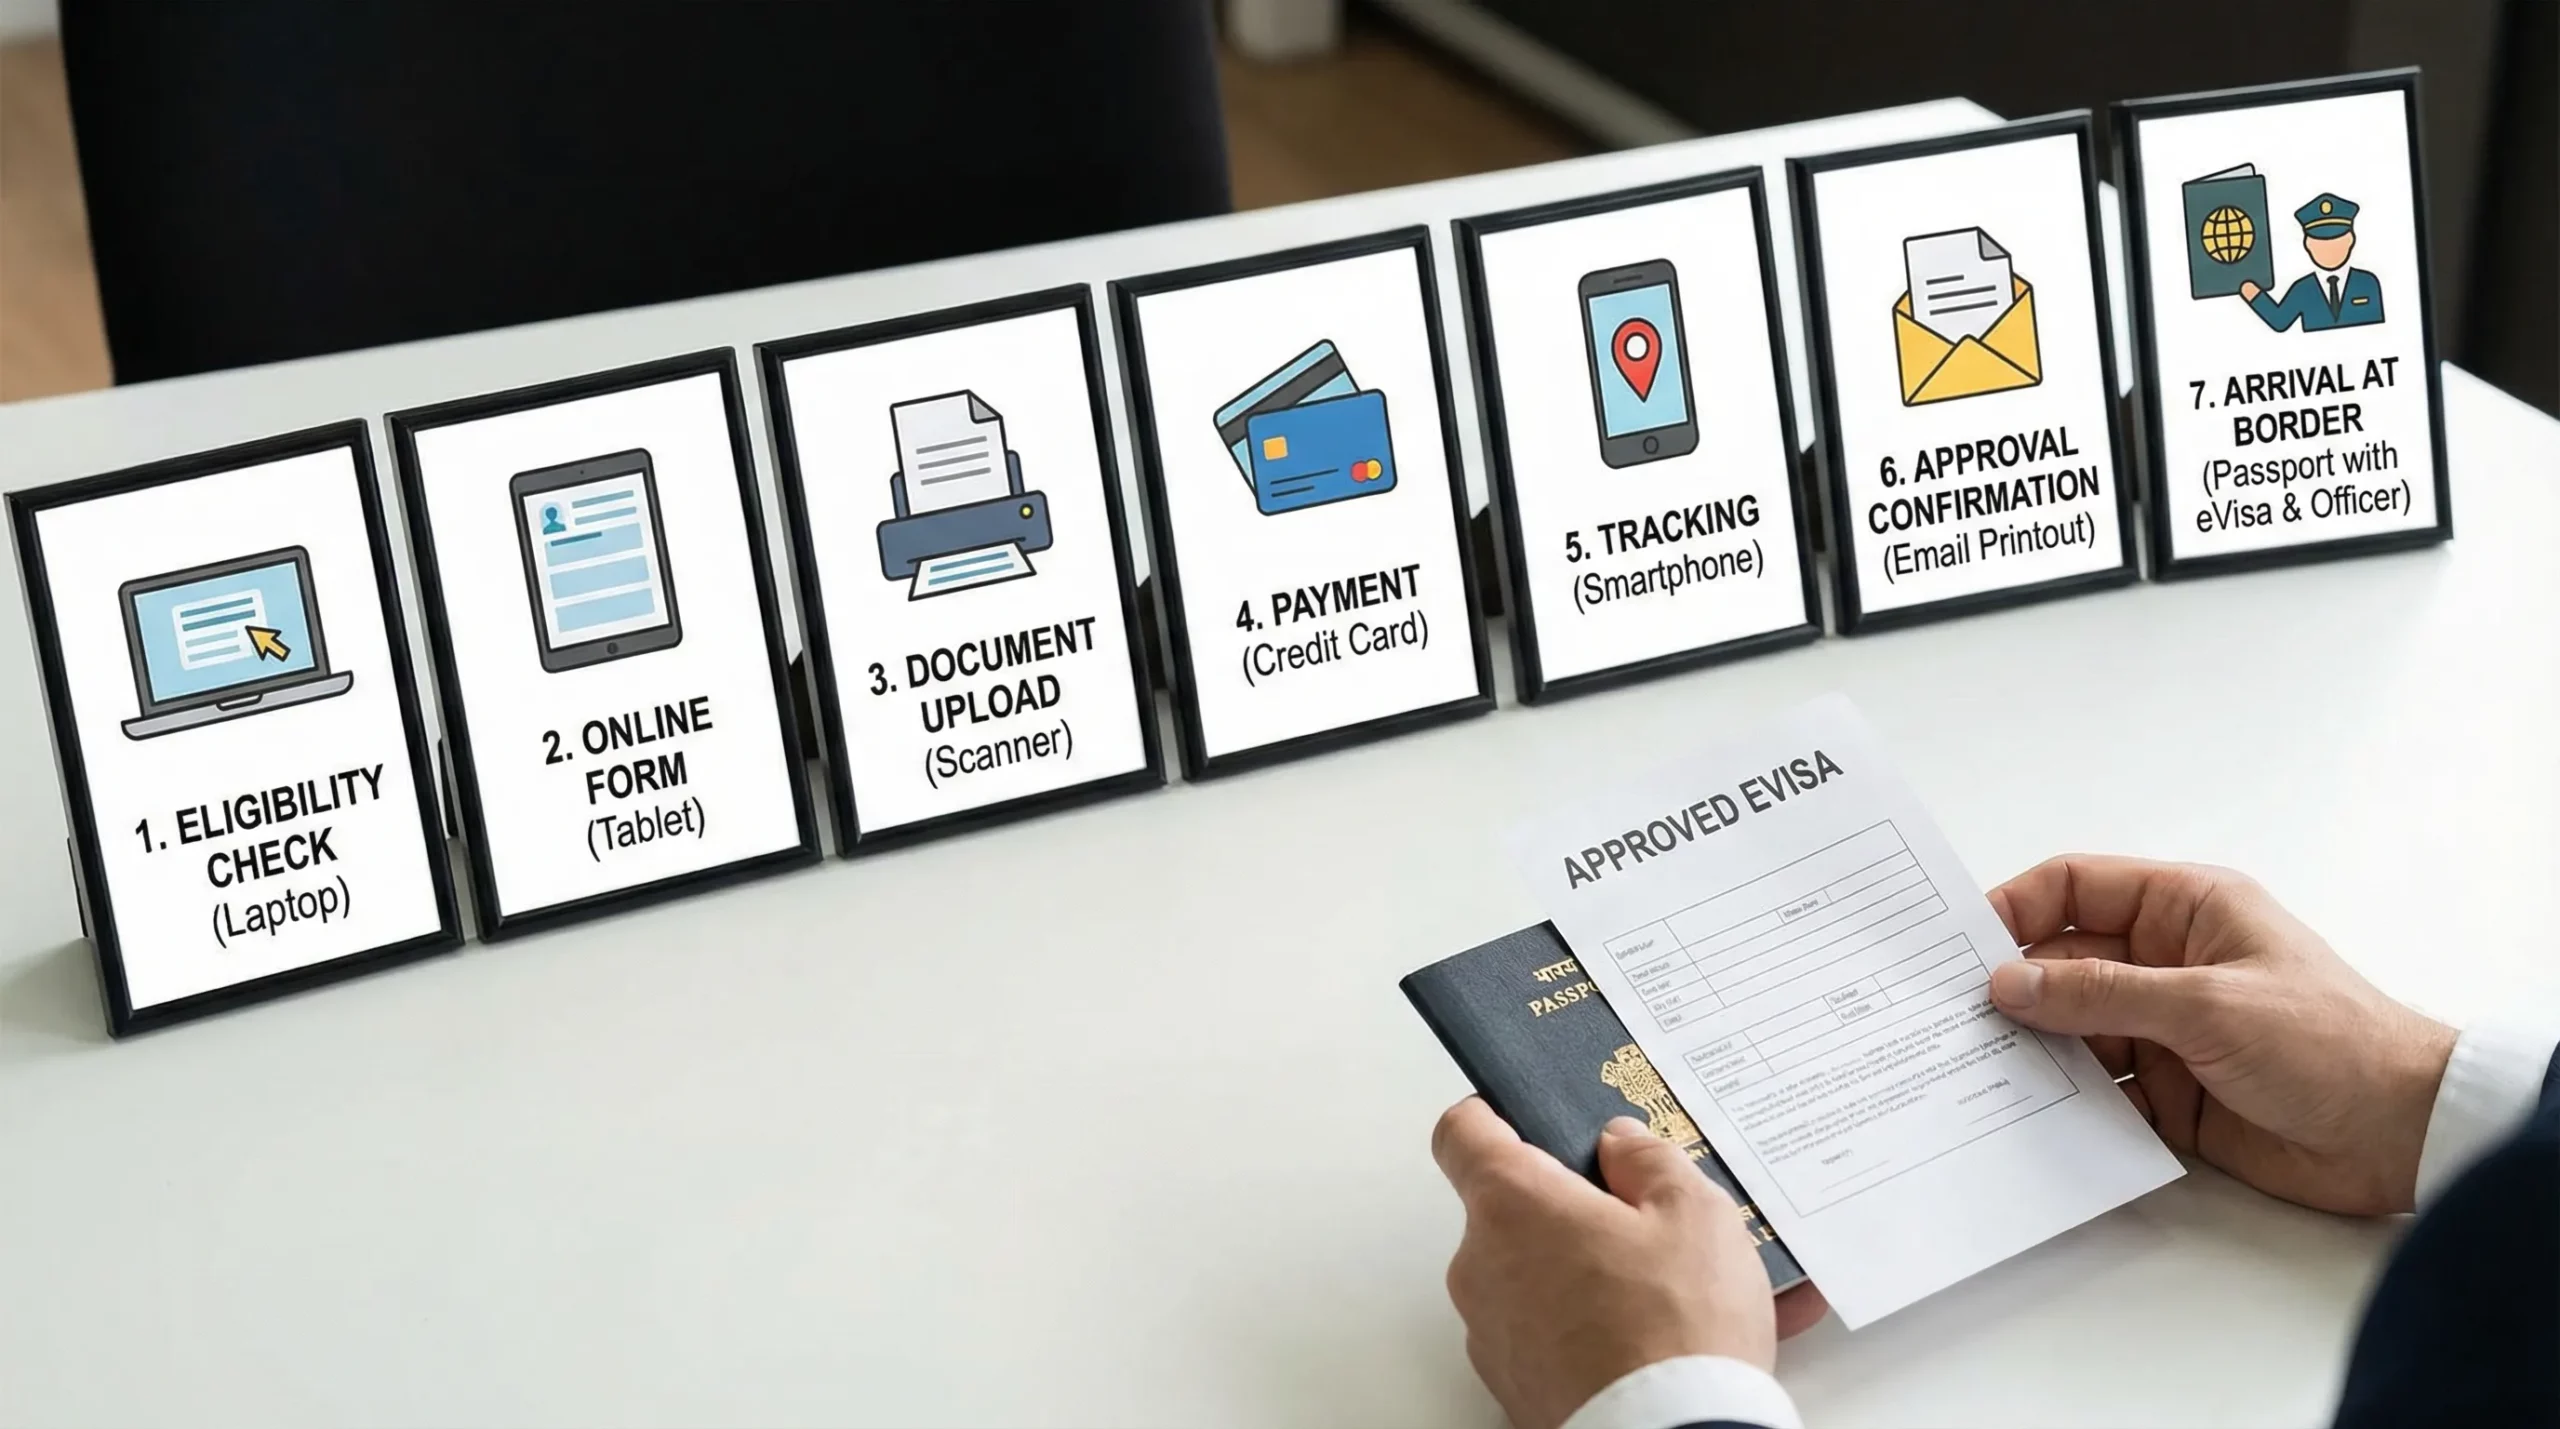
The eVisa application flow (end to end)
Most eVisa applications follow the same lifecycle, even when the forms look different.
1) Create the application and enter your identity details
You will typically enter:
- Full name exactly as shown on your passport
- Date and place of birth
- Passport number, issue date, and expiry date
- Address and contact details
- Travel dates and entry point
Best practice: type directly from the passport and avoid auto-correct. A single letter mismatch can create a “different person” problem in automated checks.
2) Add travel context (itinerary, host details, history)
Many destinations ask for some combination of:
- Where you will stay (hotel or host address)
- Onward or return travel plans
- Previous travel history or prior refusals
- Employer or school details (even for short trips in some cases)
If you are unsure, answer honestly and consistently. Conflicting answers are more damaging than “I don’t know” when the form allows it.
3) Upload supporting documents
What is required varies by destination, but most eVisa applications ask for a core set.
| Document | Typical purpose | Common rejection trigger |
|---|---|---|
| Passport biodata page | Identity verification | Cut-off edges, glare, low resolution |
| Photo | Facial match to passport and border systems | Wrong background, shadows, poor framing |
| Itinerary or booking proof | Confirms trip context | Dates do not match the application |
| Accommodation details | Confirms where you will stay | Missing address or contact info |
| Proof of funds (sometimes) | Shows ability to support yourself | Unreadable statements or missing name |
4) Pay and submit
Most portals accept card payments, and some add service charges depending on payment method.
Best practice: save the payment receipt and application reference number immediately. If the confirmation email lands in spam, your reference is still your lifeline.
5) Track status and respond to requests
After submission, you may see statuses like “received,” “processing,” “pending documents,” or “approved.”
If the authority requests additional info, respond quickly and with exactly what was asked. Adding unrelated documents can slow review.
6) Receive approval and confirm the details
When your eVisa is issued, review it carefully. If there’s a mistake, fix it before travel.
Check:
- Name spelling and passport number
- Validity start and end date
- Number of entries
- Permitted activities (tourism only, business allowed, etc.)
Document prep tips that prevent delays
A strong eVisa application is often less about “more paperwork” and more about clean, consistent, readable files.
Here are high-impact habits that reduce rework:
- Use a flatbed scan or a high-quality phone scan in bright, even light.
- Capture the full passport page including all corners.
- Export as PDF or JPG as required, and keep file sizes under the portal limit.
- Keep your documents consistent (same name format, same dates, same itinerary).
- If a translation is required, submit the translated document alongside the original.
If you are applying for multiple travelers (family or group), create a simple folder structure per person so you do not mix files.
Timing: when to apply (and what “processing time” really means)
Many travelers treat published processing times as guarantees. They are usually not.
Processing time can be affected by:
- Peak travel seasons
- Extra screening triggered by travel history or incomplete answers
- Payment verification delays
- Document quality issues
A practical rule: apply as soon as your itinerary is stable, then leave buffer time for corrections.
Security: how to avoid eVisa scams and data risks
Because eVisas are online, scammers copy government branding and buy similar domain names. Protect yourself with a quick security check before you upload personal data.
| Safety check | What “good” looks like | What to avoid |
|---|---|---|
| Website legitimacy | Clear government ownership and official guidance | Lookalike domains and “unofficial portal” language |
| Payment transparency | Fees are explained before you pay | Surprise fees at checkout |
| Communication | You can track status inside the portal | Random emails asking for documents or card info |
| Data handling | Minimal data collection and clear purpose | Requests for irrelevant sensitive data |
Also, avoid submitting applications over public Wi-Fi unless you are using a trusted secure connection.
After approval: what to do before you fly
An approved eVisa is not the end of the story. A few minutes of post-approval prep can prevent day-of-travel surprises.
Do the following:
- Save offline copies (phone and cloud) and consider printing a copy if your destination or airline commonly requests it.
- Re-check your passport expiry and the eVisa validity window.
- Carry key supporting documents that match your application (accommodation, onward travel, proof of funds if relevant).
- If your passport changes (renewal, damage, loss), check whether your eVisa must be reissued or transferred.
For travel businesses: how to make eVisa applications “easy” for customers
If you run an airline, OTA, tour operator, cruise line, or travel management company, eVisa friction shows up as:
- Booking abandonment when customers discover visa requirements late
- Support tickets asking basic eligibility questions
- Denied boarding risk when documents are incomplete
The simplest win is to surface requirements early and offer a guided application path that prevents mistakes.
Common implementation models
SimpleVisa supports multiple ways to offer eVisa processing, depending on your tech stack and how fast you want to launch.
| Model | Best for | What it enables |
|---|---|---|
| API integration | Teams embedding visa flows into booking and post-booking | A seamless, native customer experience |
| White-label visa application app | Brands that want speed and a fully branded experience | A guided flow under your brand |
| Custom data services | Companies needing requirements data without full processing | Rule visibility and decision support |
| No-code implementation option | Teams who want a quick rollout with minimal engineering | Faster time to market |
This operational angle also matters outside leisure travel. Companies hiring and moving talent across borders often need reliable travel document workflows for interviews, relocations, and onboarding trips. If you work with an international recruitment agency or handle executive travel, aligning start dates with realistic entry requirements can prevent expensive rescheduling.
Frequently Asked Questions
How long do eVisa applications take to process? Processing times vary by country, season, and applicant profile. Use published timelines as estimates, then add buffer time for document fixes or extra review.
Do I need to print my eVisa? Some borders accept digital-only proof, but some airlines or immigration officers still ask for a printed copy. Keeping both a digital and printed version is the safest approach.
What are the most common mistakes in eVisa applications? Frequent issues include typos in passport details, uploading unreadable scans, mismatched itinerary dates, choosing the wrong visa type, and missing required supporting documents.
Does an eVisa guarantee entry? No. An eVisa is permission to travel to a port of entry, but border officials can still refuse entry if you do not meet conditions or cannot support your stated purpose.
Can I apply for an eVisa if I have dual citizenship? Often yes, but you must apply using the passport you will travel on. Requirements can differ by nationality, so confirm rules for the chosen passport.
What should I do if my eVisa is approved with an error? Act immediately. Many destinations require corrections before travel, and some errors can lead to denied boarding. Follow the issuing authority’s correction process or reapply if required.
Make eVisa applications simple for your travelers
If you’re a travel business, the best eVisa experience is one your customer barely notices: clear requirements, guided steps, clean document capture, and reliable status tracking.
SimpleVisa helps travel brands streamline eVisa applications with visa processing automation, API integration, a white-label visa application app, and custom data services, designed to fit into booking flows and support ancillary revenue.
Explore SimpleVisa at simplevisa.com.